To tie a loop knot for fishing, make a loose overhand knot, pass your tag end through the lure eye and back through the knot, wrap it around your mainline, then return it through the overhand knot before wetting and tightening. Use this non-slip loop when you want a small lure to pivot freely.
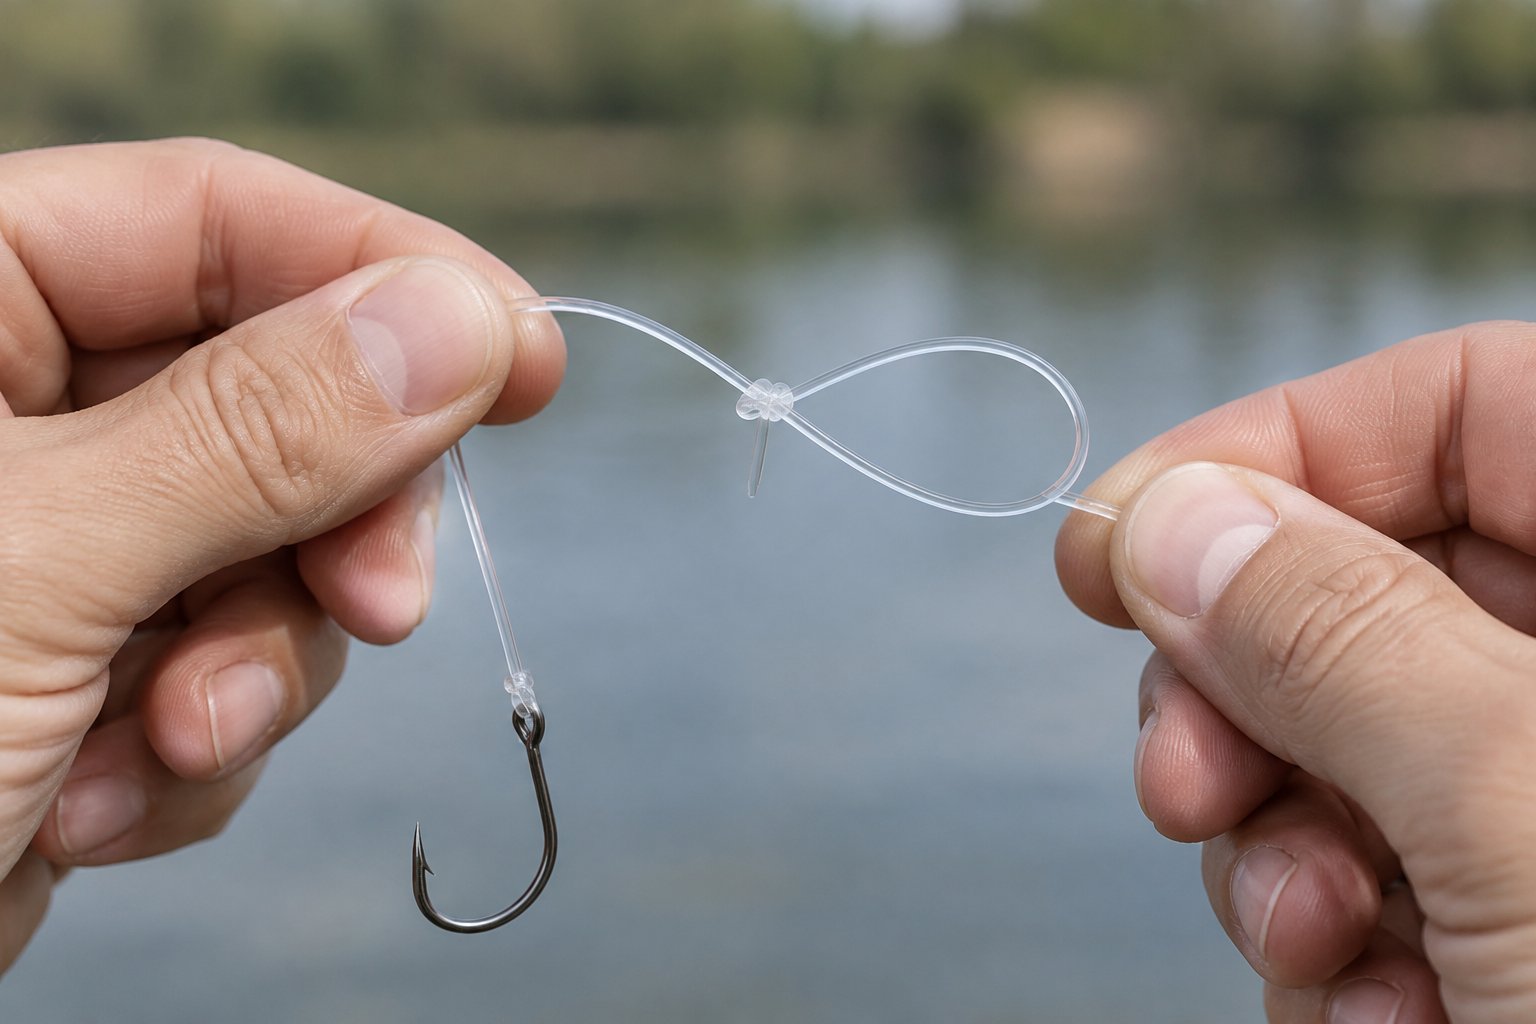
With a little practice, you’ll have another useful fishing knot ready for a quick after-work outing or a trip with your kids. Leave yourself enough line to work with, and take particular care when setting the loop size.
Tie the Non-Slip Loop in 6 Steps
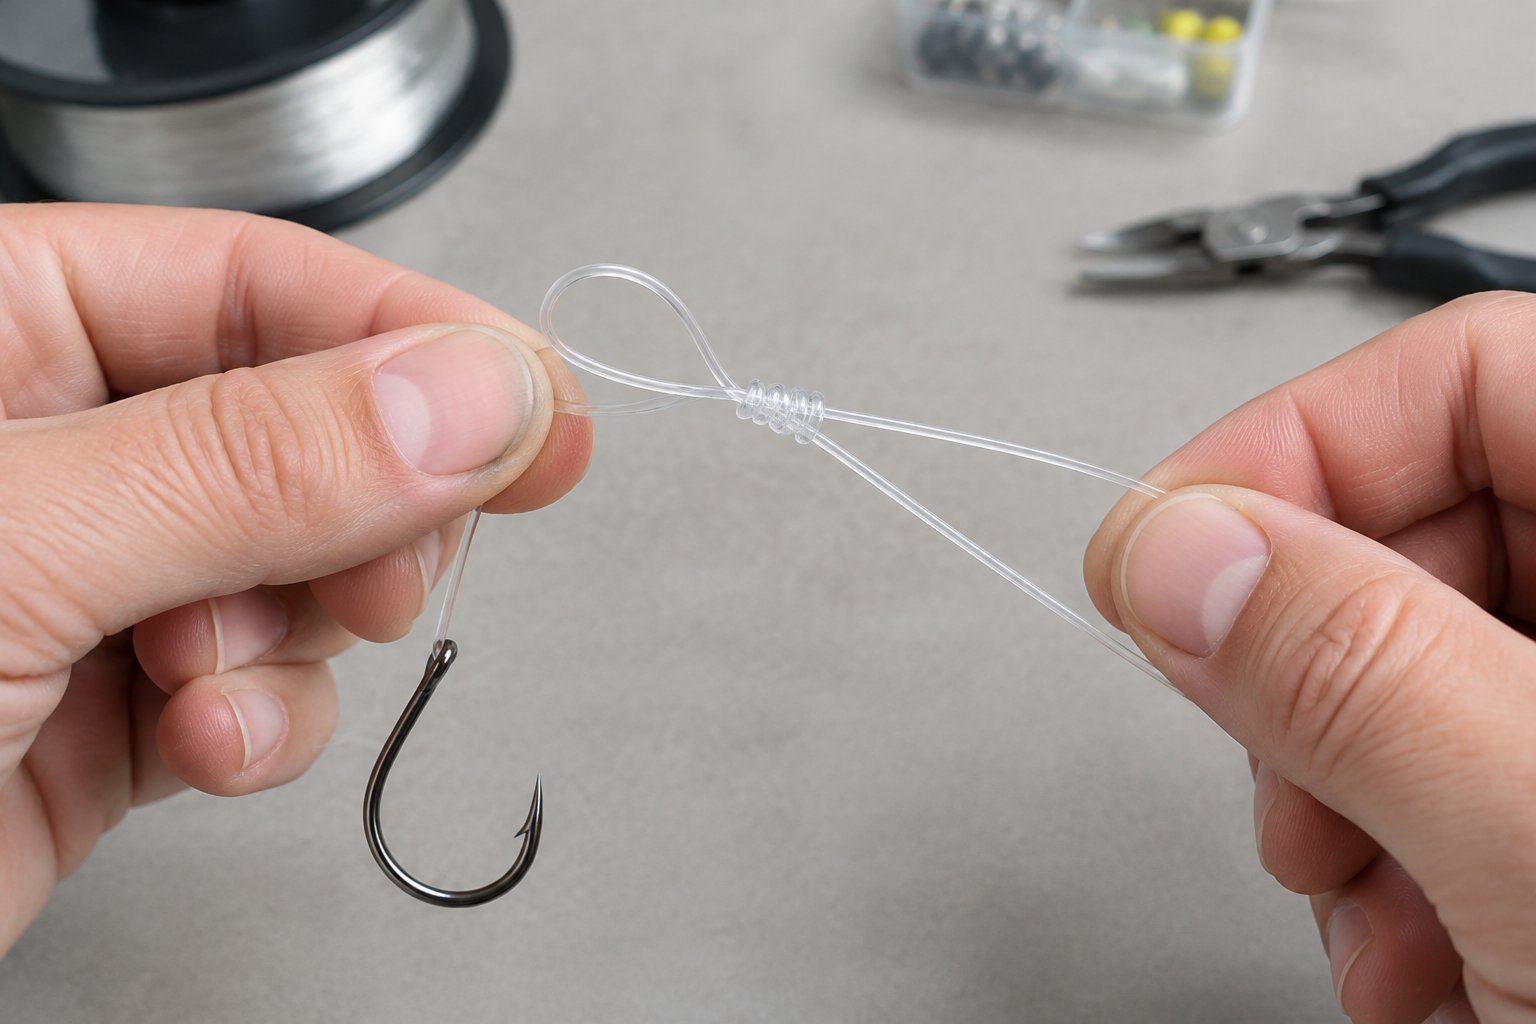
You tie the non-slip loop, also called the Kreh loop, by securing wraps above a small fixed loop at your lure’s eye. Keep your wraps orderly and hold the loop in position as you tighten.
1. Make a Loose Overhand Knot and Leave a 6-Inch Tag End
Measure about 6 inches from the end of your line. Form a small circle, pass the short end through it once, and leave that overhand knot loose enough to thread again.
Your tag end is the short working end; your mainline is the longer section leading toward your rod. Keep the overhand opening roughly pea-sized so you have room for the remaining passes.
2. Thread the Tag End Through the Lure Eye and Overhand Knot
Thread your tag end through the lure’s attachment eye. Bring it back through the loose overhand knot toward your mainline.
Watch which side of the overhand opening your tag end exits. You’ll use that same side as the entry point for your return pass in Step 5.
When you attach a lure to your fishing line, check the eye for rough edges or a gap before tying. A damaged attachment point puts your connection at risk.
3. Set the Loop Size and Pinch It in Place
Slide the loose overhand knot toward the lure until you have a small loop. For a small freshwater lure, start with roughly 1/4 to 1/2 inch between the eye and the knot.
Pinch the overhand knot and adjacent line to hold that spacing. Give the lure enough clearance to pivot without leaving a large loop that reaches nearby hooks.
4. Wrap the Tag End Around the Mainline
Wind your tag end around the mainline, working away from the overhand knot. Lay each turn beside the previous turn so you have a neat spiral.
For mono or fluorocarbon rated 10 pounds or less, use four or five turns as a starting point. With heavier, thicker leader material, three turns are a practical starting point; follow any knot guidance supplied by your line manufacturer.
5. Pass the Tag End Back Through the Overhand Knot
Bring your tag end back toward the original overhand opening. Enter from the same side where it exited in Step 2, reversing its earlier direction through that opening.
Pass through the original overhand knot only. Keep your fingers on the loop so the wraps stay together while you prepare to tighten.
6. Wet, Tighten, Test, and Trim the Knot
Wet the knot with clean water to reduce friction during seating. Hold your chosen loop size and draw the tag end slowly until the wraps gather neatly.
Apply steady tension to the mainline and lure connection to finish seating the knot. Secure the lure with an appropriate tool and keep your hands clear of the hook points.
Check for slipping before trimming the tag to about 1/8 inch. If the wraps shift or your loop changes size under a firm pull, cut off the knot and retie.
Which Fishing Line Should You Use?
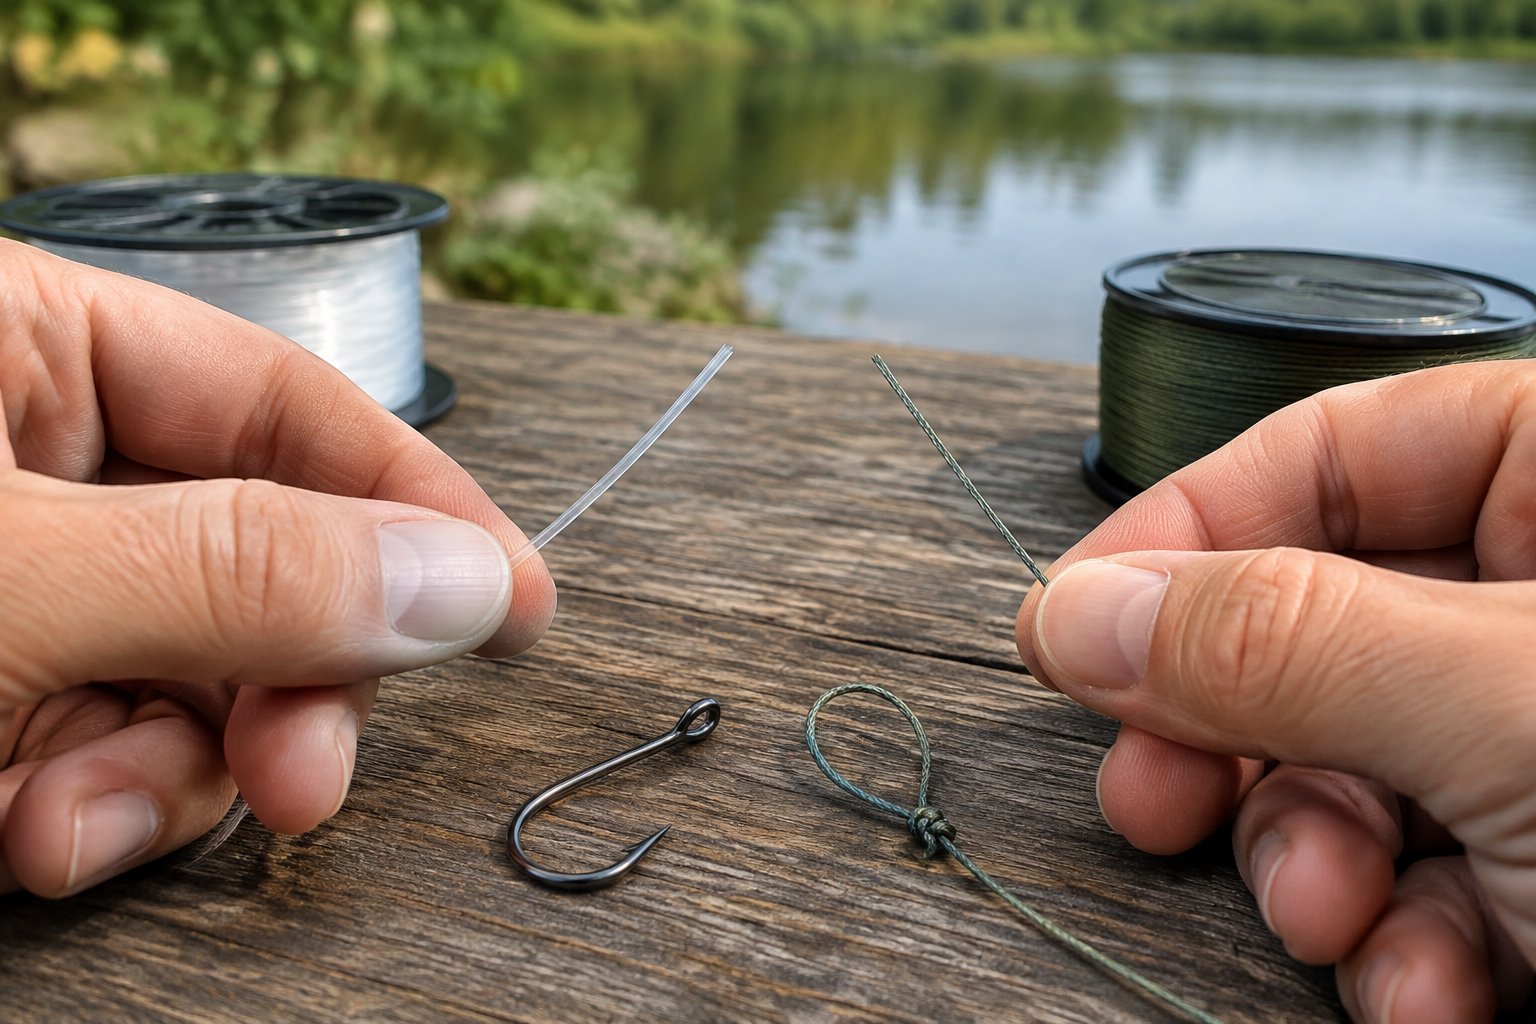
Choose monofilament or fluorocarbon for the section where you tie your non-slip loop. If you fish with light braid, add a suitable leader before tying this lure connection.
Why Monofilament and Fluorocarbon Are Practical Choices
You’ll find ordinary nylon monofilament forgiving for practice because you can handle its relatively supple coils easily. Fluorocarbon also suits this knot, though you’ll need extra care when seating thicker, stiffer material.
Choose line strength for your lure, cover, and target fish. If you’re selecting monofilament for a spinning reel, match its diameter and pound-test to the reel’s recommendations.
Use fresh, undamaged line for every practice knot you intend to fish. Whitening or a rough patch near the wraps calls for a fresh section.
Why Light Braid Calls for a Leader
With thin, slick braid, you risk having a non-slip loop slide under load. Tie this knot in a mono or fluorocarbon leader when your reel carries light braid.
Connect that leader with a line-to-line knot suited to both materials and their diameters. You’ll need a separate skill for that connection; a blood knot is used for joining lines, while your Kreh loop attaches the lure.
Leave enough leader to accommodate a few lure changes. That saves you from rebuilding the braid-to-leader connection after every retie.
When Does a Loop Knot Help Your Presentation?
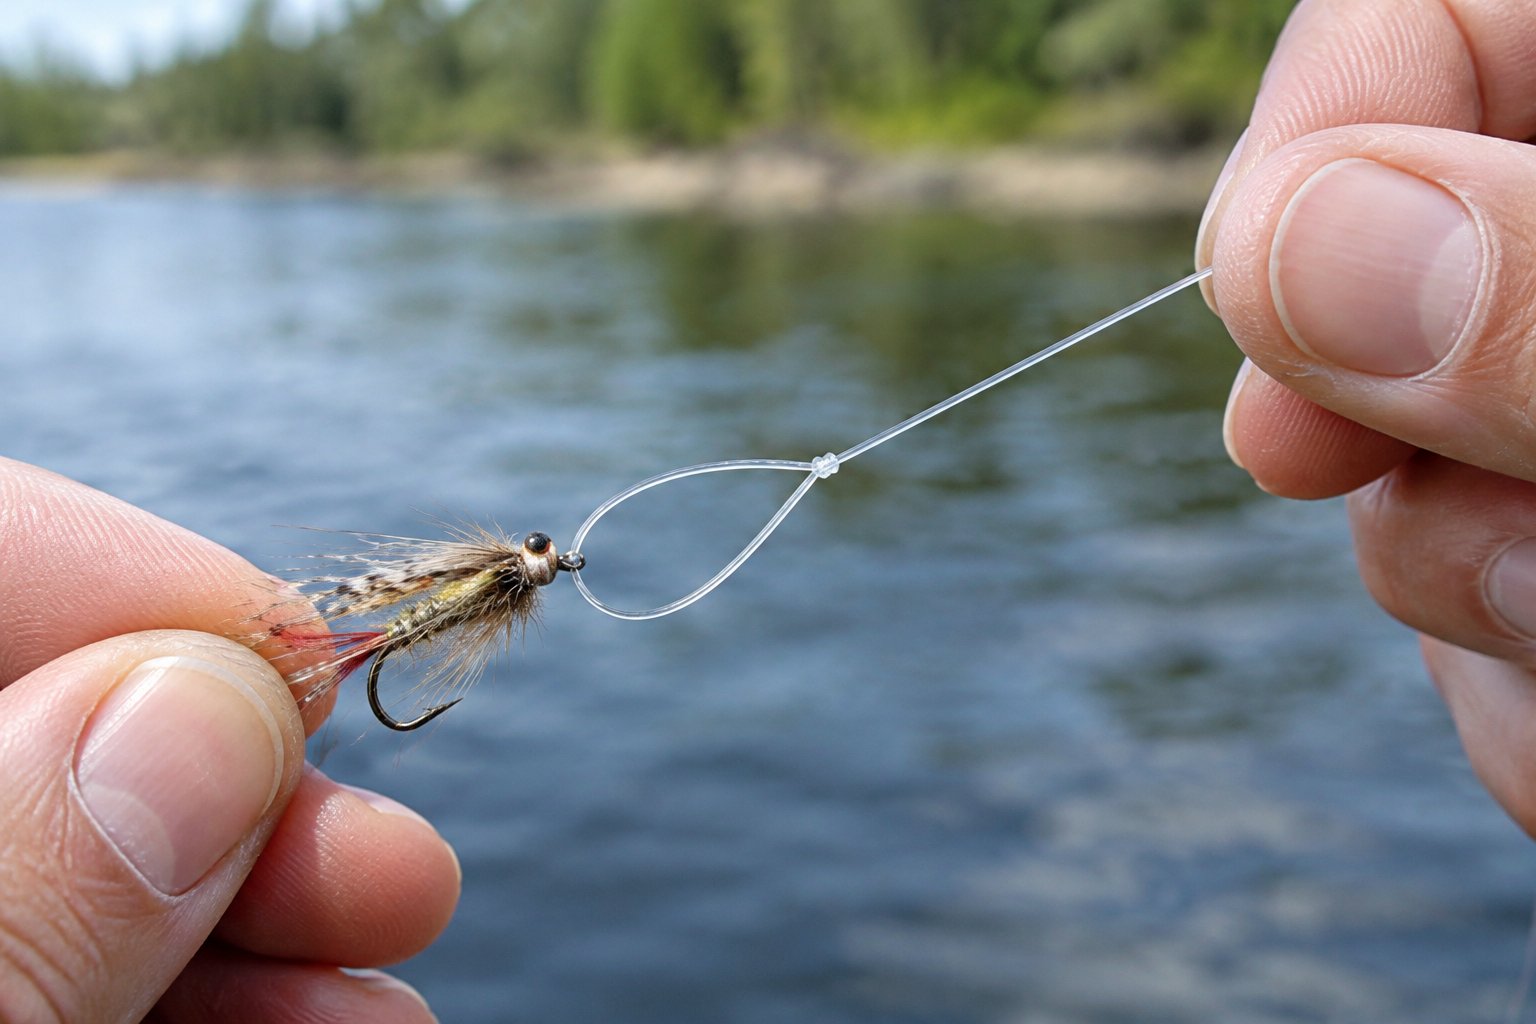
Use a loop knot when you want freedom of movement at a lure’s fixed attachment eye. For everyday freshwater angling, small jigs and suitable hard lures give you practical reasons to learn it.
Give Small Jigs and Jigheads More Freedom to Move
With a small loop through the eye, you give a jig room to pivot as you twitch or pause your retrieve. This is useful with lightweight jigheads carrying small soft plastics.
When you fish Ned rig jig heads, keep the loop compact and inspect how the bait moves beside the bank. Your hook position and soft-plastic rigging still influence the presentation.
Avoid assuming the loop guarantees a horizontal bait. Check how your particular jig hangs and moves in the water.
Use It for Suitable Poppers and Other Moving Lures
Try the knot on a small popper or moving lure with a plain, closed attachment eye. You give the lure room to change angle as you work it.
Make a short test retrieve where you can watch the lure. Check that the loop clears the front hook and that your line stays free of the hook points.
Follow the lure maker’s rigging instructions when a particular connection is specified. Preserve any factory hardware needed for its intended action.
When a Split Ring or Swinging Head Makes It Unnecessary
If your lure already has a split ring at its line tie, you already have an articulated connection. A swinging jighead also supplies movement through its joint.
Use a suitable snug knot for these setups unless the manufacturer specifies otherwise. You’ll keep the connection compact and avoid adding an extra loop near the hardware.
Check split rings for sharp edges and exposed ends. Position your knot on a smooth section where it won’t work into the ring’s opening.
Why Does Your Loop Knot Slip or Look Wrong?
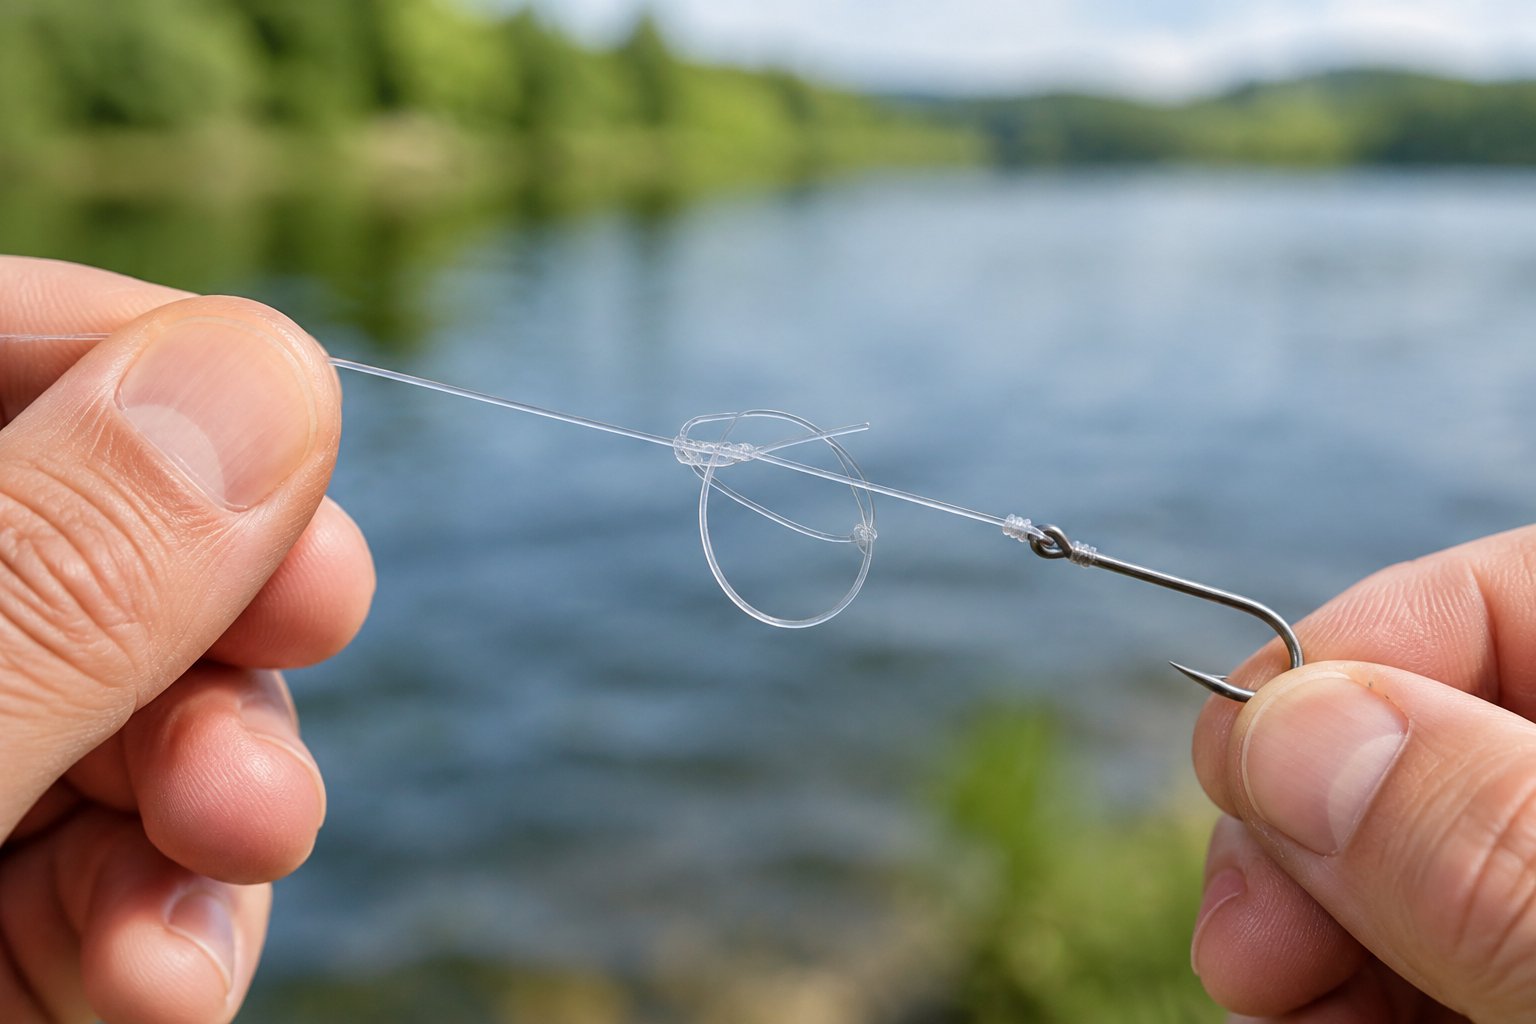
Check your loop control, wraps, and line condition when the knot slips or seats unevenly. Cut off a suspect connection and start fresh before casting.
The Loop Gets Too Large While Tightening
If you release your pinch too early, you allow the overhand knot to move away from the lure. Pulling hard on the mainline before the wraps settle also enlarges the loop.
Keep your chosen spacing held between your fingers while you ease the tag end tight. Once the wraps gather, finish seating with steady pressure.
If you’ve already seated an oversized loop, retie it. Avoid forcing a tight knot back along the line.
The Wraps Cross or the Knot Slips Under Tension
Inspect the spiral above your overhand knot. You want adjacent turns with no loose coils crossing over the others.
If the knot slips, check your return-pass direction and confirm that you’re using suitable line. Retie with fresh material and repeat the pull test before trimming.
When practicing beginner fishing knots, slow down at the final threading pass. Following the tag end through the opening helps you spot a routing mistake before tightening.
The Line Looks Frayed or the Tag End Is Too Short
Cut back past any rough, flattened, or cloudy section of fishing line. Check the lure eye as well, especially if repeated knots show damage at the same point.
Start again with your full 6-inch tag end if you run out of working room. A longer starting tag gives you something to grip during seating.
Leave a small visible stub after trimming. If you cut flush accidentally, retie before fishing so you retain room to spot tag movement during your check.
How Does the Kreh Loop Compare With Other Knots?
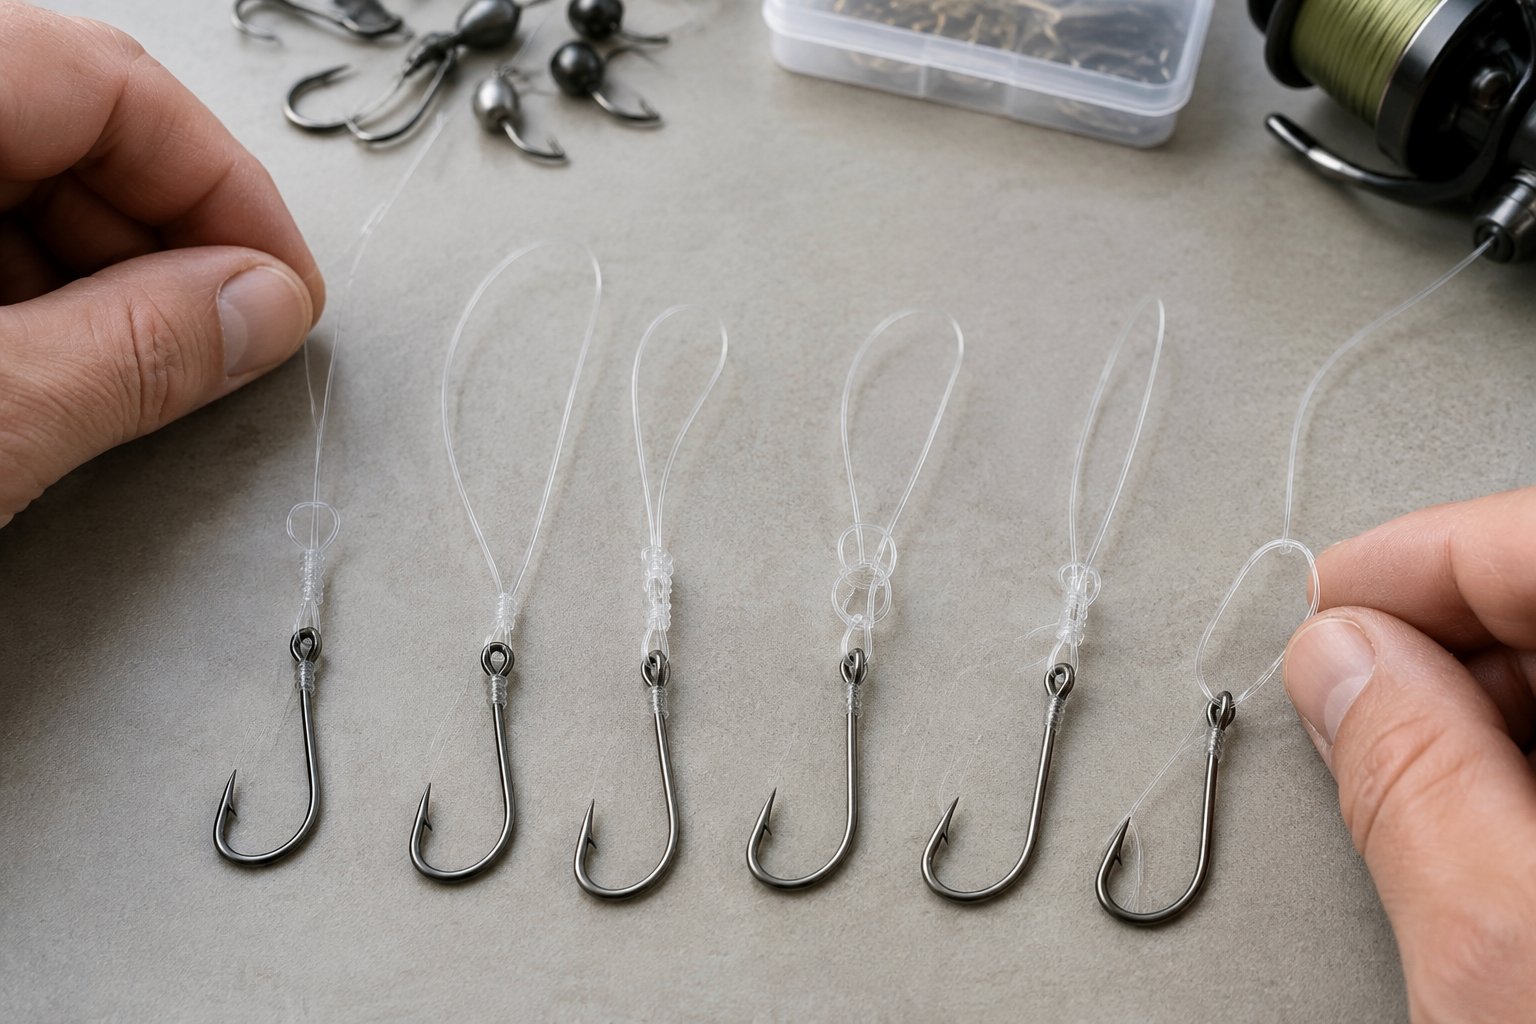
Choose the Kreh loop for a fixed loop through a lure eye, and use a snug knot when you want a compact attachment against the eye. Among fishing knots, the perfection loop serves another useful role at the end of a leader.
Kreh Loop vs. Perfection Loop Knot
Use the Kreh loop when attaching a lure that benefits from movement at its eye. Choose a perfection loop when you need an end loop for a loop-to-loop leader connection.
| Your task | Kreh Loop | Perfection Loop Knot |
|---|---|---|
| Attach through a lure eye | Practical choice | Less convenient |
| Form a leader-end loop | Suitable | Common choice |
| Tie with a lure attached | Straightforward threading | More manipulation |
You gain little by learning both during your first practice session. Start with the knot that fits your immediate setup, then practice the second when you need its particular connection.
When a Snug Knot Is the Simpler Choice
Choose a suitable snug knot for a plain bait hook or a lure whose hardware already supplies movement. An improved clinch or uni knot gives you a familiar connection in appropriate mono or fluorocarbon.
When you put a hook on your fishing setup, match the knot to your line and the hook’s eye. Follow specialized hook-rigging instructions where required.
Keep your first tackle setup consistent. Learning one reliable snug knot alongside this loop knot gives you two useful options without a long practice session.
Practice Safely Before a Quick Family Fishing Trip
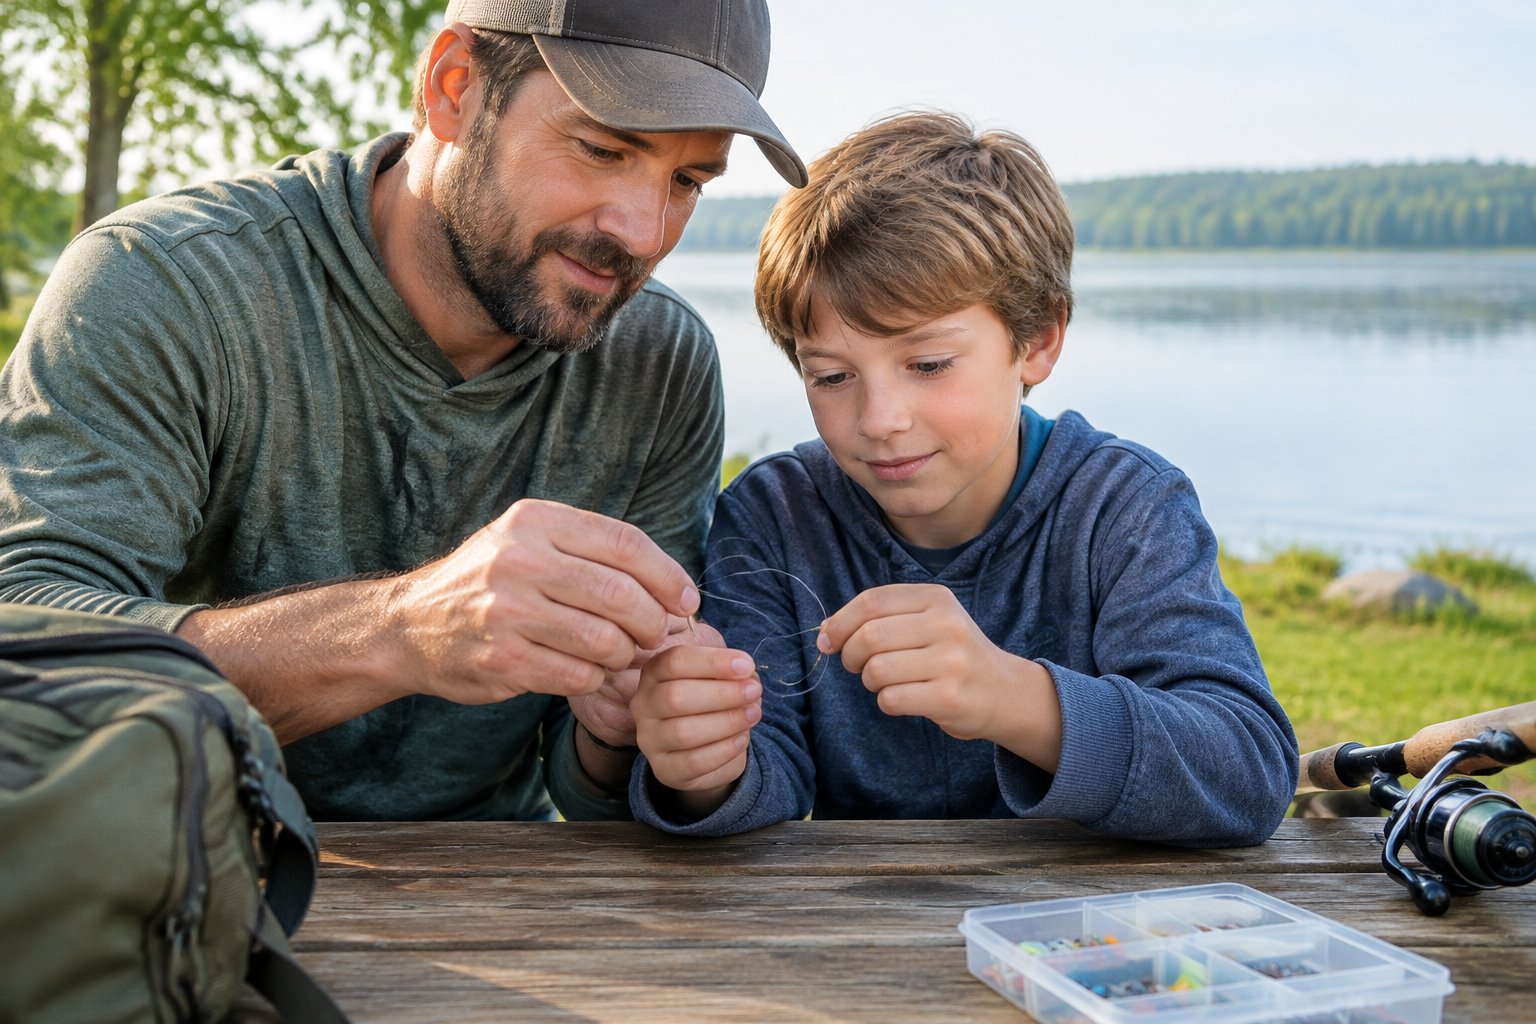
Practice your fishing knot with a hook-free ring at home, then inspect each real connection before use. You’ll spend less of your short trip sorting out unfamiliar threading steps.
Learn With a Hook-Free Practice Ring
Use a smooth, closed practice ring and a visible piece of monofilament. Sit at a clear table so you can follow the tag end through each pass.
When you’re fishing with kids, let your child practice with the ring while you handle exposed hooks and cutting tools. Keep loose line scraps in a container for proper disposal.
Repeat the knot until you can preserve the loop size while tightening. Move to your fishing tackle only after the threading sequence feels familiar.
Check the Connection Before Casting and After Snags
Before your first cast, inspect the wraps and give the connection a controlled pull with the hook points secured away from you. Retie if the tag moves or the line shows damage.
After a snag or contact with rough cover, feel the line above the lure for abrasion. Cut back to sound material before tying again.
For a 30-minute fishing trip, pack clippers and spare leader where you can reach them easily. Keep your hook points secured during transport.
Get your gear ready and explore the related beginner-friendly guides before your next trip.