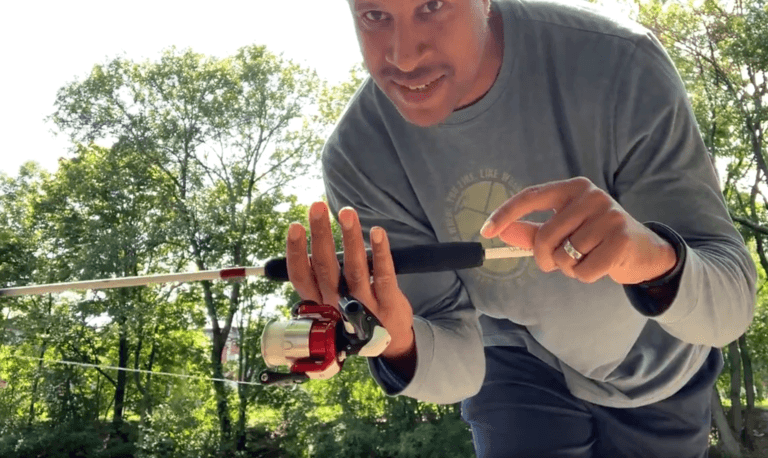
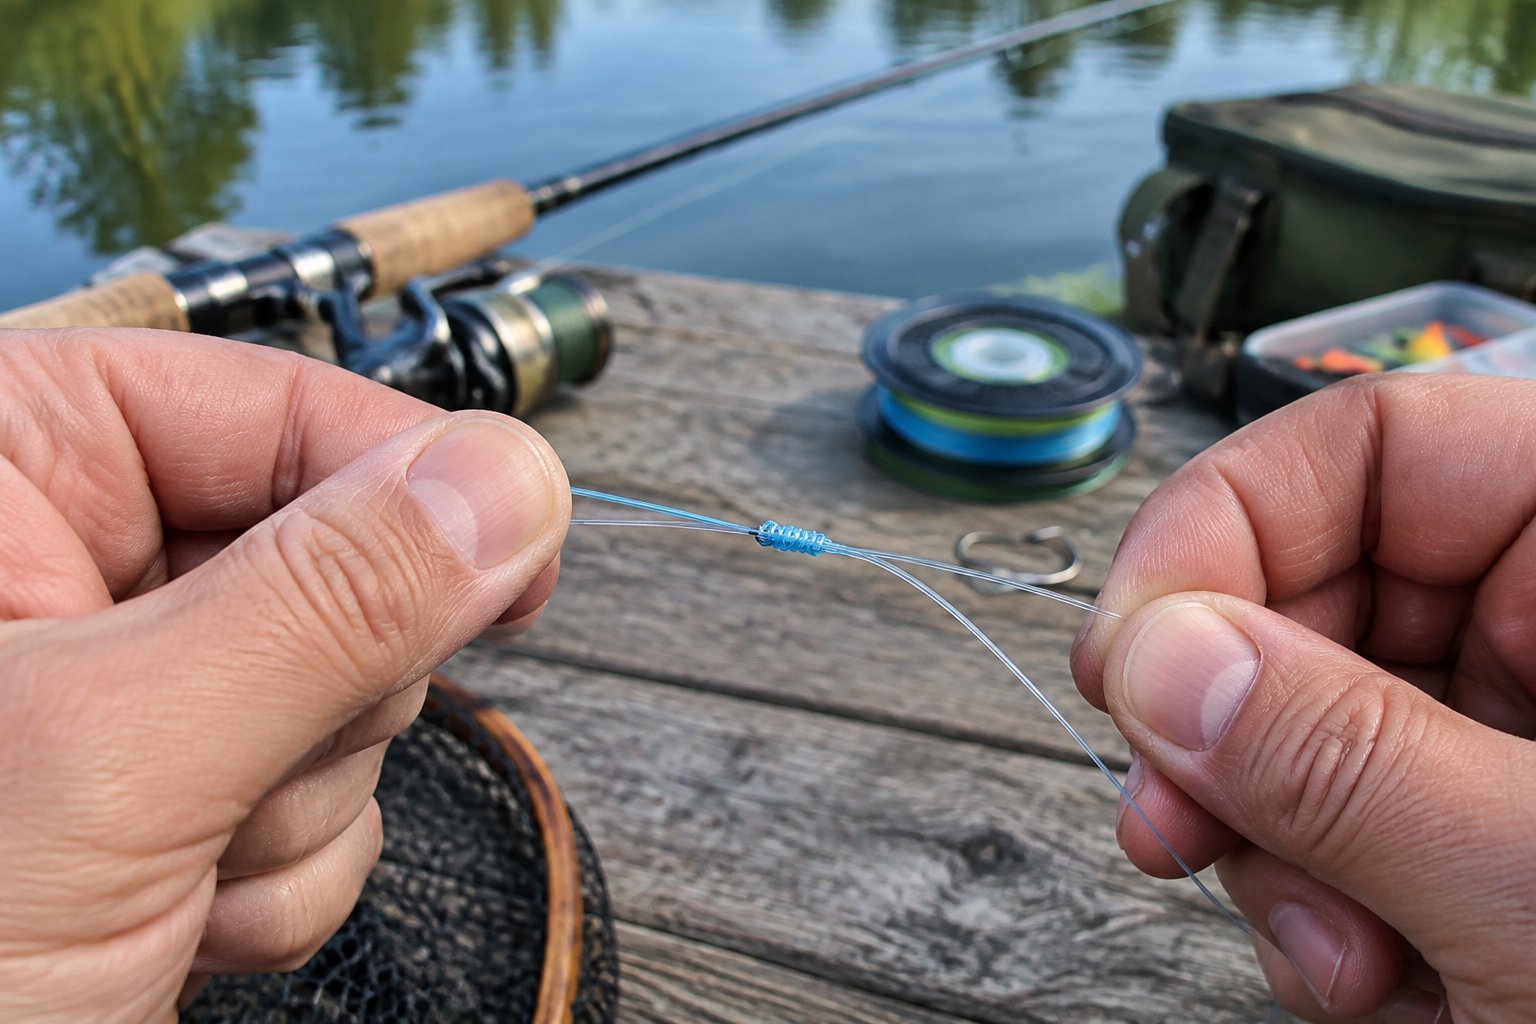
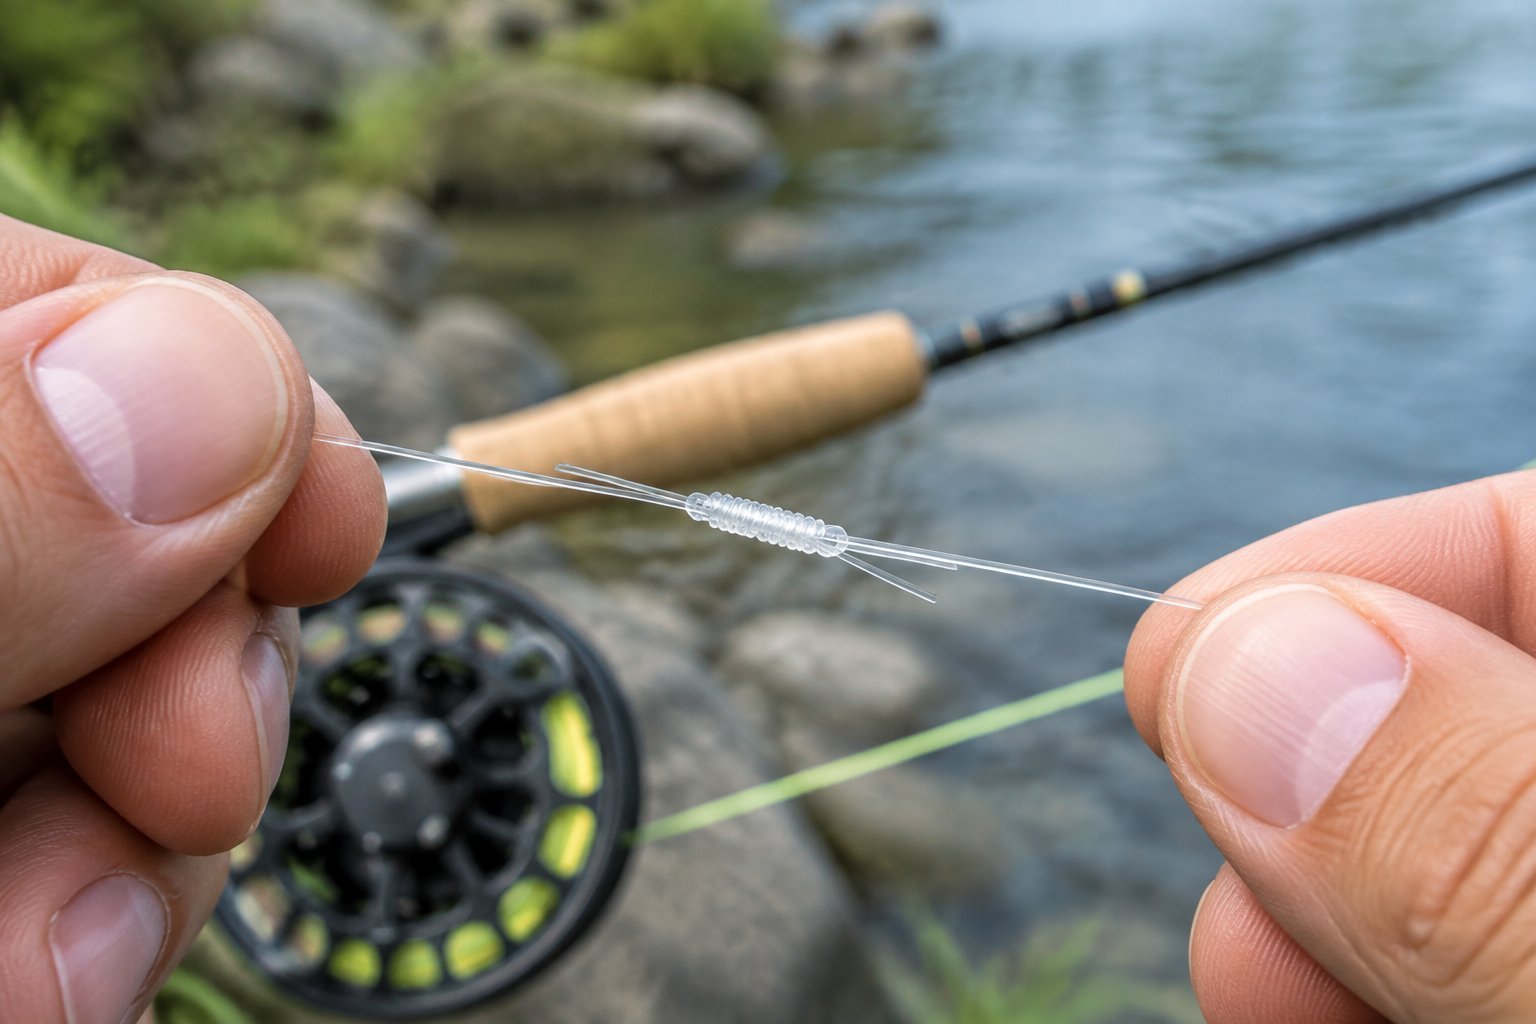
A blood knot gives you a slim, strong connection for joining two fishing lines of similar diameter. For fly fishing, leader building, and mono-to-mono or fluorocarbon-to-fluorocarbon connections, the blood knot is the recommended choice because its compact barrel shape passes through rod guides smoothly.
You create it by wrapping both tag ends around the opposite standing line, threading each tag end through the center opening from opposite directions, lubricating the wraps, and tightening the standing lines evenly. With five to seven wraps on each side, the finished fishing knot provides a dependable leader connection for quick trips, family fishing, and more technical setups.
When a Blood Knot Is the Right Connection
A blood knot is the right connection when you need to join two fishing lines with approximately equal diameters, especially while building a fly-fishing leader or connecting tippet to leader material. Its narrow profile keeps the connection smooth as it moves through rod guides.
You get the best results from similar materials and balanced line strength. Mono-to-mono and fluorocarbon-to-fluorocarbon pairings are dependable starting points, while braid-to-leader connections call for a different knot in many setups.
Best Uses for Similar-Diameter Line
Use the blood knot for:
- Joining mono sections of close diameter
- Connecting fluorocarbon leader sections
- Joining tippet to a tapered leader
- Repairing a damaged leader on the bank
- Building a custom leader from several sections
You can create a tapered leader by joining progressively lighter sections with a series of blood knots. Leave enough leader length between connections for the presentation and casting style you want.
A blood knot also works for some braid connections, yet braided line has a slippery, flexible surface that requires careful testing and proper wrap tension. Match the knot to the line material and the intended load.
Why Fly Anglers Use It for Tapered Leaders
Fly fishermen favor the blood knot because it creates a compact connection between leader sections. That slim shape helps the leader pass through the guides during casting and keeps the connection from feeling bulky near the fly line.
You can join sections of different pound strengths when their diameters remain reasonably close. A tapered leader built from several sections gives you a controlled transition from heavier butt material to lighter tippet.
For trout fishing, pairing the knot with suitable trout fishing line helps you assemble a practical setup for short sessions or longer days on the water.
When to Choose Another Knot Instead
Choose another connection when the two lines have sharply different diameters or when braid is being joined to heavy mono or fluorocarbon. A double uni knot handles many braid-to-leader situations, while an Albright or FG knot suits other unequal-diameter setups.
A blood knot also takes more finger control than a surgeon’s knot. For a fast bank-side repair in poor light, cold weather, or with children waiting to cast, a simpler knot may save time.
How to Tie a Blood Knot Step by Step
Tie a blood knot by overlapping the lines, making matching wraps, threading both tag ends through the center opening in opposite directions, and tightening the standing lines slowly. Keep the coils orderly before you pull the connection tight.
Use fresh line ends and enough overlap to control the wraps. A small toothpick, knot tool, or fine needle helps hold the center opening open when you work with light tippet.
Set Up the Overlap and Center Opening
- Lay the two fishing lines parallel with about 5 to 6 inches of overlap.
- Pinch the middle of the overlap between your thumb and forefinger.
- Keep a small opening between the lines at the pinch point.
- Identify the tag end and standing line on each side.
- Hold the center opening steady while you form the first set of wraps.
The opening gives both tag ends a path through the middle of the finished knot. If it collapses, place a toothpick through the opening while you complete the wraps.
Make Matching Wraps With Both Tag Ends
- Take the first tag end and wrap it around the opposite standing line five to seven times.
- Keep each wrap snug beside the previous wrap.
- Pass the first tag end back through the center opening.
- Hold that side in place with your fingertips.
- Take the second tag end and wrap it around the opposite standing line in the reverse direction.
- Use the same number of wraps as the first side.
- Pass the second tag end through the center opening from the opposite direction.
- Check that both tag ends exit on opposite sides of the knot.
The tag ends should point roughly perpendicular to the standing lines before you begin tightening. Matching wraps keep the knot symmetrical and distribute pressure across the connection.
Lubricate, Tighten, and Trim the Connection
- Wet the entire knot with water or saliva.
- Pull the two standing lines apart slowly and evenly.
- Watch the coils gather toward the center.
- Keep the tag ends aligned as the knot seats.
- Apply firm pressure after the coils settle.
- Inspect the connection for crossed wraps or gaps.
- Trim the tag ends close with sharp line clippers.
- Run the knot between your fingers to check for rough edges.
Pulling the standing lines seats the knot and protects its breaking strength. Pulling hard on the tag ends first can distort the wraps and produce a weak connection.
How to Make the Knot Strong and Smooth
A strong blood knot has matched wraps, clean coils, thorough lubrication, and tag ends trimmed close after the connection seats. These details preserve line strength and help the finished connection pass through rod guides.
Use a slower tightening motion with fluorocarbon because its stiffness makes uneven coils easier to create. Mono line is more forgiving, though friction still creates heat when you cinch it dry.
How Many Wraps Should You Use?
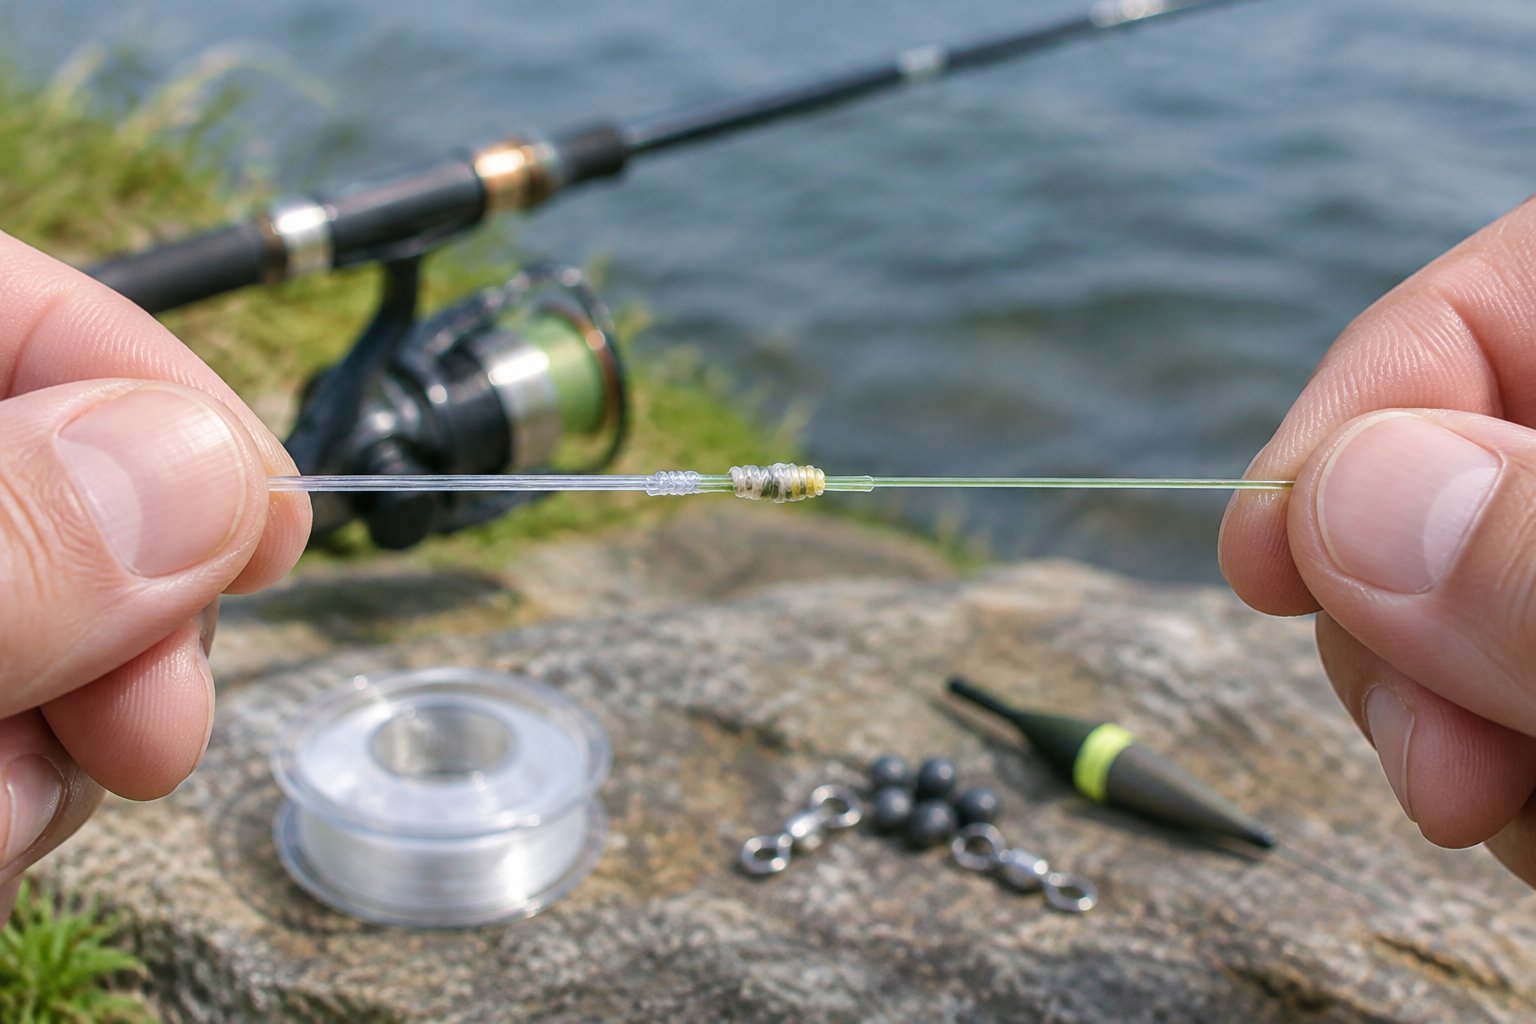
Use five to seven wraps on each side for most mono and fluorocarbon leader connections. Five wraps suit thicker line, while six or seven wraps provide more grip on finer material.
Use the same number on both sides. Extra wraps make the knot harder to control and can create a bulky connection that catches against the guides.
How to Keep the Coils Even
Keep the lines parallel during setup and pinch the center opening firmly while tying the first side. Lay each wrap directly beside the preceding wrap so the coils form two clean barrels.
Before tightening, check that both tag ends exit the center in opposite directions. If one wrap crosses another, ease the knot apart and rebuild it before applying tension.
How to Check the Finished Knot Before Fishing
Inspect the knot under good light and slide it between your fingertips. The coils should sit tightly together, the connection should feel smooth, and no gap should open when you pull the standing lines.
Test the knot with steady hand pressure before attaching your fly, hook, lure, snap, or swivel. Retie any connection with flattened coils, cracked line, loose wraps, or a tag end that pulled back into the knot.
Fixing Uneven, Slipping, and Bulky Knots
Uneven blood knots usually come from a collapsing center opening, mismatched wraps, or tension applied in the wrong order. Rebuild the connection when the coils remain crossed, loose, or bulky after tightening.
A clean knot lets you cast with fewer guide interruptions and gives you a reliable connection for a quick fishing trip. Small adjustments to your grip and tightening sequence solve most problems.
Why the Center Opening Collapses
The center opening collapses when you release the overlap before both tag ends are inserted. Fine fishing line also bends easily under finger pressure, which closes the path needed for the second tag end.
Keep a firm pinch on the first half and use a toothpick or knot tool to preserve the opening. Insert the second tag end from the opposite direction before pulling any line tight.
Why a Connection Slips or Breaks Early
A connection slips when the wraps are too few, uneven, dry, or mismatched. It breaks early when you pull the line against crossed coils or create heat during a fast, dry cinch.
Use five to seven matching wraps, lubricate the knot, and pull the standing lines gradually. If the two lines have very different diameters, select an improved blood knot, double uni, or another connection designed for that pairing.
How to Prevent Tag Ends From Catching
Trim the tag ends close with sharp clippers after the knot has fully seated. Feel the knot with your fingers and remove any pointed ends that could catch on rod guides.
Leave a short, clean tail while you inspect the connection. Cutting flush before the knot settles can remove too much material if the wraps shift under final tension.
Blood Knot Alternatives for Different Line Setups
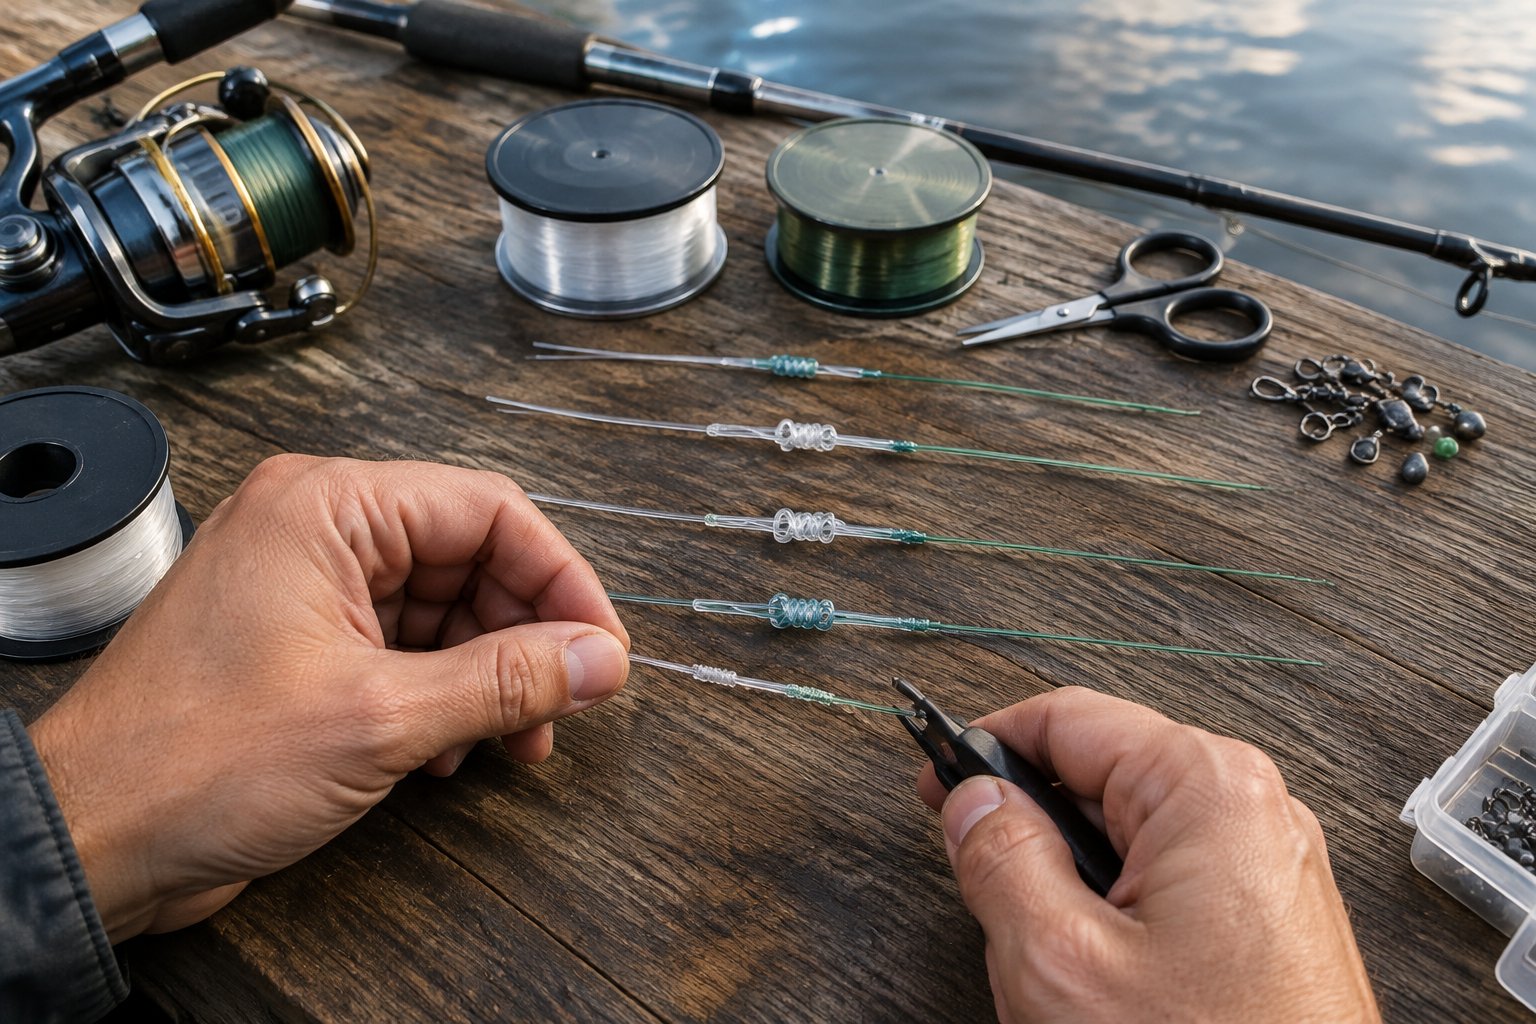
The blood knot suits similar-diameter leader material, while a double uni, surgeon’s knot, J knot, Albright knot, nail knot, or FG knot fills a different need. Select the alternative according to line diameter, material, speed, and the space available around your connection.
A half blood knot, also called a clinch knot in common fishing use, attaches line to a hook, lure, snap, or swivel. It serves a different purpose from a line-to-line blood knot.
Double Uni for Braid-to-Leader Connections
A double uni knot is a practical choice for braid-to-mono or braid-to-fluorocarbon connections. You tie a uni knot with each line around the other, then pull the standing lines to bring the two knots together.
It handles braided line well when you use enough wraps and seat the connection carefully. The profile is bulkier than a blood knot, yet the method is easy to learn for general freshwater or saltwater setups.
Surgeon’s and J Knots for Faster Repairs
A double surgeon’s knot gives you a fast connection when you need to replace a leader or tippet at the bank. It is easy to form with limited dexterity and works well for many light-line repairs.
A J knot offers a slim, strong connection after practice. The knot takes more coordination, so a double surgeon’s knot remains a convenient choice when speed matters during a short lunch-break fishing session.
Albright, Nail, and FG Knots for Unequal Diameters
An Albright knot connects lines with noticeably different diameters, including some braid-to-leader combinations. A nail knot joins unequal materials in selected leader and fly-line setups and forms a compact connection when tied carefully.
An FG knot uses a series of braid wraps around the leader and suits many braid-to-fluorocarbon connections. Use the blood knot for closer diameters, then move to these options when the lines require a connection built for a wider size difference.
| Knot | Best setup | Profile | Learning curve |
|---|---|---|---|
| Blood knot | Similar-diameter mono or fluorocarbon | Slim | Moderate |
| Double uni knot | Braid to leader | Medium | Easy |
| Double surgeon’s knot | Fast leader repair | Medium | Easy |
| Albright knot | Unequal diameters | Slim | Moderate |
| FG knot | Braid to fluorocarbon | Very slim | Advanced |
Frequently Asked Questions
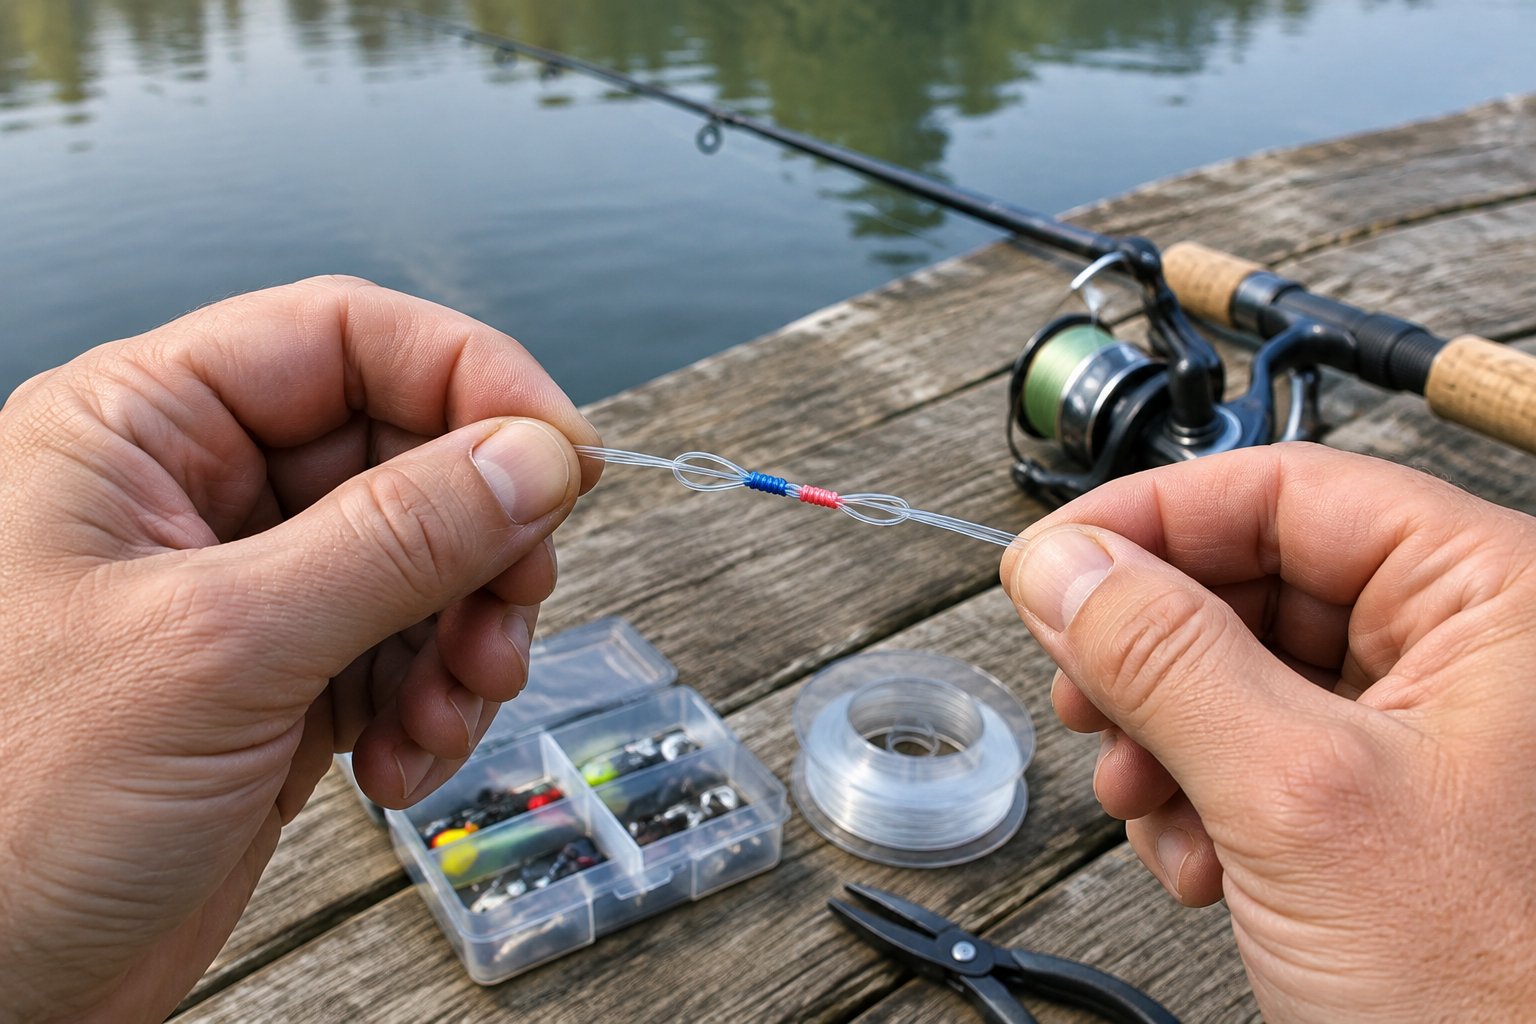
The blood knot is a compact fishing knot for joining leader, tippet, and other similar-diameter fishing line. Correct wraps, lubrication, and steady tension determine how well the connection performs.
How do you tie a blood knot for fishing?
Overlap two lines, wrap each tag end five to seven times around the opposite standing line, and pass both tag ends through the center opening from opposite directions. Lubricate the wraps, pull the standing lines evenly, then trim the tag ends close.
What lines work best with a blood knot?
Mono and fluorocarbon with similar diameters work best with a blood knot. It suits leader sections, tippet, and tapered fly-fishing leaders, while braid-to-leader connections often fit a double uni or FG knot better.
How many wraps should a blood knot have?
Use five to seven wraps on each side. Choose five wraps for thicker line and six or seven for finer leader material, then match the number on both sides.
Is a blood knot strong enough for a leader connection?
A properly tied blood knot provides a strong leader connection for similar-diameter mono or fluorocarbon. Lubricate before tightening and test the finished knot by pulling steadily on the standing lines.
What is a good tool for tying blood knots?
Fine-tip fishing line clippers help you trim the tag ends, while a toothpick or dedicated knot tool keeps the center opening open during tying. Good lighting also helps you spot crossed coils before you seat the connection.
Why is it called a blood knot?
The name is associated with an old version used on the ends of whips, and the knot is also called a barrel knot. Modern anglers use it for compact fishing line and leader connections.