Start with two beginner fishing knots: the Palomar for attaching a hook or lure, and the improved clinch for a straightforward connection to monofilament or fluorocarbon. Add the double uni when you need to join a leader to your main line, and you’ll have a practical set of essential fishing knots for common setups.
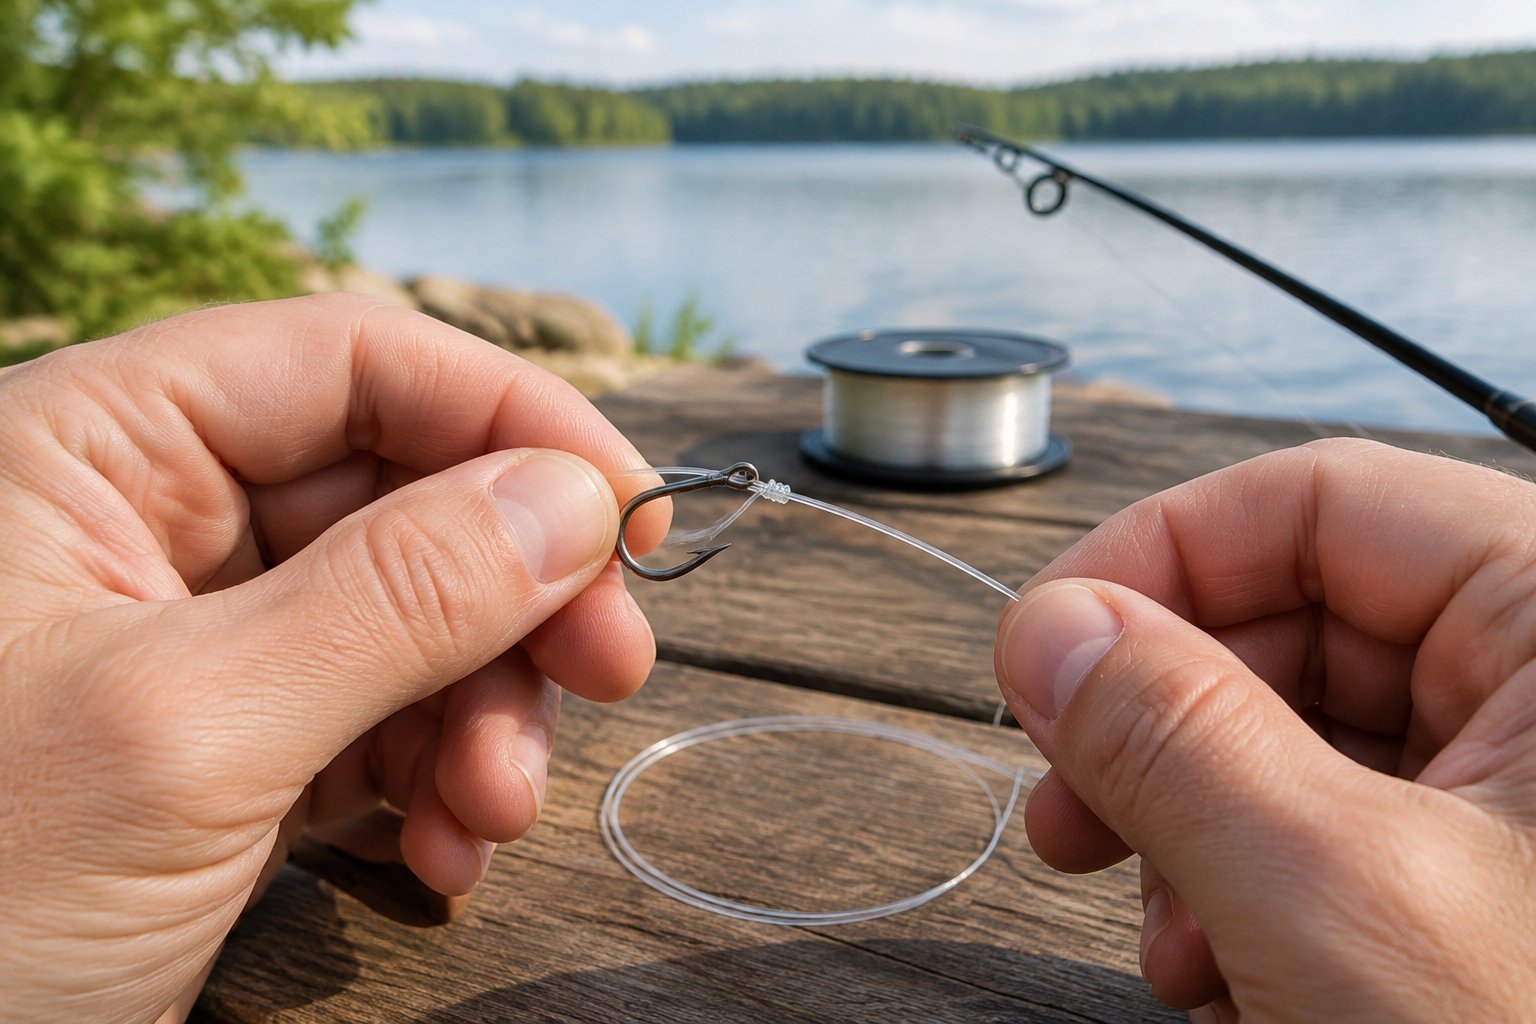
A few reliable knots help you spend less time sorting out tackle and more time fishing, whether you’re heading out after work or showing a child how to rig a line. Choose a knot for the connection, tie it slowly, then test it with a firm pull before you cast.
Which Knot Should You Tie for Each Job?
Match the knot to the connection: use a Palomar or improved clinch for a hook or lure, a double uni for joining lines, and an arbor knot for securing line to a reel spool. A loop knot gives a lure more freedom to move, while a surgeon’s loop creates an end loop for a loop-to-loop connection.
A Quick Guide to Hook, Line, Leader, and Reel Connections
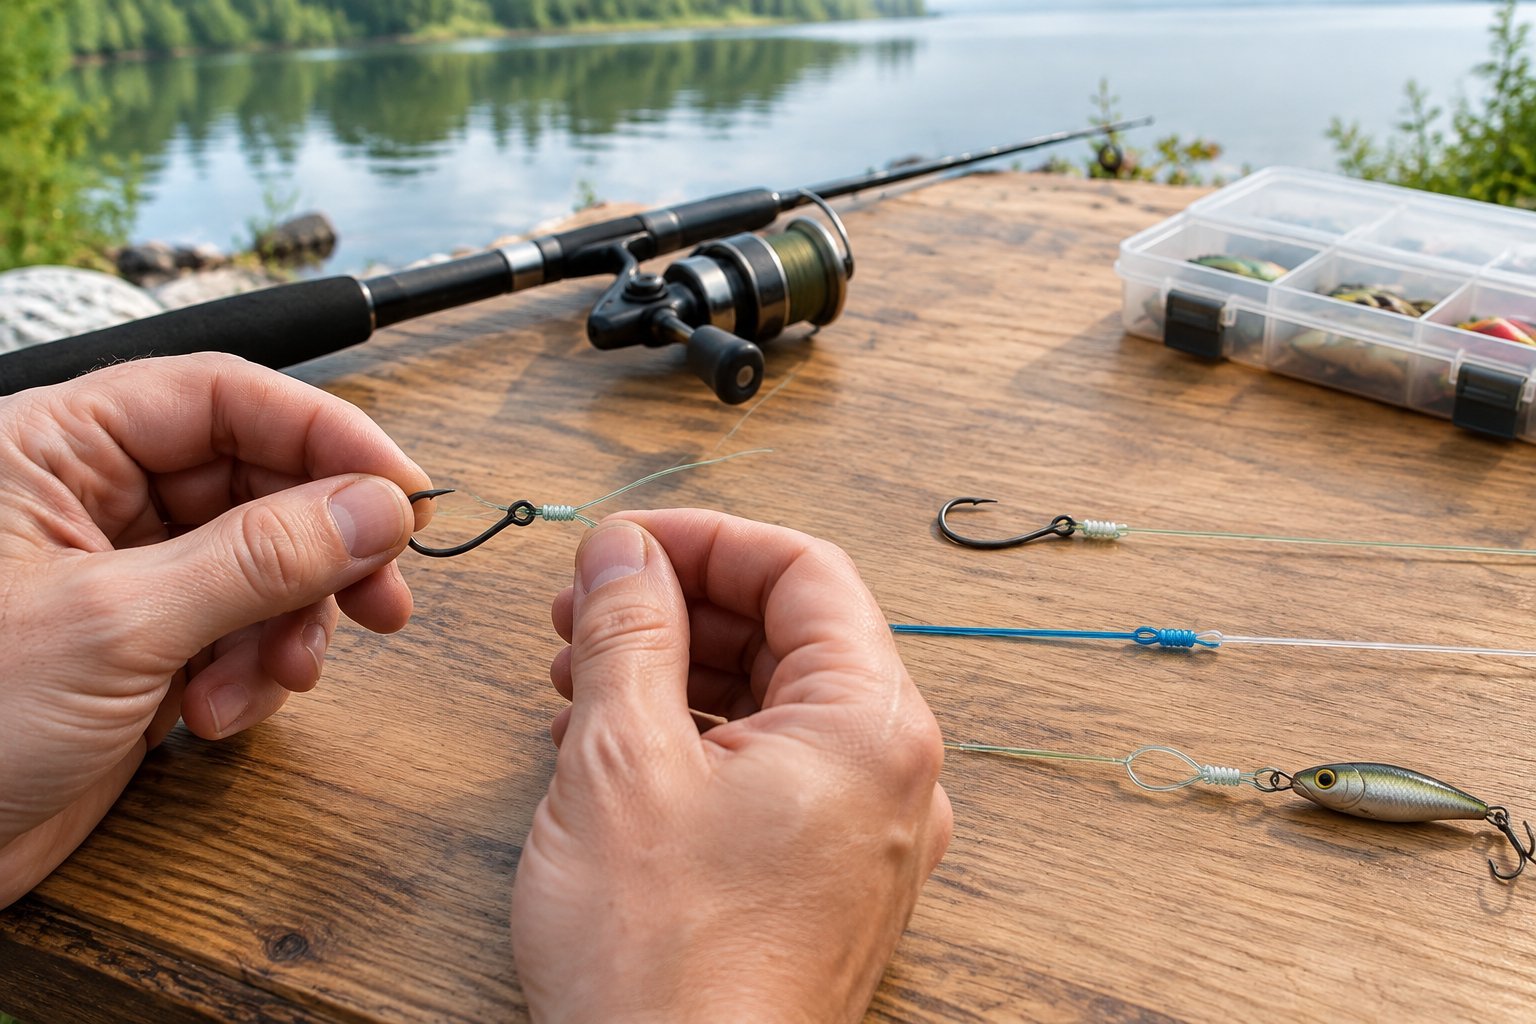
Think about what the line needs to connect to before you tie. For a hook, lure, swivel, or snap, use a terminal knot such as the Palomar or improved clinch. If you’re attaching a fluorocarbon leader to braided main line, the double uni is a manageable place to start.
An arbor knot attaches line to the reel spool during spooling. A surgeon’s loop forms a loop at the end of a line, and a non-slip loop knot leaves a lure with room to swing. Keep the job and knot paired in your notes until the choice feels familiar.
| Connection | Knot to start with |
|---|---|
| Line to hook or lure | Palomar |
| Line to hook with a compact eye | Improved clinch |
| Main line to leader | Double uni |
| Line to reel spool | Arbor |
| End loop | Surgeon’s loop |
| Lure needing freer movement | Non-slip loop |
The Few Knots That Cover Most Beginner Fishing
For a first setup, learn the Palomar for terminal tackle and the double uni for joining lines. Add the arbor knot when you spool your reel, then practice the improved clinch as another way to attach a hook or lure.
This small set is useful for common freshwater rigs and quick trips. You can practice each knot at home with spare line and an old hook, then keep a short reminder in your tackle box. If you’re choosing your first hooks too, see these fishing hooks for beginners.
How Do You Attach a Hook or Lure?
Use the Palomar as your first hook-and-lure knot, and choose the improved clinch when doubled line will not pass easily through the eye. The uni and snell knots add useful options for particular terminal connections.
Palomar Knot: A Reliable First Choice
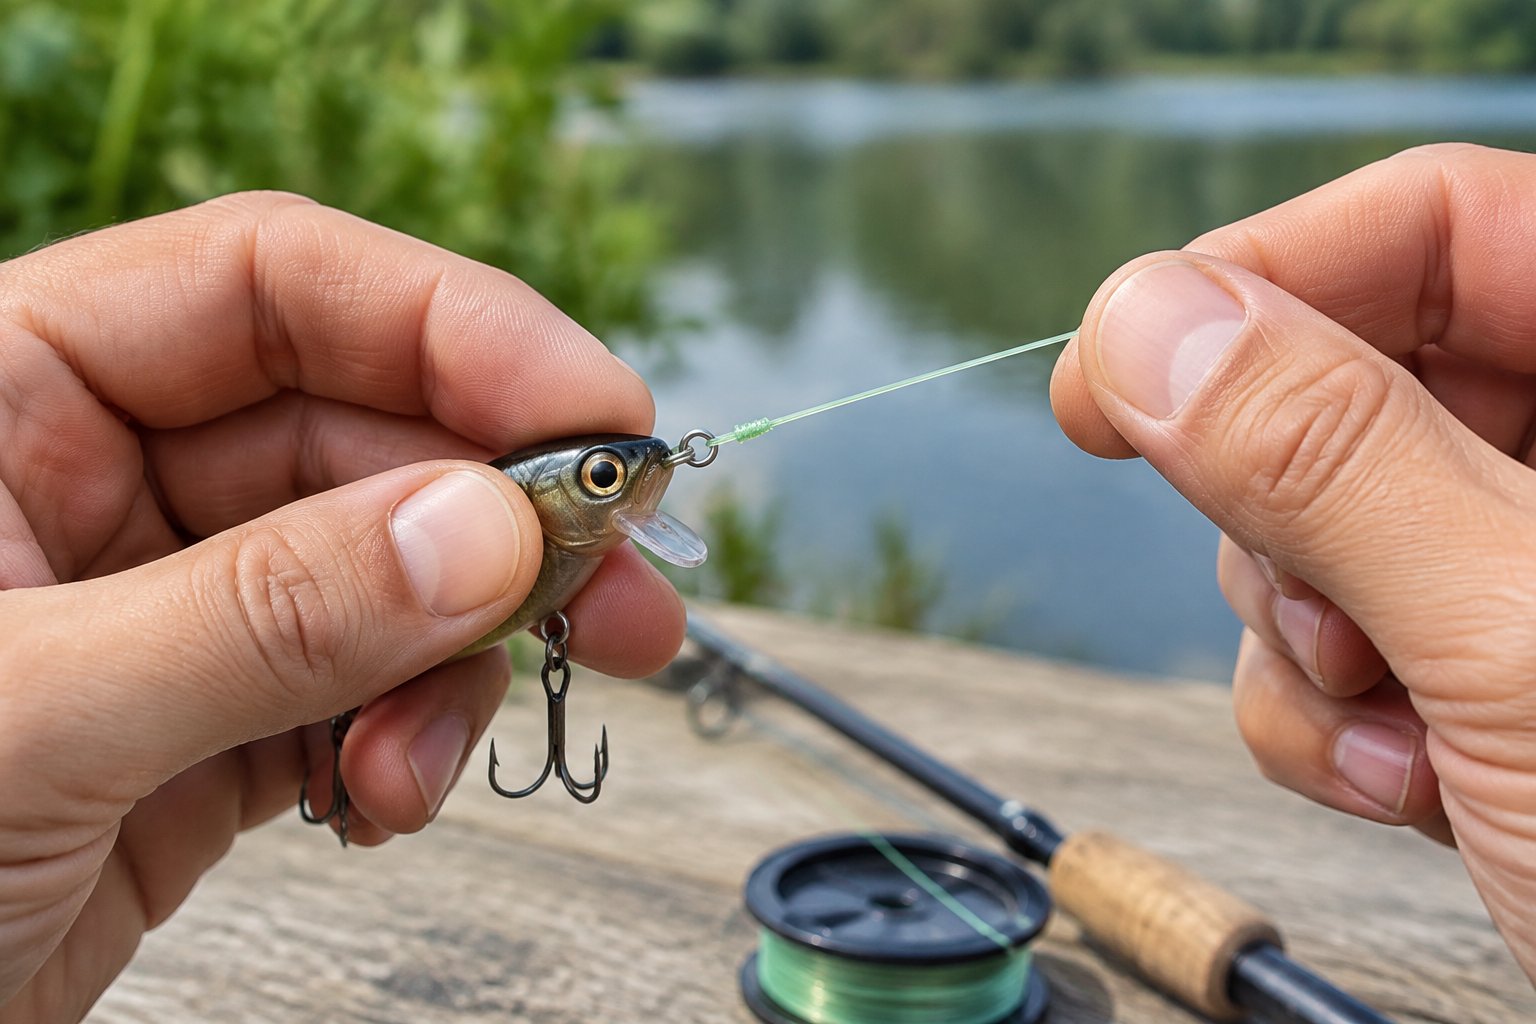
The Palomar is a practical first knot for attaching a hook, lure, swivel, or snap. Its doubled-line method is straightforward, though you need enough line to pass the loop over the hook or lure.
- Double about 6 inches of line and pass the loop through the hook eye.
- Tie a loose overhand knot with the doubled line.
- Pass the hook or lure through the loop.
- Moisten the knot, then pull the standing line and tag end steadily to seat it.
- Trim the tag end, leaving a small amount beyond the knot.
Keep the overhand knot loose enough for the tackle to pass through cleanly. Check that the line sits neatly against the eye before you test the finished connection.
Improved Clinch Knot: A Simple Option for Mono and Fluoro
The improved clinch is a useful choice for monofilament line and fluorocarbon when you want a compact connection at the hook eye. It also works when a doubled line would be awkward to thread through a small eye.
- Pass the line through the eye and leave several inches of tag end.
- Wrap the tag end around the standing line about 5 or 6 times.
- Pass the tag end through the small opening beside the eye.
- Bring the tag end back through the larger loop formed by the previous step.
- Moisten, pull steadily until the wraps seat, then trim the excess.
Keep the wraps orderly as you tighten. If they bunch up or cross over each other, loosen the knot and tie it again.
Uni Knot and Snell Knot: Other Useful Terminal Connections
The uni knot works as a terminal connection and can also be adapted for joining two lines. To tie it to a hook, pass the line through the eye, form a loop with the tag end beside the standing line, then wrap the tag end through that loop several times. Moisten and draw the knot down toward the eye with a steady pull.
A snell knot attaches line along the shank of a hook, which makes it a useful option for hooks designed for that style of connection. Follow the hook’s shape and keep the wraps close together along the shank as you form the knot. If you’re learning basic tackle setup, this guide on how to put a hook on a fishing pole covers the broader rigging process.
How Do You Join Main Line to a Leader?
Tie a double uni to join braided main line to a fluorocarbon leader when you want a practical connection that is manageable to learn. The blood knot suits lines of similar diameter, while the FG knot calls for more precise wrapping.
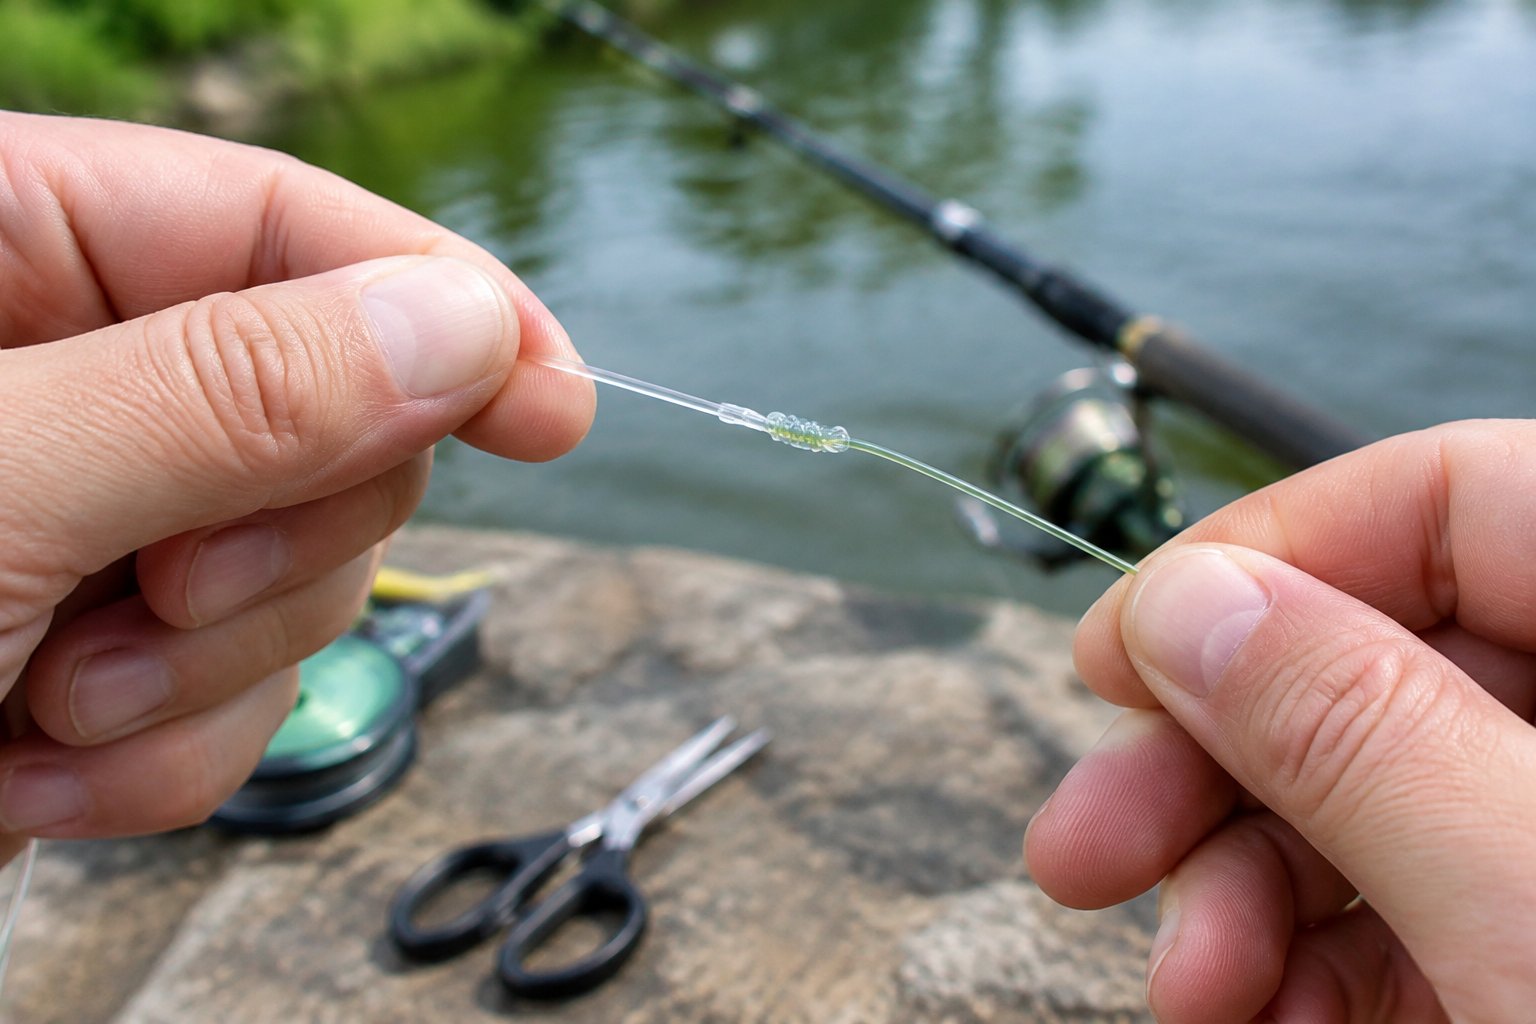
Double Uni Knot: A Practical Braid-to-Leader Connection
The double uni joins two lines by tying a uni knot with each line, then sliding the knots together. It’s a useful braid-to-leader connection when your setup pairs braided main line with a fluorocarbon leader.
- Overlap the ends of the two lines by several inches.
- Use the first line’s tag end to form a loop around both lines.
- Pass that tag end through the loop several times, adding more wraps for braid.
- Moisten and pull the tag end to snug the first uni knot.
- Repeat with the second line’s tag end around the other line.
- Moisten again, then pull the standing lines in opposite directions to slide the knots together.
- Trim the tag ends after checking that both knots have seated.
The wraps need to grip the line without bunching. If the join looks uneven, retie it before fishing.
Blood Knot: Joining Similar-Diameter Lines
The blood knot is designed to join two lines of similar diameter. It makes a compact connection when you’re joining sections of monofilament or fluorocarbon line.
Overlap the line ends, then wrap each tag end around the other line in opposite directions. Pass the two tag ends back through the small opening at the center, with each tag exiting on the side opposite its wraps. Moisten the knot and pull both standing lines gradually so the coils tighten together.
Neat, even coils help the knot seat cleanly. For a fuller walkthrough of this connection, use the guide to blood knot fishing.
FG Knot: A More Advanced Leader Connection
The FG knot is a braid-to-leader connection that uses the braided line to grip the leader through a series of tight wraps. It can create a slim join, though the tying method takes more coordination than a double uni.
Keep tension on the braid and make each wrap snug against the fluorocarbon leader. When the wraps are complete, finish with secure locking hitches and test the join with a firm pull. Practice with thicker line first so you can see how the braid lays against the leader before trying the knot with fine fishing line.
Which Knots Handle Reel Spools and Loops?
Use an arbor knot to secure line to a reel spool, a surgeon’s loop to create an end loop, and a non-slip loop knot when a lure needs more movement. Each serves a different job, so keep the spool connection separate from the knots you use at the end of your line.
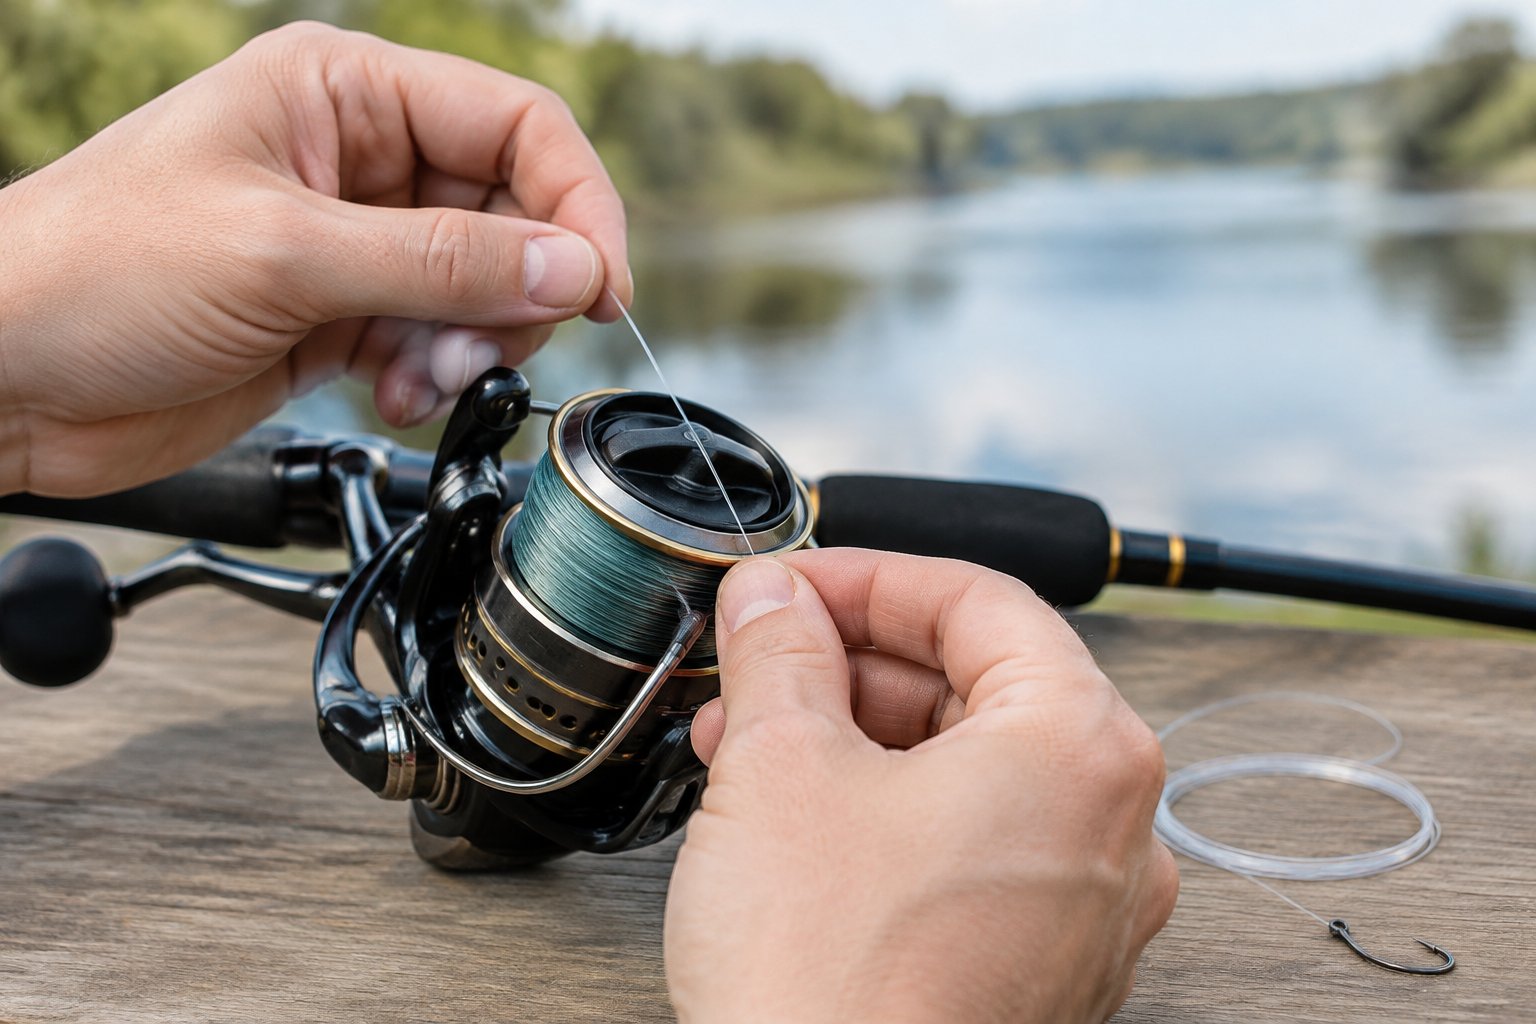
Arbor Knot: Securing Line to the Reel
The arbor knot ties line to the reel spool when you’re spooling a reel. Wrap the line once around the spool, then tie an overhand knot around the standing line. Tie a second overhand knot in the tag end to act as a stopper.
Pull the standing line to draw the first knot against the spool. Keep the line taut as you continue filling the reel. If you’re setting up a spinning reel from the beginning, see how to set up a spinning reel.
Surgeon’s Loop: Making a Quick End Loop
A surgeon’s loop forms a loop at the end of your line. It can be useful for a loop-to-loop connection when you want to attach or change a leader.
- Double the end of the line to form a loop.
- Tie an overhand knot with the doubled section.
- Pass the loop through the overhand knot a second time.
- Moisten the knot and pull both sides steadily until it tightens.
- Trim the tag end, leaving a small amount beside the knot.
Keep the loop open while you tighten so it doesn’t collapse into the knot. Check that the two strands sit together without crossing sharply.
Non-Slip Loop Knot: Giving a Lure More Freedom
A non-slip loop knot leaves a small loop at the lure eye, allowing the lure more movement than a knot cinched directly against the eye. It’s a useful choice for lures designed to swing freely.
Pass the line through the eye and tie a loose overhand knot several inches from the end. Pass the tag end back through the eye, then thread it through the overhand knot. Wrap the tag end around the standing line several times, bring it back through the overhand knot, and tighten with the loop held to the desired size.
Moisten before drawing the wraps together, and pull gradually so the loop stays open. Trim the tag end after checking the knot’s position at the eye.
How Can You Make Knots Hold?
Practice each knot, moisten it before tightening, and test the finished connection with a firm pull. These habits help you spot loose wraps, crossed coils, and other problems before your line is under pressure.
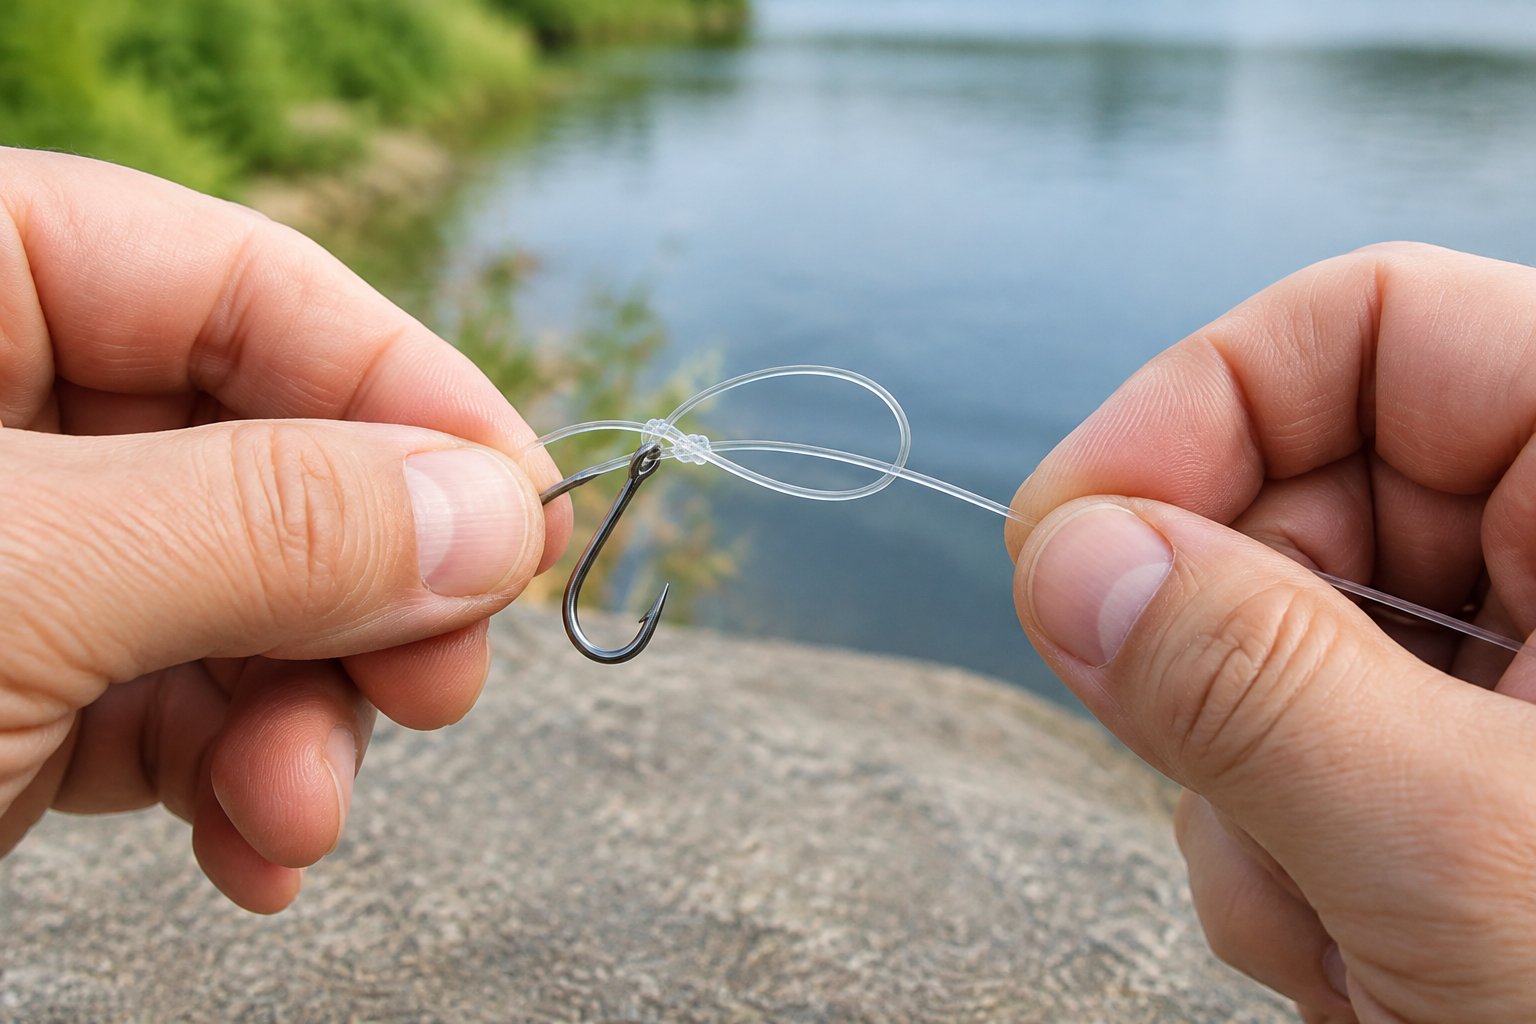
Practice the Steps Before Your Trip
Practice at home with spare line and an old hook or swivel. Start with one knot at a time, and repeat the steps until your hands can form the knot without rushing.
Thicker practice cord can make the order of the wraps easier to see. Then switch to the fishing line you plan to use, since thin braid, monofilament, and fluorocarbon each feel different in your fingers. Keep a small knot diagram in your tackle box if you’re still learning.
Moisten, Tighten, Test, and Trim
Moisten the knot with water before tightening. Pull with steady pressure so the wraps slide into place without jerking, then inspect the knot and give the line a firm test pull.
Trim the tag end with a small length still extending beyond the knot. Cutting it flush can leave less room for a knot to settle under pressure. Keep hands clear of sharp hooks while testing, and use pliers or a hook holder if the tackle is difficult to grip safely.
Spot Common Causes of Knot Failure
Loose wraps, crossed coils, and an incompletely seated knot can weaken a connection. A knot that slips during your test pull needs to be retied before you cast.
Check the line near the knot for rough spots, kinks, or visible damage. Cut away a damaged section and tie a fresh connection, especially after the line rubs against rocks or other rough cover. If you’re preparing a short outing, keep your hook, leader, and spare line ready together so a retie takes less time. Get your gear ready and explore the related beginner-friendly guides before your next trip.