To build a slip bobber fishing rig, thread your line through a bobber stop, bead, and sliding float, then add weight and a hook; move the stop to control how deep your bait hangs. You get a compact setup for casting into deeper water and an easy way to keep bait above weeds during a short fishing trip.
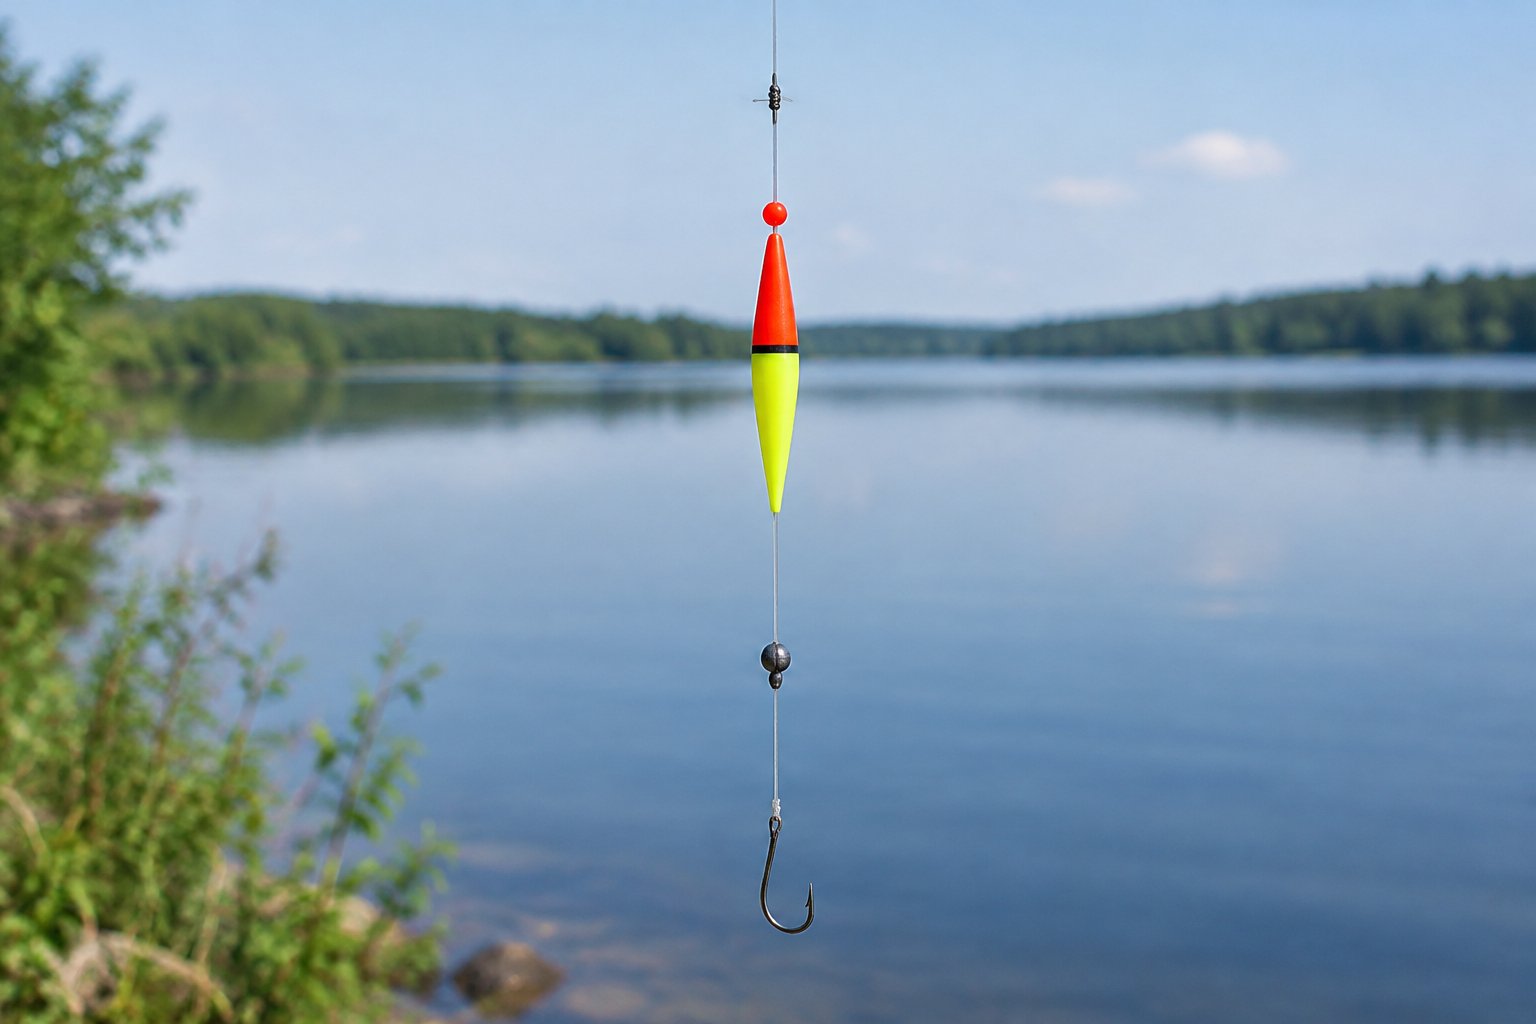
With slip bobber fishing, you adjust depth without moving a clip-on float along several feet of dangling line. For a family outing, you can start with a small worm rig, check that it sinks freely, and spend more of your available time fishing.
How Do You Assemble the Rig in the Right Order?
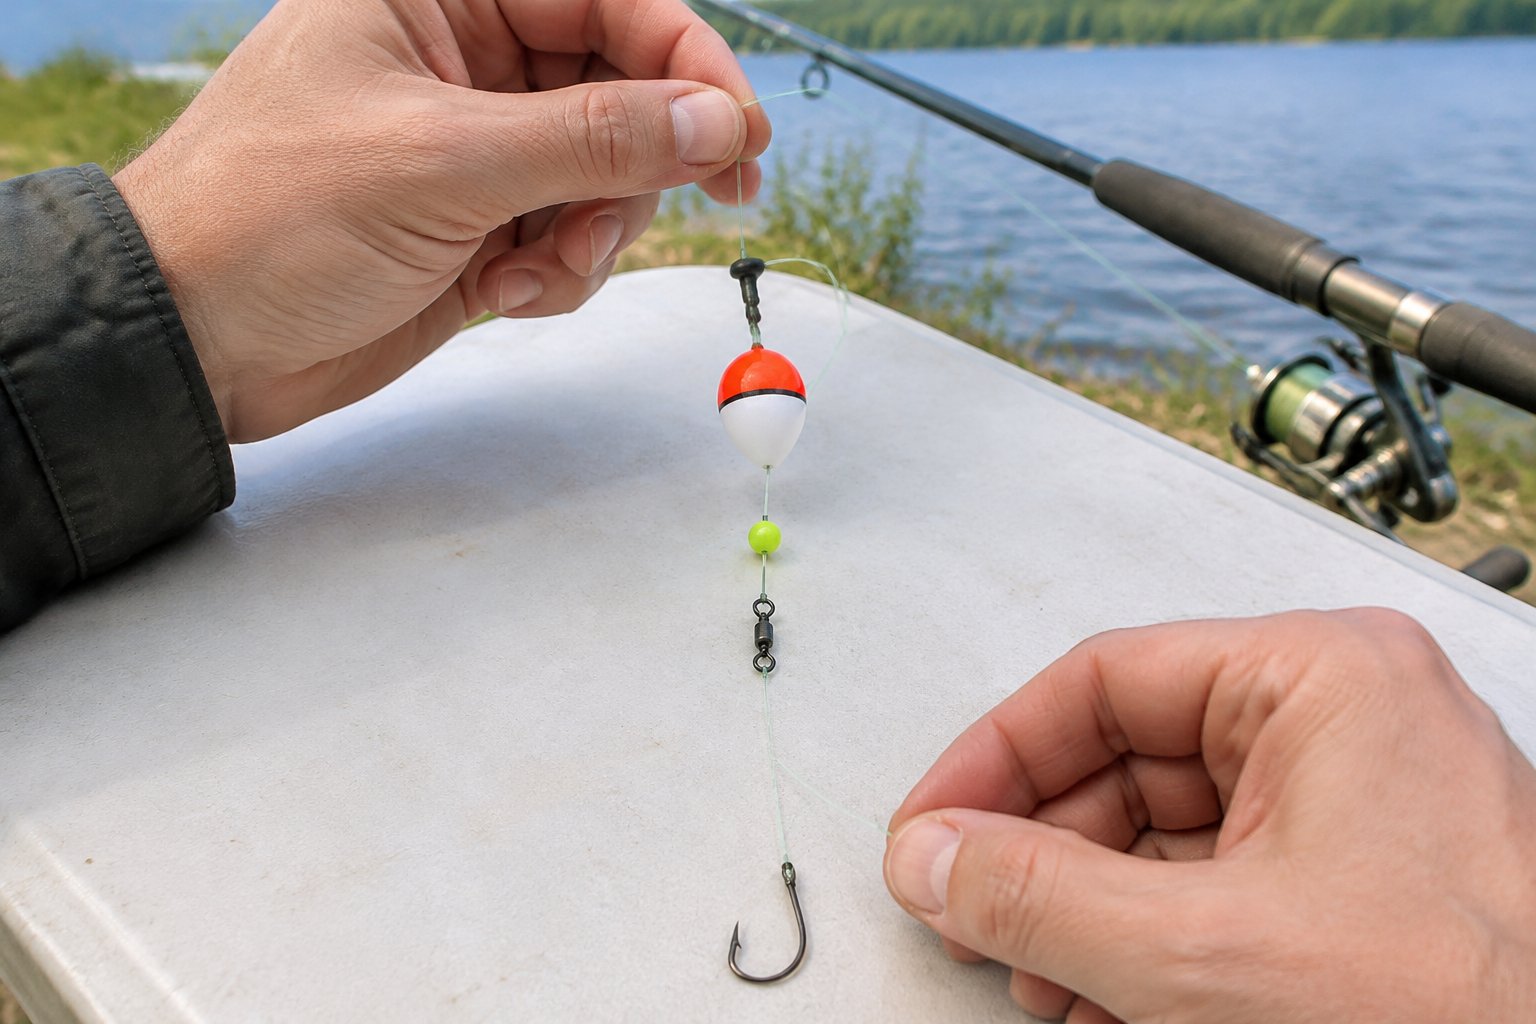
Build your slip bobber setup from the rod toward the hook in this order: stopper → bead → float → weight → hook. Add a swivel and leader only when your presentation calls for them.
What Tackle Do Beginners Need?
For a simple panfish setup, gather:
- A light spinning rod and spinning reel
- 4- to 6-pound-test monofilament fishing line
- A line-compatible bobber stopper and small plastic bead
- A small slip float
- Assorted split shot sinkers
- A size 6 or 8 bait hook
- Pliers and line cutters
Before rigging, set up your spinning reel with line running through every rod guide. Choose a float with enough capacity to support your bait and sinkers while keeping its visible tip above water.
Thread the Bobber Stop, Bead, and Float
For a pre-tied bobber stop knot, pass your line through its carrier tube, slide the knot onto your line, and remove the tube. Moisten and tighten the knot according to its instructions, leaving enough tag end to retighten it.
Thread on the plastic bead, followed by the slip float in its intended upright orientation. Check that the bead catches against the stop and cannot enter the float’s opening. When you put a bobber on fishing line, this fit determines whether your chosen depth holds.
Add Split Shot and Tie on the Hook
Tie your hook with a knot suited to your line, such as an improved clinch knot for light monofilament. Moisten the knot before tightening, then pull firmly to check it.
Pinch a small split shot onto your line about 12–18 inches above the hook. Use pliers gently and inspect the line for crushing. Test the rig in shallow water, adding split shot in small increments until the float sits at its intended waterline.
When Should You Add a Swivel and Leader?
Add a small barrel swivel when spinning bait twists your line or when you want a separate leader. A 2- to 3-foot fluorocarbon leader gives you an abrasion-resistant section near rocks; choose its strength for your target fish and cover.
For an egg sinker setup, use this order below the float: sliding sinker, protective bead, barrel swivel, leader, then hook. Match the total load to the float’s capacity, including the bait. For uncomplicated bluegill fishing, tie the hook directly to your main line.
When Is a Sliding Float Better Than a Fixed Bobber?
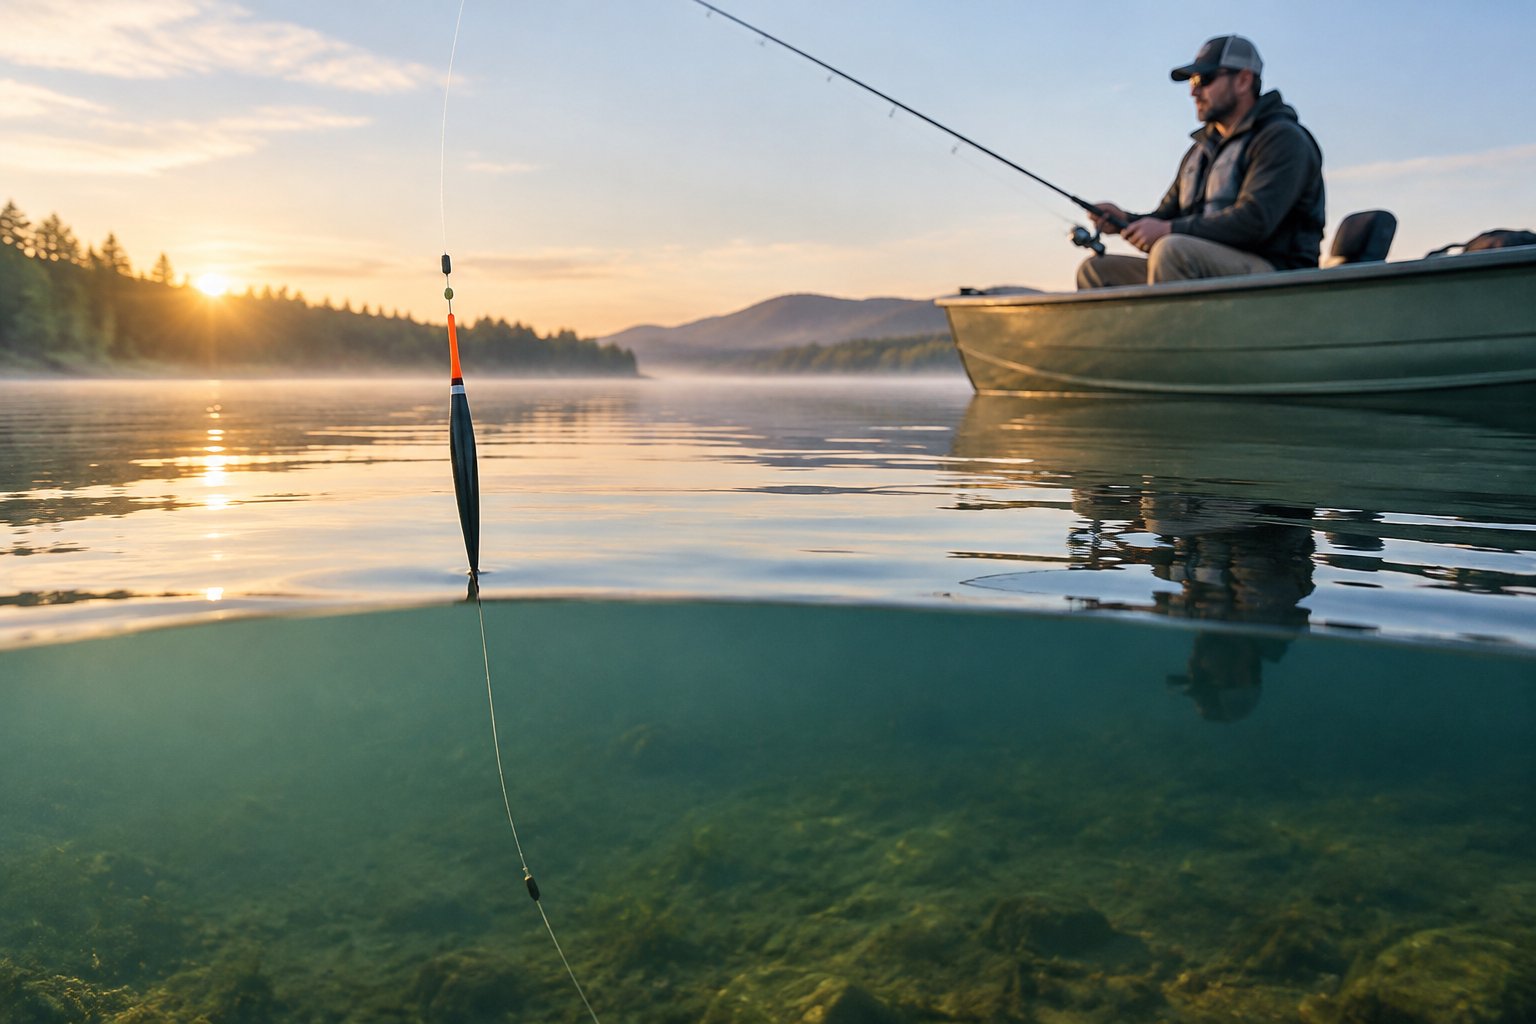
Choose a sliding float when your fishing depth makes a fixed-bobber rig awkward to cast. For shallow bank fishing with children, a fixed bobber gives you fewer components to manage.
| Your fishing situation | Slip bobber | Fixed bobber |
|---|---|---|
| Deep bait setting | Compact casting rig | Long hanging rig |
| Shallow shoreline fishing | Requires threading | Quick attachment |
| Frequent depth changes | Slide the stop | Reposition the float |
| First outing with kids | Adult setup helpful | Fewer components |
Why Does a Sliding Float Make Deeper Water Easier to Fish?
Before your cast, the float slides down toward the sinker, shortening the hanging rig. After splashdown, the weight pulls line through the float until the bead reaches your stopper.
You gain access to depths beyond your rod length without casting an equally long hanging line. For example, with your stop set 10 feet from the hook, you still cast the compact lower portion of your slip float rig. Use a slim stop that passes through your guides smoothly.
When Is a Fixed Bobber Simpler for Kids?
Choose a small fixed bobber when your child is fishing a worm a couple of feet below the surface near shore. You get a visible bite indicator with a quick attachment process.
When choosing fishing bobbers for kids, match the float to a light bait and prioritize visibility. Give your child a clear casting lane, keep other people behind the caster, and handle hooks yourself until safe handling becomes consistent.
How Do You Set the Right Fishing Depth?
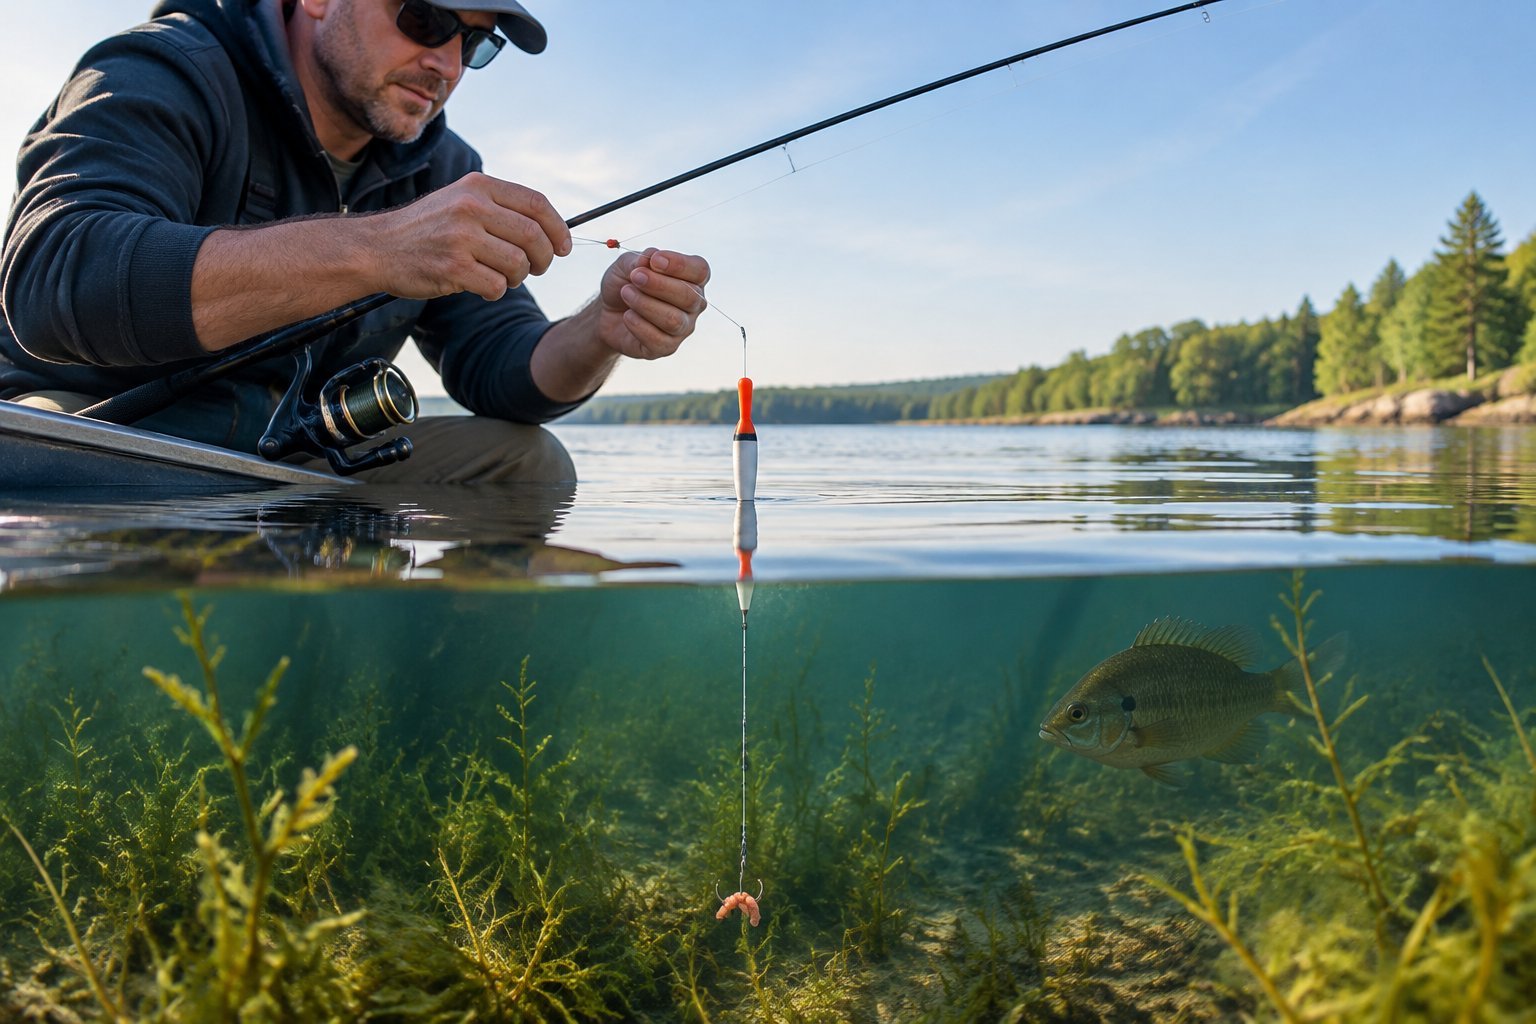
Set your fishing depth by changing the distance between the bobber stop and hook, then verify where your bait hangs. Account for the full rig length, including any leader.
Move the Stop Away From the Hook to Fish Deeper
Slide your stop toward the reel to increase depth. Slide it toward the hook to bring your bait closer to the surface.
Measure from the hook to the stop for an initial setting. Treat that measurement as an approximation of vertical depth because current and wind pull your line at an angle. Make measured adjustments of 6–12 inches when searching a small area.
Find Bottom and Keep the Bait Clear of Snags
Over a clear patch, increase your depth setting until the sinker rests on bottom and your float loses its normal loaded position. Confirm with another cast nearby, since uneven bottom changes the result.
Move the stop toward the hook to lift the rig clear, starting about 12 inches above bottom. Over weeds or brush, suspend your hook above the cover’s upper edge. If your hook repeatedly returns with vegetation, shorten the depth setting further.
Adjust for Suspended Fish With or Without Electronics
With a fish finder, identify fish depth and set your bait at that level or slightly above it. For suspended crappie showing at 8 feet over deeper water, start around 7 feet and adjust toward their level if needed.
Without electronics, test the water column in measured steps and repeat productive settings. To catch fish consistently during a short visit, record the depth of your bites along with the location. Check adjacent water at that setting before making another depth change.
How Do You Cast, Read Bites, and Set the Hook?
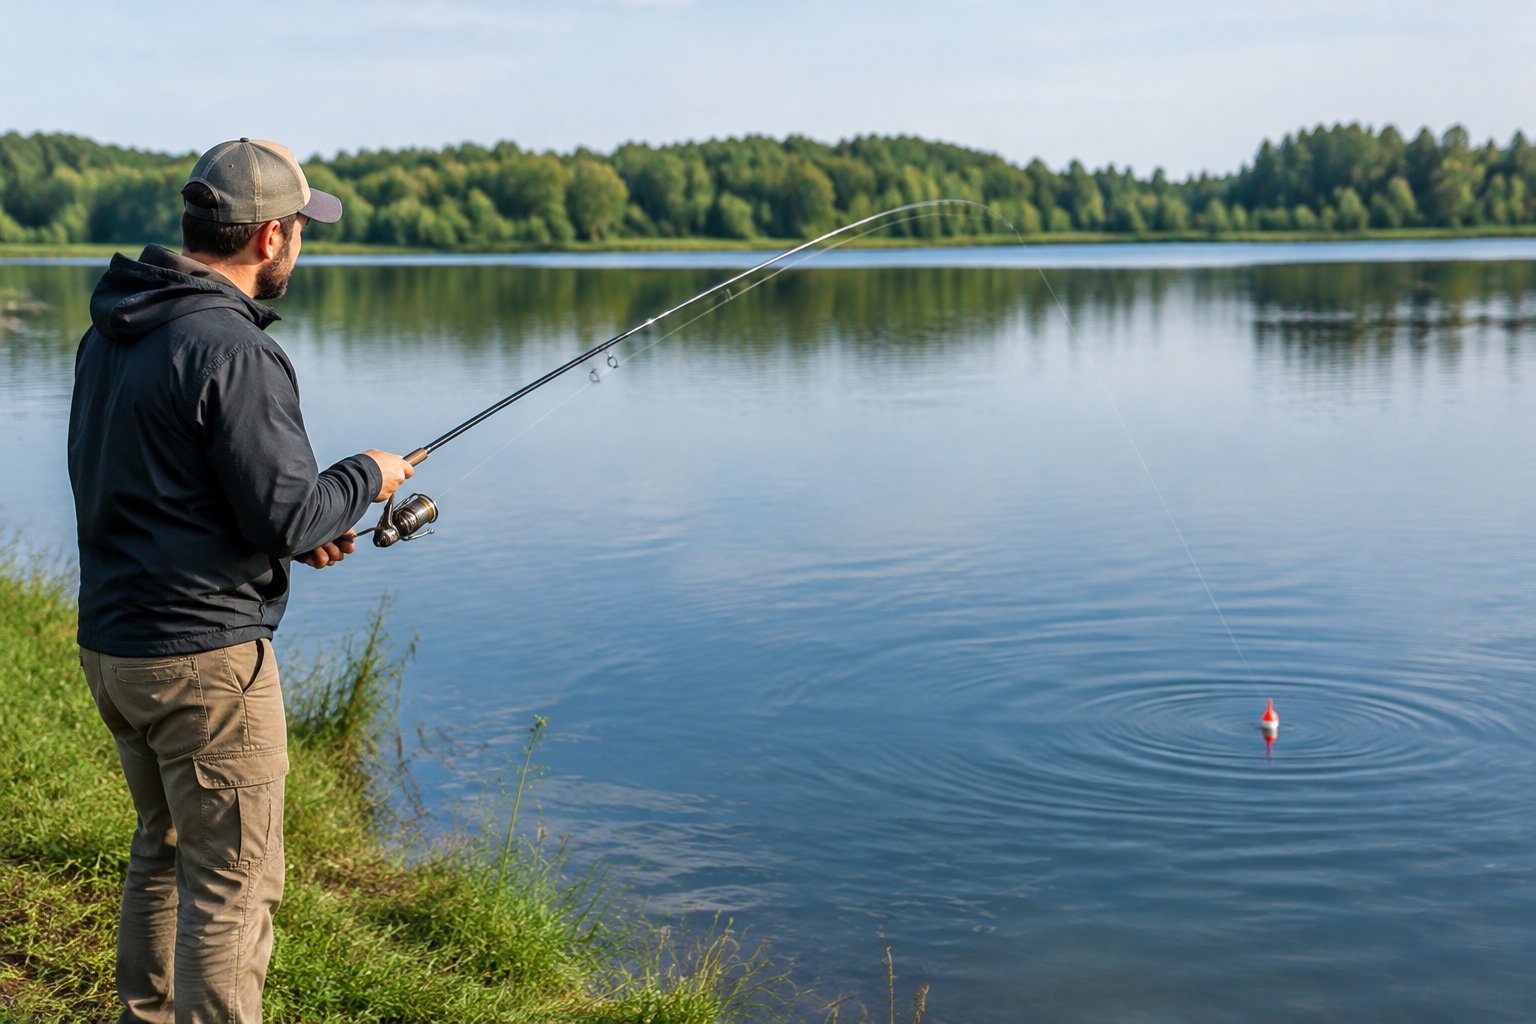
Cast your slip bobber rig with a smooth lob, allow the bait to settle, and recover excess slack before responding to a bite. Keep your float in view throughout the drift.
Use a Smooth Lob and Let the Bait Settle
Leave comfortable clearance between your rod tip and float, check behind you, and use a controlled forward swing. A hard snap sends the components tumbling and increases tangles.
When you cast an open-face reel, release the line smoothly and gently feather the spool before splashdown. Let line feed through the float until the stop reaches it, then close the bail by hand. Watch for the float to settle into its normal position.
Manage Slack During a Gentle Drift
During drift fishing, follow your float with the rod tip and reel in excess line. Leave enough slack for a natural drift while keeping a manageable connection to the float.
If wind bows your line across the surface, lift and reposition it with a gentle rod movement. Recast when your float approaches brush or leaves the area you intended to fish. Before fishing, set your reel’s drag so a firm pull releases line without breaking your light tackle.
Watch for Dips, Sideways Movement, and Lift Bites
For bite detection, compare each movement with the float’s normal response to waves. Watch for a sustained dip, travel against the drift, or a sudden rise followed by the float tipping over.
A lift bite develops when a fish raises your weighted bait and reduces the float’s load. With a standard bait hook, reel up slack and make a firm, controlled sweep. With a circle hook, reel steadily until the rod loads, following the hook manufacturer’s guidance.
Which Baits and Setups Suit Your Target Fish?
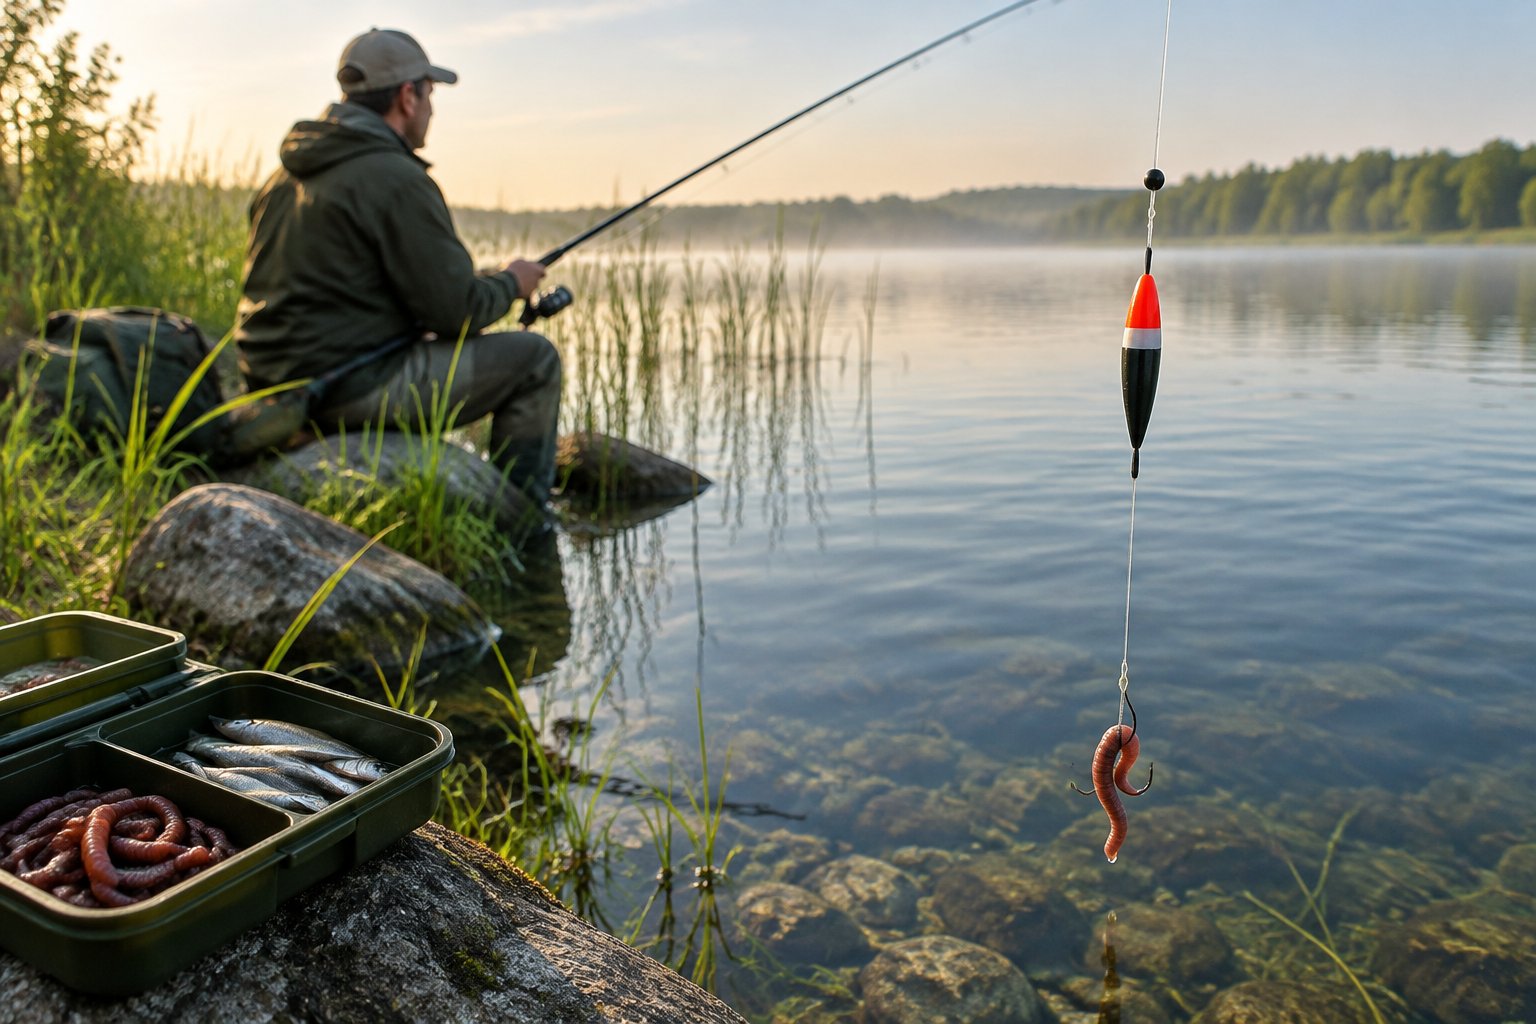
Match your bait and hook to the fish, then choose a float that supports the complete load. Before using live bait, check your state and waterbody rules for permitted species and transport restrictions.
Bluegill and Perch: Simple Worm Rigs for Family Trips
For bluegill and other small panfish, start with a short worm piece on a size 6 or 8 hook. Leave the point exposed and keep loose worm ends short to reduce bait stealing.
A light bluegill fishing rig also suits small perch around accessible docks and weed edges. Start above the vegetation and lower your bait in small steps if bites are scarce. Carry worms in a shaded container and replace damaged pieces promptly.
Crappie: Small Minnows or a Light Jig Above Cover
For crappie, suspend a small minnow above brush or beside dock cover. Hook it lightly through the lips or just behind the dorsal fin, avoiding the backbone.
If you choose jig fishing for crappie, start with a light jig head, such as 1/32 ounce, under your float. Include the jig’s weight when balancing the rig and reduce added split shot as needed. Begin above the cover and use small movements with pauses.
Walleye: Leeches or Minnows Near Structure
For walleye fishing, use a leech or locally legal minnow near a weed edge or rocky break. Start with 8- to 10-pound monofilament and a hook sized to your bait.
Set your bait 2–3 feet above bottom as an initial presentation around structure. If fish stay close to bottom, lower it gradually while keeping the hook clear of rocks. Check your bait after missed bites, especially when using leeches.
Bass, Trout, and Catfish: Adjust Tackle to the Fish
For bass, increase line strength around cover and use a hook matched to your worm or legal baitfish. For trout, choose smaller hooks and light line in clear water; when selecting bait for trout, check whether your water permits natural or scented bait.
For catfish, select stronger tackle and a larger float that supports your bait without sinking. Inspect your hook and leader after each fish. Around larger fish, keep children clear of the line and handle landing duties yourself.
How Do You Fix Common Problems and Save Trip Time?
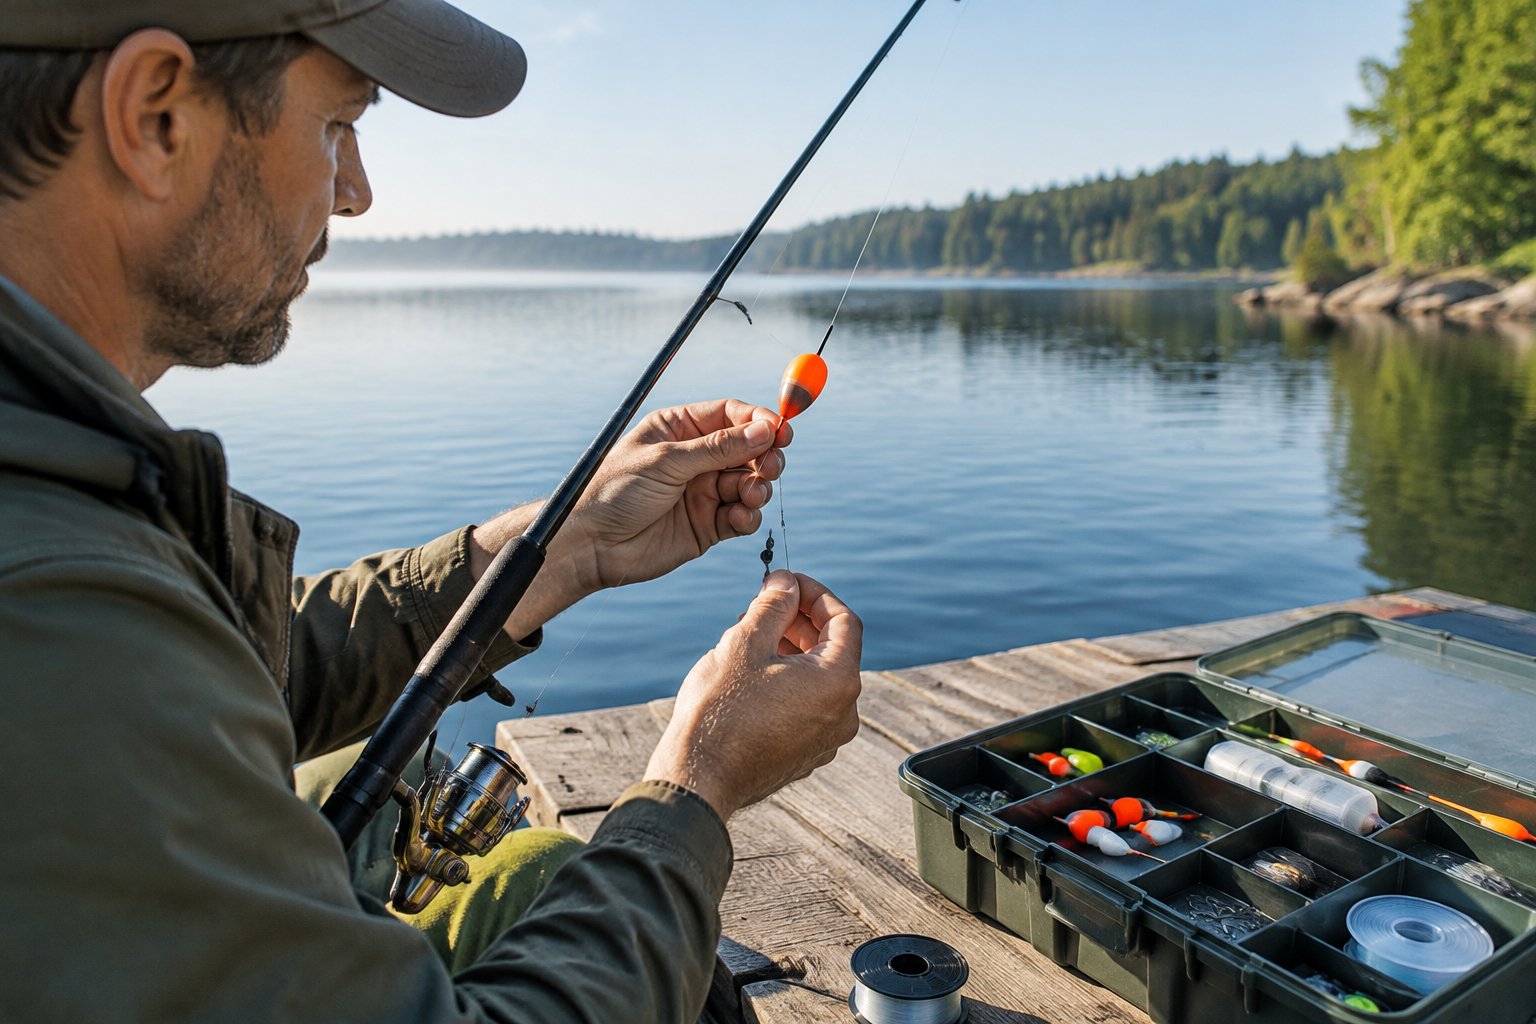
Check float loading and free line movement before your first full cast. A shallow-water test catches most slip bobber setup problems while your tackle is still within reach.
Why Does the Float Lie Flat or Sink?
If your float lies flat, let the bait finish sinking and check whether the stop has reached the bead. Then check for a sinker resting on bottom, tangled line, or insufficient weight to load the float.
Add split shot weight gradually when your line feeds too slowly. If the float sinks at rest, reduce the combined load or choose a higher-capacity float. Include a wet bait or weighted jig when assessing the load.
Why Does the Line Stick or the Stop Slip?
If your line sticks, check the float tube for debris and inspect your line for kinks. Confirm that your bead stays outside the opening and that the line diameter fits the float.
If your bobber stop slips, retighten its knot or replace it with a stopper sized for your line. Pull-test it after each adjustment. Replace frayed stops before they shift your depth during a cast.
How Can You Prevent Tangles and Pack for a Quick Trip?
Keep your casting stroke smooth and shorten an unnecessarily long leader. Space split shot weights neatly, then inspect the hook area after every messy landing.
For an after-work or family trip, pack spare stops and beads together with hooks and a few sinker sizes. Secure your hook for transport, carry pliers, and bring properly fitted life jackets for children near the water.
Get your gear ready and explore the related beginner-friendly guides before your next trip.