To put a bobber on a fishing line, press the button on a round clip-on bobber, capture your line in the bottom clip, then secure the top clip with the bobber about 18–24 inches above your hook. You’ll have a simple starting setup for fishing with a bobber at a shallow pond, with a visible bite indicator that helps you spot a take.
You only need a small float, a hook, and enough weight to lower your bait. With those pieces ready, you’ll spend less of your short fishing trip sorting tackle and more time watching the water with your child.
Attach a Fixed Bobber in Five Simple Steps
For a basic fixed bobber setup, tie on your hook, pinch a small sinker above it, and fasten both bobber clips at your chosen depth. With a standard round plastic bobber, you secure the float using its spring clips.
1. Gather Your Gear and Thread the Rod Guides
For shallow pond fishing, gather these supplies:
- A rod and reel spooled with 4–8-pound monofilament fishing line
- A small round clip-on bobber
- A size 8 or 10 baitholder hook
- Small split shot sinkers
- Line clippers and needle-nose pliers
- A worm or another locally permitted bait
Thread your line through every rod guide, including the tip. If you’re setting up a spinning reel, open the bail before pulling line through the guides, then close it before tying your rig.
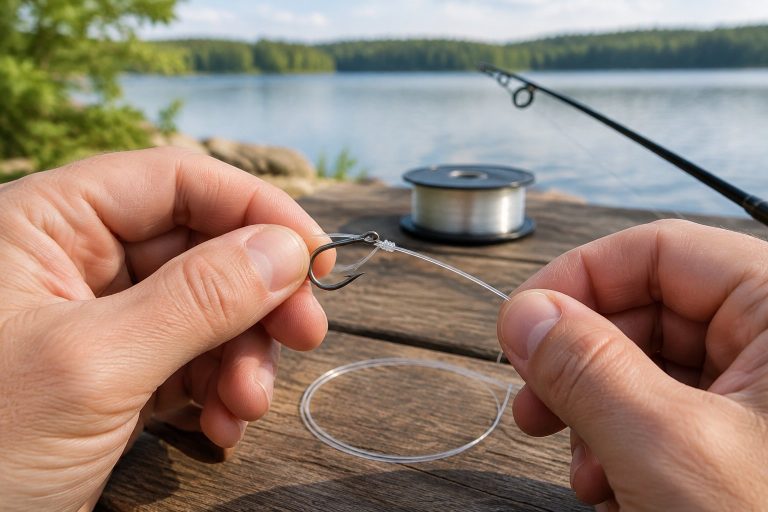
2. Tie on the Hook With an Improved Clinch Knot
Use an improved clinch knot to attach your hook securely. For the light monofilament recommended above:
- Pass about 6 inches of line through the hook eye.
- Wrap the tag end around the standing line five to seven times.
- Pass the tag through the small loop beside the hook eye.
- Feed it back through the larger loop you just created.
- Wet the knot, pull it snug, and trim the tag to about ⅛ inch.
Keep the wraps neat as you tighten. Practicing a few beginner fishing knots at home saves time when you’re handling tackle beside the water.
3. Add a Small Split Shot Above the Hook
Position one small split shot sinker about 8–12 inches above your hook. Place your line in its groove and gently close it with pliers.
Use enough pressure to hold the sinker without crushing your line. Start with a light shot and check the float in the water; excess weight pulls the bobber under and makes bite detection difficult. Keep loose sinkers away from young children, and use your pliers for pinching them closed.
4. Set the Starting Depth and Secure Both Bobber Clips
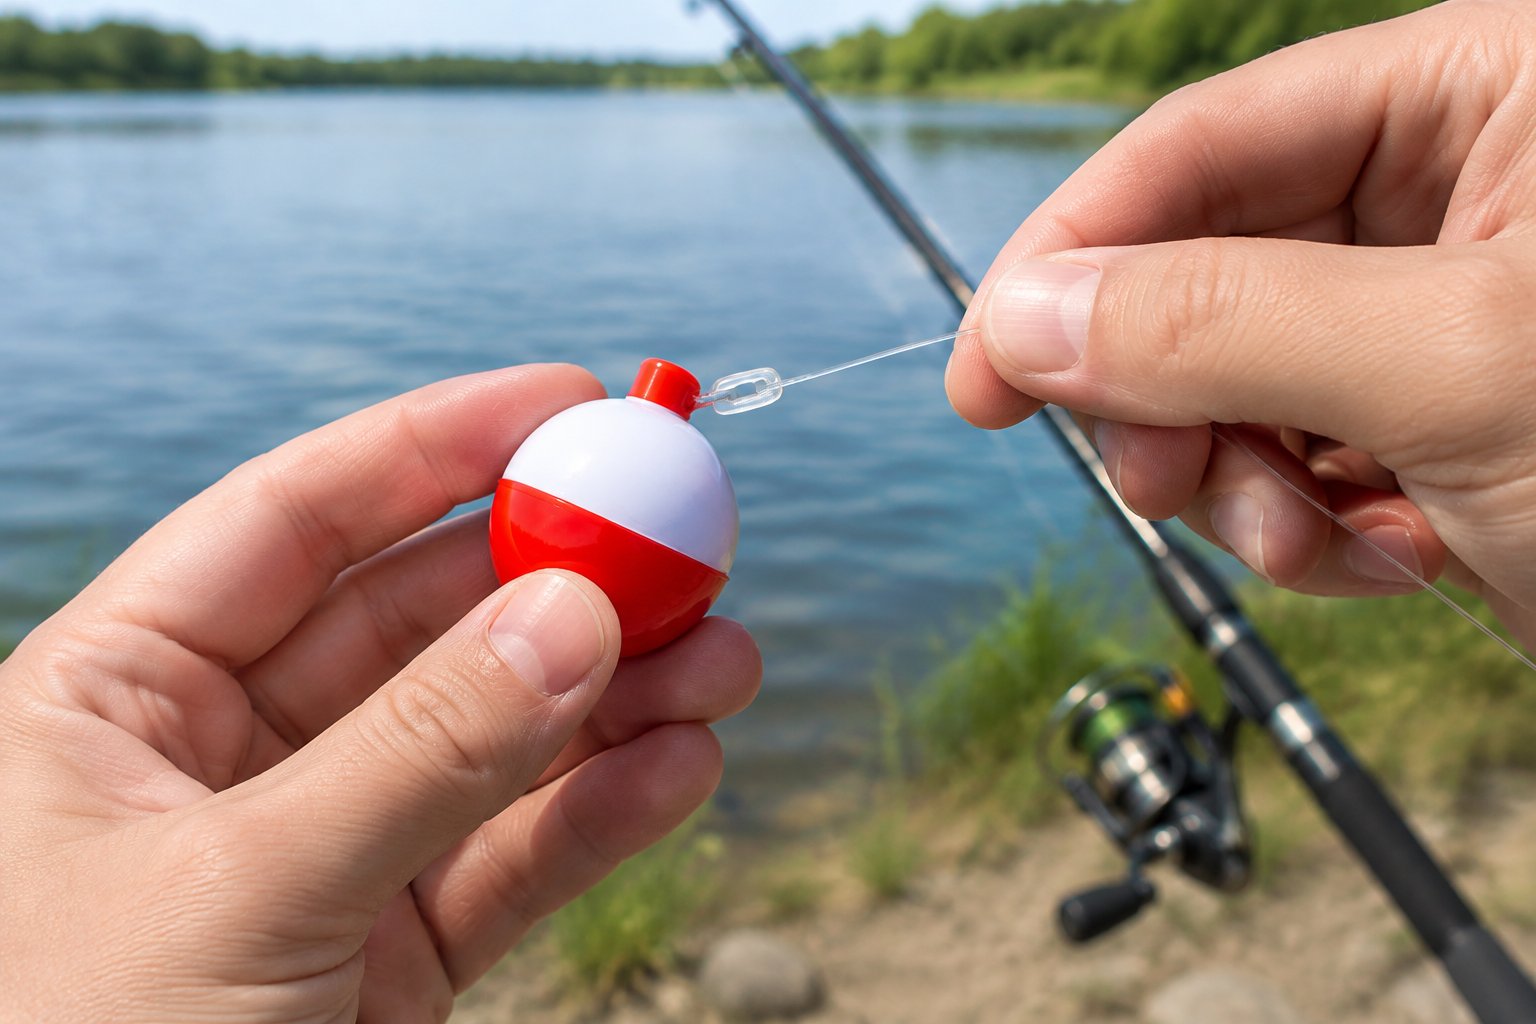
Measure approximately 18–24 inches up from your hook for a shallow-water starting depth. Then attach your standard push-button round bobber:
- Press the entire top button to expose the bottom wire clip.
- Place your line beneath that clip and release the button.
- Hold the bottom clip in place and depress the outer rim of the top button to expose the top clip.
- Seat your line beneath the top clip, then release the mechanism.
Your line should run through both clips with your hook hanging below. Clip designs vary, so follow the package instructions if yours operates differently.
5. Check the Line, Knots, and Float Before Casting
Give your hook knot a firm pull while keeping the point away from your fingers. Check that your bobber stays in position and that the line beneath its clips looks smooth.
Lower the baited rig into reachable water before your first cast. Your float should remain visible while supporting the hook and sinker. Keep your hook secured while helping your child with their rod, and have children wear properly fitted life jackets around the water.
How Far Above the Hook Should the Bobber Sit?
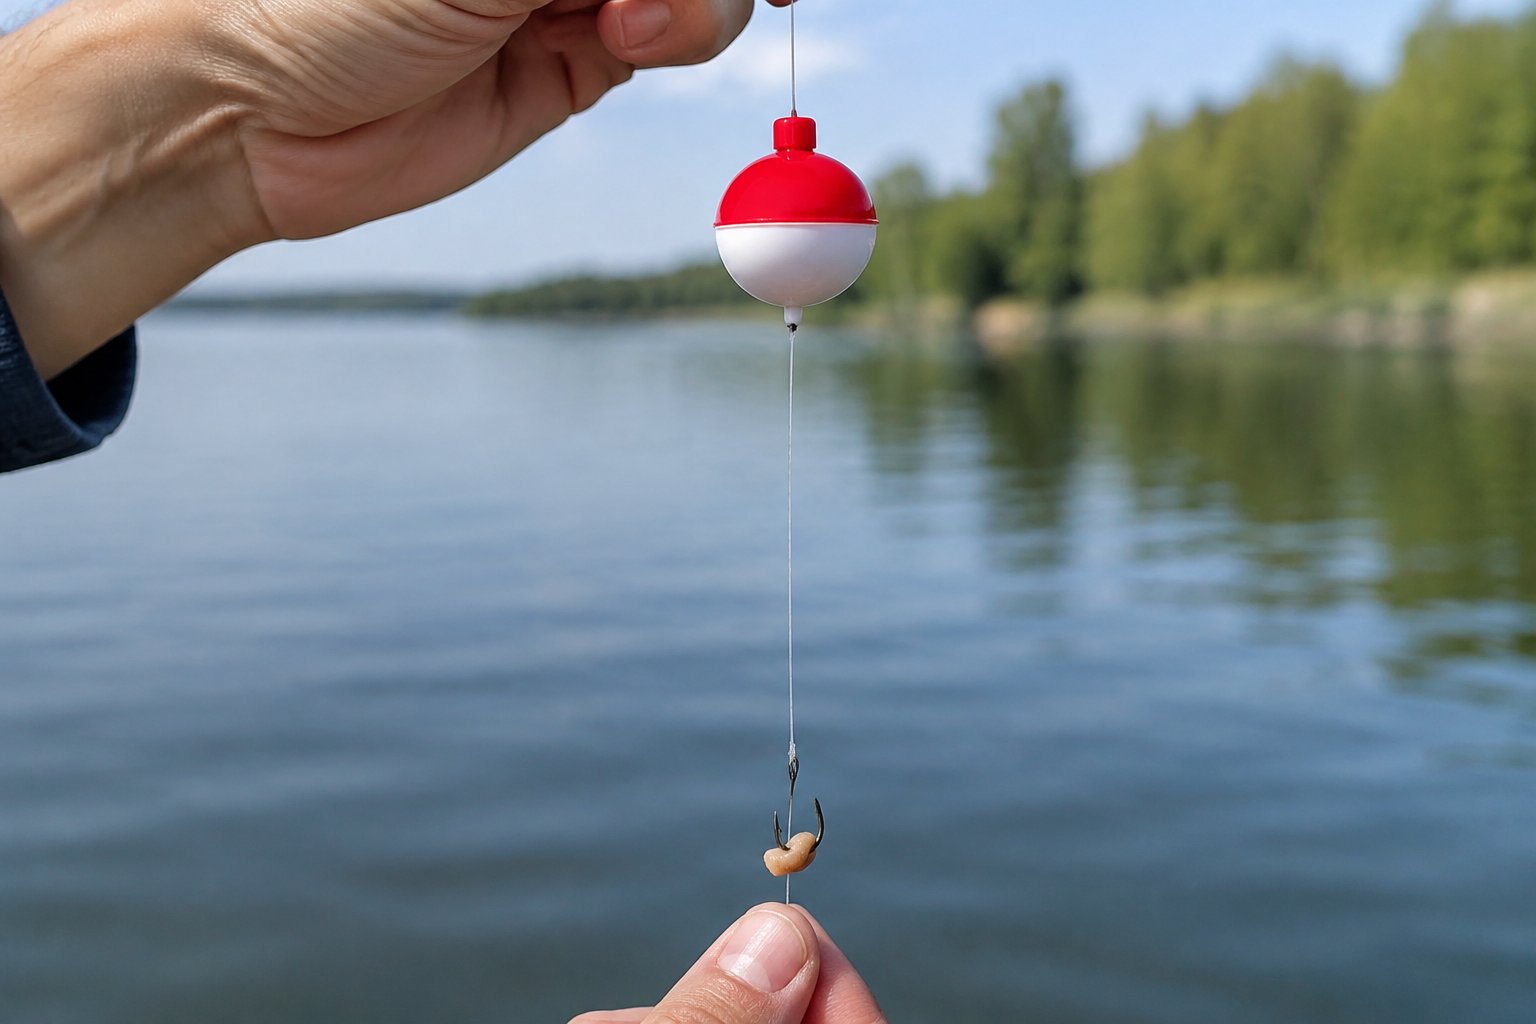
Start with your bobber 18–24 inches above the hook in shallow pond water, then adjust to keep your bait clear of the bottom. Your bobber placement sets the maximum hanging distance between the float and bait; current and drifting line affect the actual fishing depth.
Start Shallow and Adjust to the Water
Use a shorter setting when you’re fishing close to a shallow bank. If your bait collects mud or leaves, move your bobber closer to the hook.
When your bait stays clean but you get no bites, test a deeper setting in 6–12-inch increments. Keep your adjustments small enough to learn which bobber depth produces activity. Once the hanging rig becomes awkward to cast, switch to a slip bobber.
Keep Your Bait Above Weeds and Within the Strike Zone
Aim to suspend your bait just above submerged vegetation. If weeds reach to within 2 feet of the surface, try a bait depth of about 12–18 inches.
For a simple bluegill fishing rig, place your worm near the outside edge of weeds or beside accessible dock shade. Adjust your bait presentation to keep the hook visible and reachable to feeding fish. Reel in periodically to check for a strand of vegetation covering the point.
Move the Bobber Without Damaging the Line
Release both clips before repositioning your fixed bobber. Remove the line from the clips, move the float, and fasten it again at the new measurement.
Dragging a clamped bobber along your line creates friction and risks a weak spot. Run your fingers over the old attachment area after each adjustment. If you feel a rough patch or see flattened line, cut back to sound material and retie.
How Do You Rig a Slip Bobber for Deeper Water?
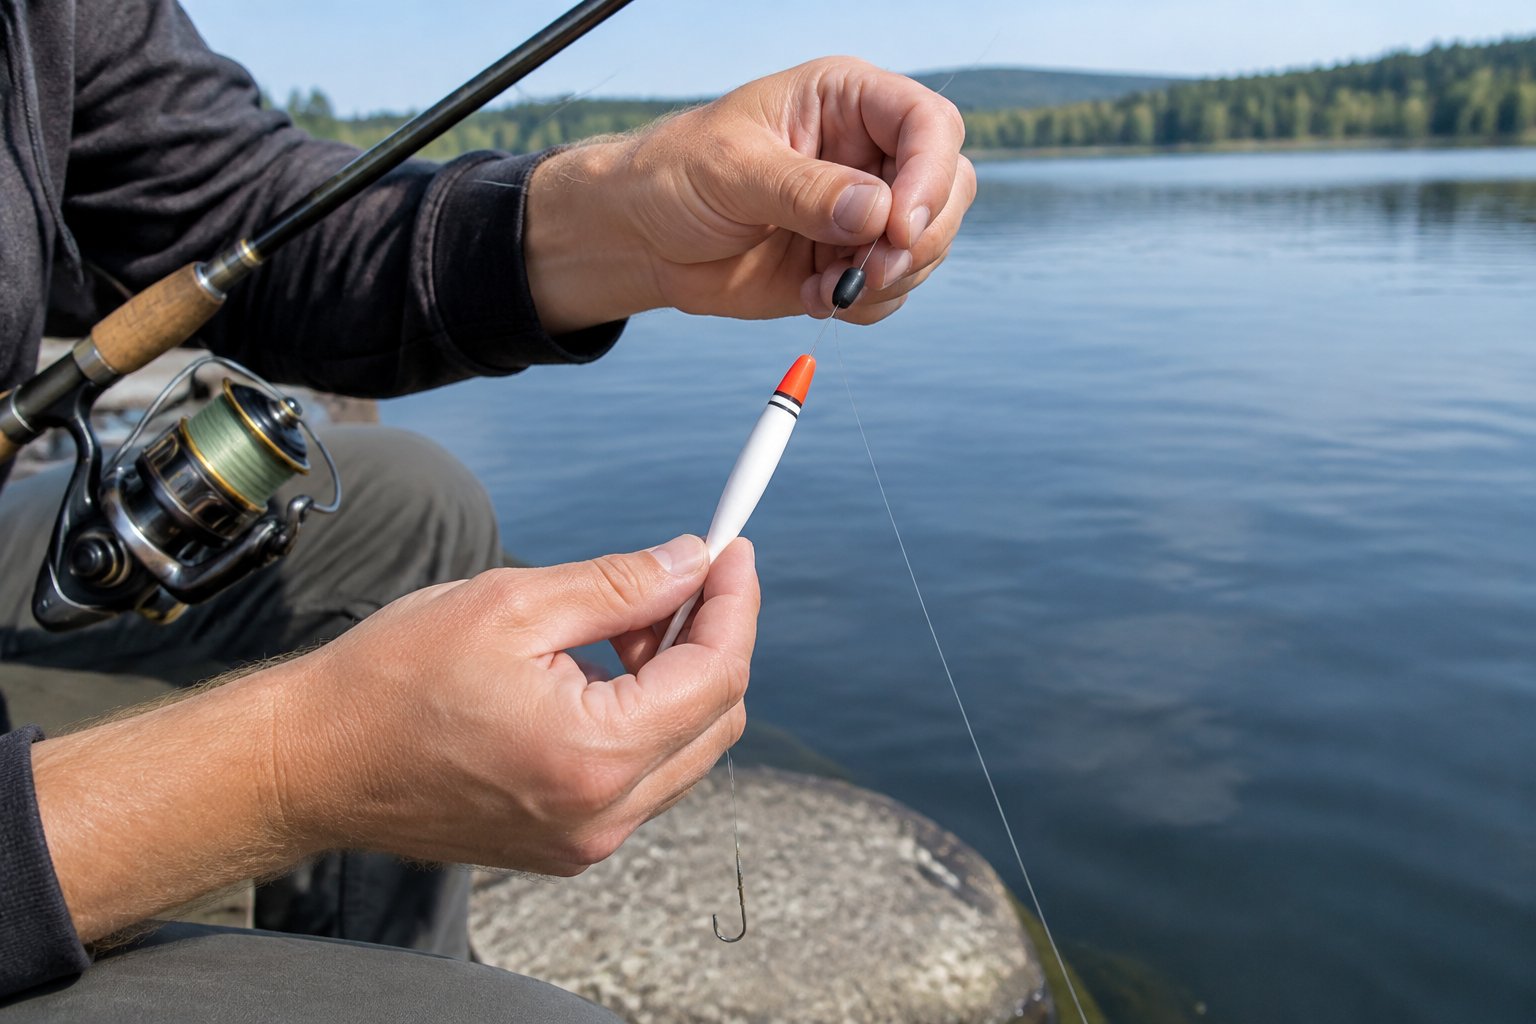
With a slip bobber, you set your fishing depth using an adjustable stop above a float that slides freely on your line. You get a compact casting rig for deeper water, including spots where you’re targeting suspended crappie or walleye.
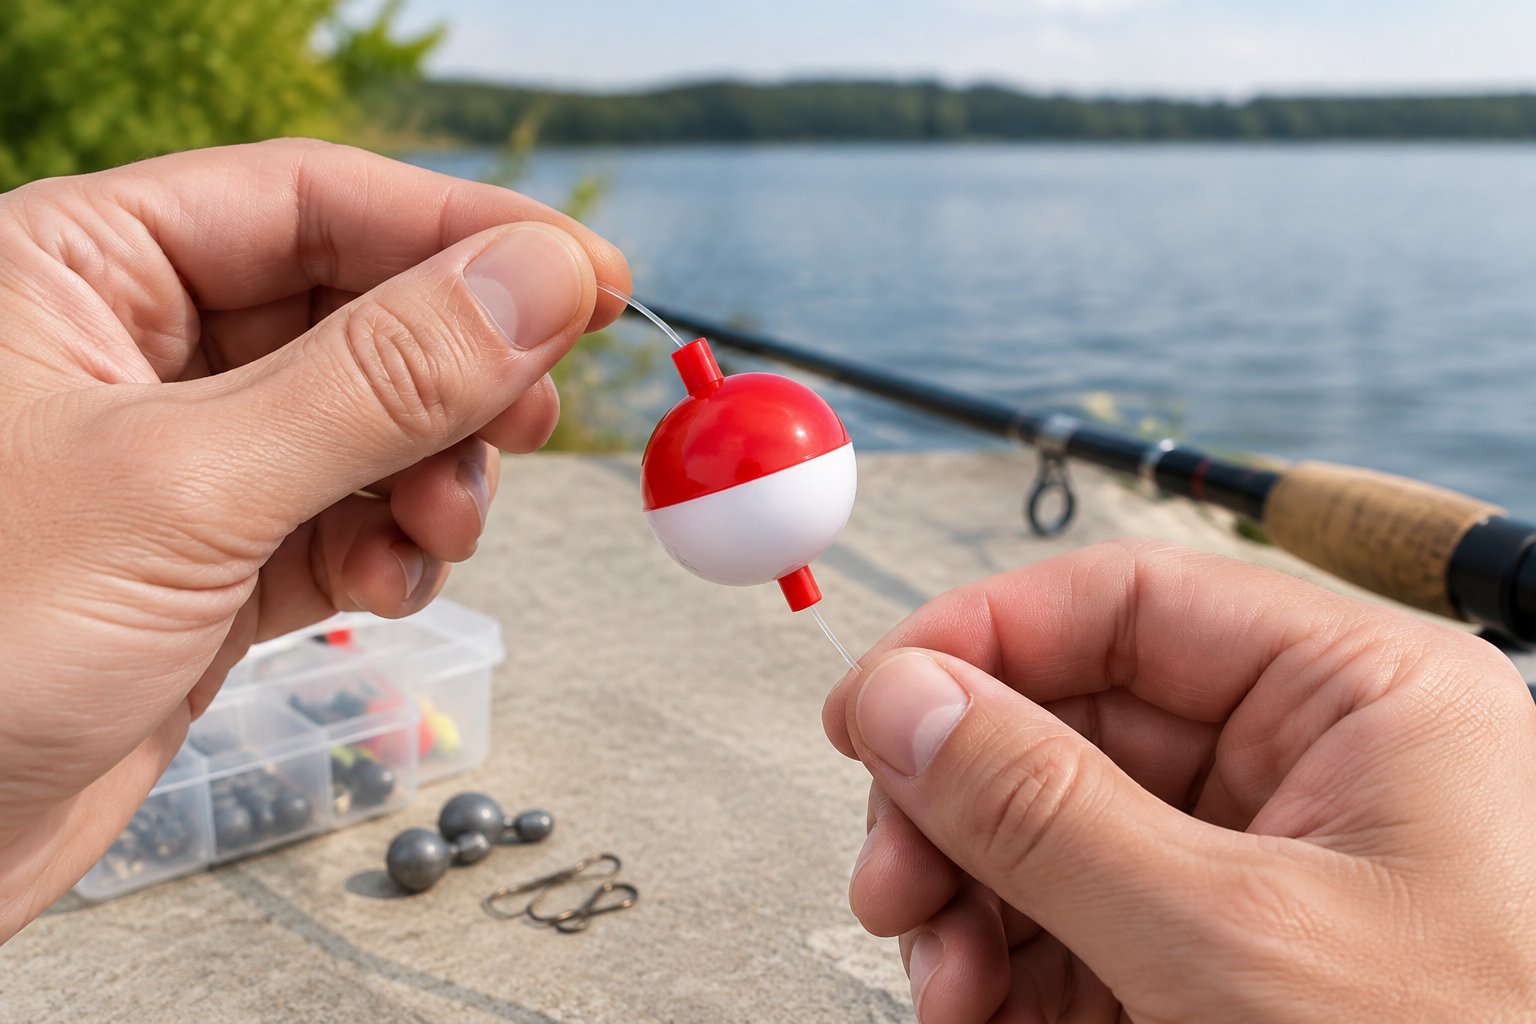
Thread the Bobber Stop, Bead, and Float in Order
Before tying on your hook, install your slip bobber setup in this order:
- Bobber stop
- Small bead, when required by your float
- Slip bobber, threaded from its top opening toward its bottom
For a pre-tied thread stop, pass your line through its carrier tube, slide the knot onto your line, and remove the tube. Tighten the knot according to its instructions. Your bead’s hole must be small enough to catch against the bobber stopper.
Add Weight and Tie on the Hook
For a light slip bobber rig, tie your hook directly to the line and place small split shot 8–12 inches above it. Choose enough weight to pull your line smoothly through the float while leaving its visible tip above water.
For a heavier rig, thread an egg sinker below the float, add a protective bead, and tie on a swivel. Attach a fishing leader of about 12–24 inches between the swivel and hook. Match the sinker to the float’s rated capacity.
Adjust the Stop to Set Your Bait Depth
Slide your stop farther from the hook to fish deeper. Move it toward the hook to raise your bait.
For example, set the stop about 6 feet from your hook to suspend bait roughly 6 feet down in calm water. After casting, let your sinker draw line through the bobber until the stop reaches it. Watch for the float settling into its loaded position before taking up excess slack.
Which Bobber and Bait Fit a Quick Fishing Trip?
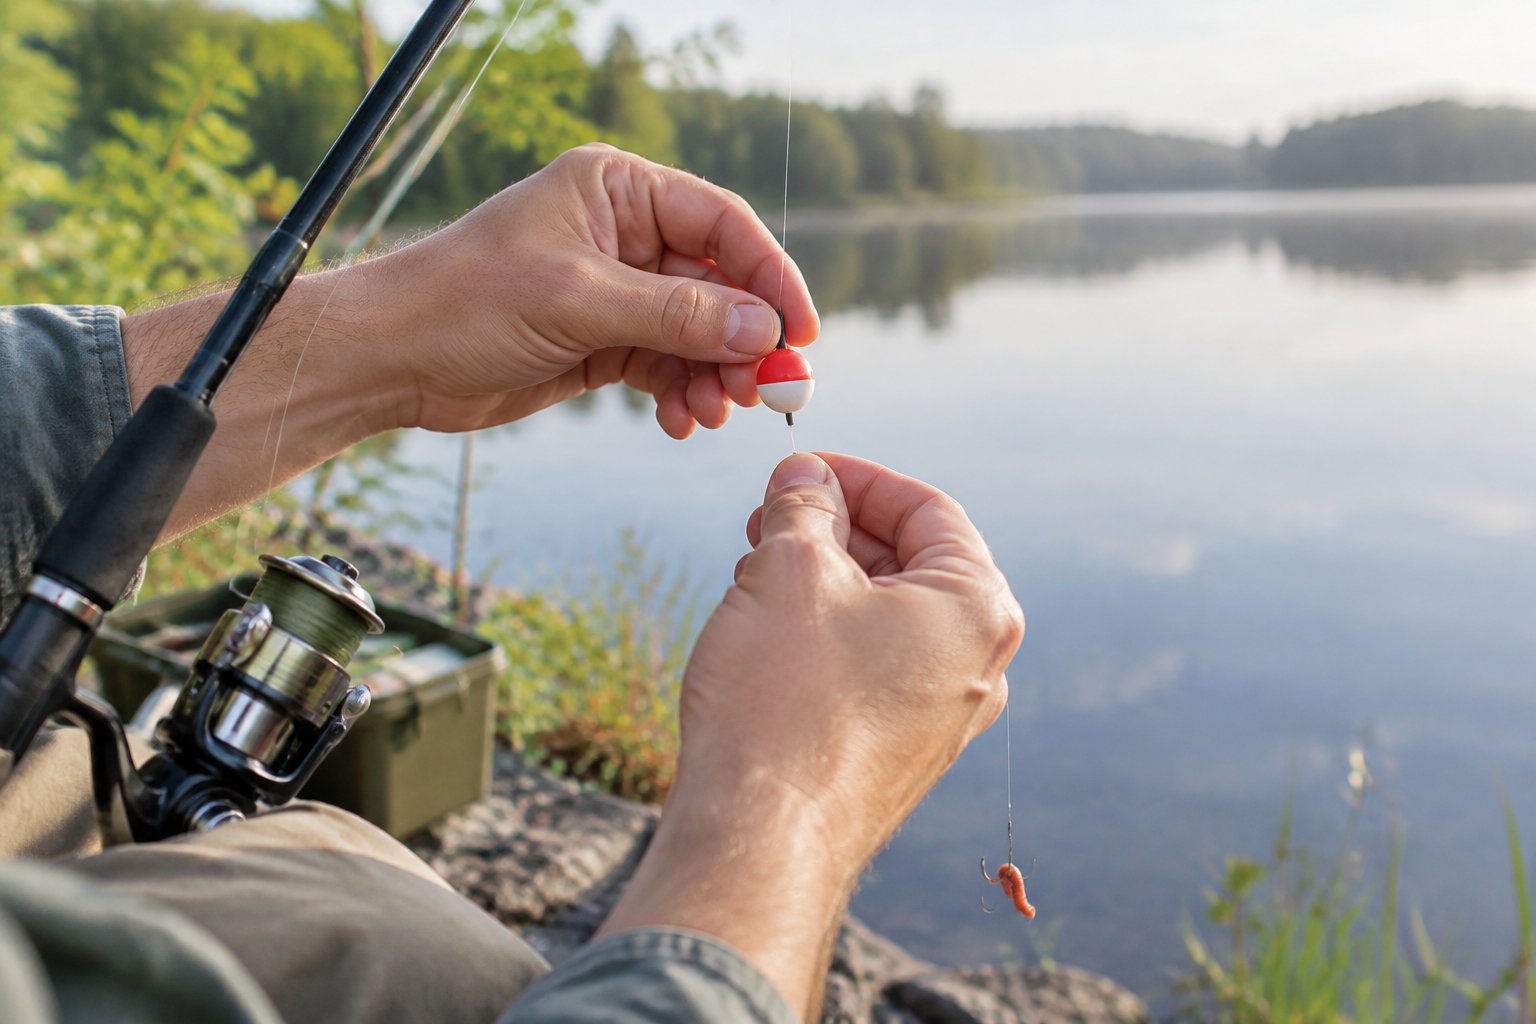
For a quick freshwater fishing trip, choose a small clip-on fishing bobber and a worm piece on a size 8 or 10 hook. You’ll have an easy starting combination for pond panfish with few components to manage.
Choose the Smallest Bobber That Supports Your Bait and Weight
Choose your bobber size around the combined load of your hook, bait, and sinker. Test the baited rig beside the bank and check that the float remains clearly visible.
An oversized float creates extra resistance when a small fish takes your bait. When choosing fishing bobbers for kids, balance easy visibility with a size that responds to panfish bites. Keep a spare float ready so a broken clip doesn’t interrupt your outing.
Compare Round, Pencil, Weighted, and Bubble Bobbers
Match the float style to the job you need it to do:
- Round bobber: Choose this familiar clip-on style for uncomplicated shallow-water fishing.
- Pencil bobber: Use its slender profile for watching light bites; attachment methods vary by model.
- Weighted bobber: Choose built-in casting weight when you need help delivering a light bait.
- Bubble bobber: Use its water-fillable body to add casting weight for very light artificial bait or flies.
Check the attachment instructions before rigging an unfamiliar float. Some pencil and weighted models use fixed attachments; others slide on the line.
Match Simple Baits and Hooks to Pond Fish
For bluegill and perch, thread a short worm piece onto your baitholder hook and leave the point exposed. Keep the bait compact so small fish reach the hook when they bite.
If you’re choosing bait for trout, check local bait restrictions before packing worms or prepared bait. For crappie, a small live minnow is another option where permitted; hooking your minnow through the lips suits a gently moving presentation. Keep live bait cool and follow local rules for transport and disposal.
How Do You Cast and Recognize a Bite?
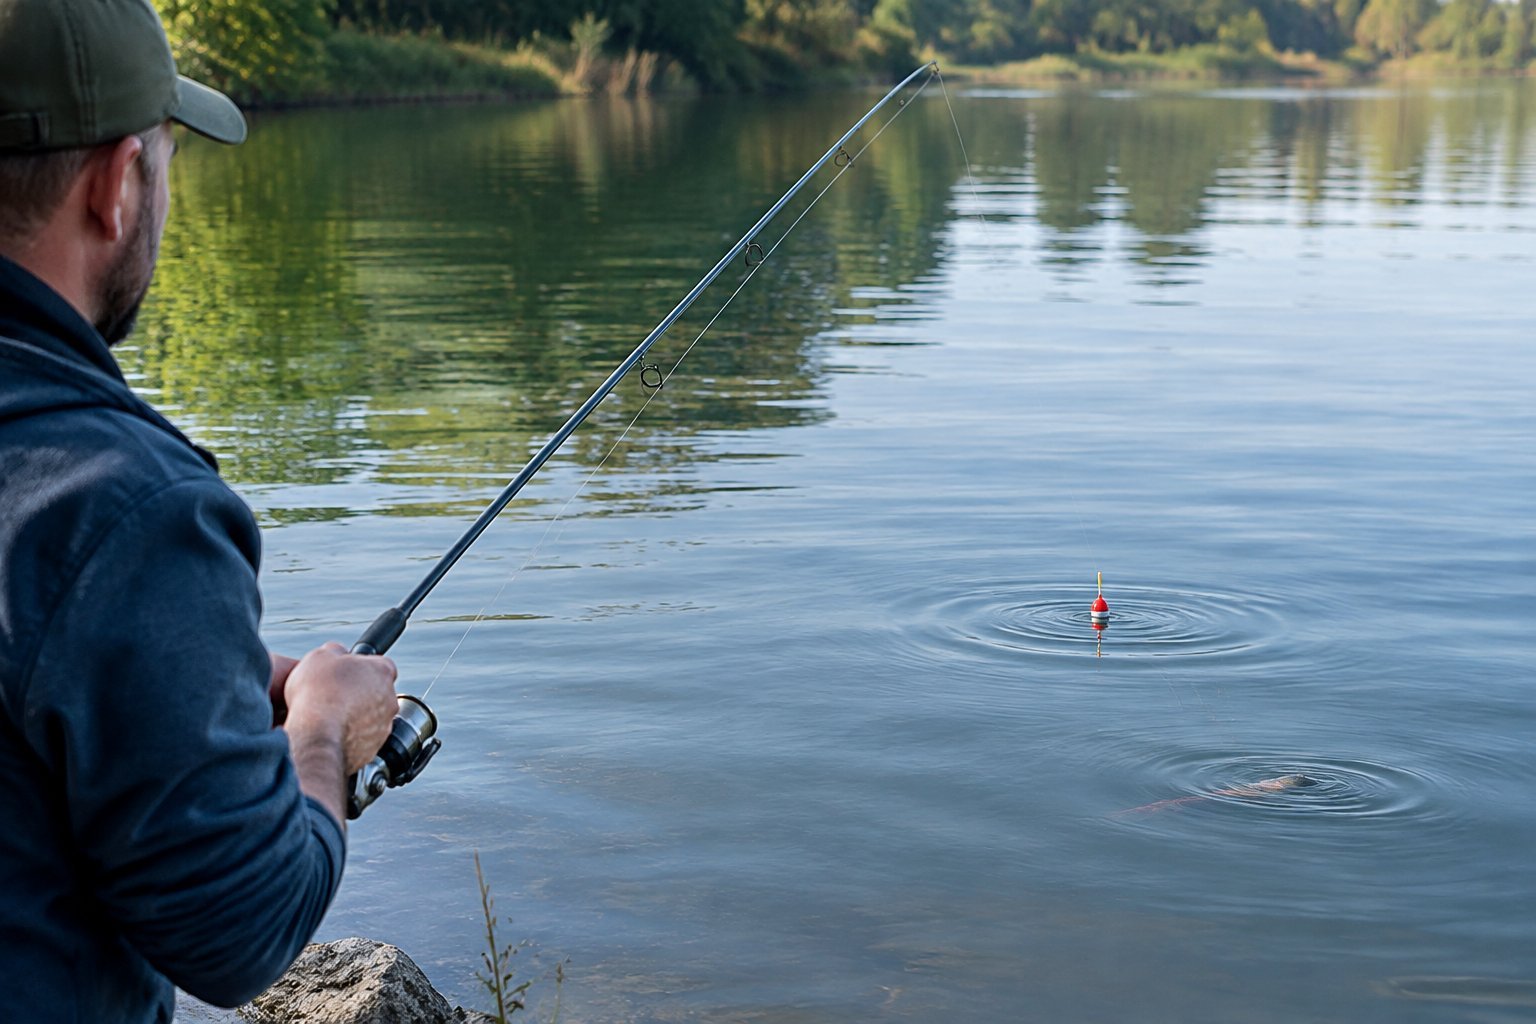
Use a smooth cast, then watch for bobber movement that breaks the rhythm of the surrounding water. During bobber fishing, a sustained dip or sideways movement gives you a useful cue to respond.
Make a Gentle Cast With Space Around You
Check behind and beside you before you cast a fishing line. Give nearby children a clear place to stand outside the hook’s swinging path.
Use a smooth forward motion to send your bobber and hook out together. If you’re casting an open-face reel, hold the line with your index finger before opening the bail, then release it during the forward stroke. Start with short casts near reachable cover.
Distinguish Fish Bites From Wind and Waves
Watch your float for several seconds after it settles. Waves produce repeated movement that follows the water around it.
A fish bite often creates an abrupt change: your float travels sideways, stays submerged, or rises as a fish lifts the sinker. Wind-driven slack also pulls a bobber across the surface. Reel in enough loose line to watch the float without dragging it toward you.
Reel in Slack and Set the Hook Gently
When your float goes under steadily or moves away with purpose, lower your rod slightly and reel until you feel contact. With the small J-style baitholder hook described above, lift your rod in a smooth, controlled motion.
A hard overhead jerk risks launching the rig toward you if the fish releases the bait. Keep steady pressure as you reel, and use pliers to remove the hook. If you use a circle hook, follow its different technique: reel steadily as the line tightens.
Why Is Your Bobber Setup Not Working?
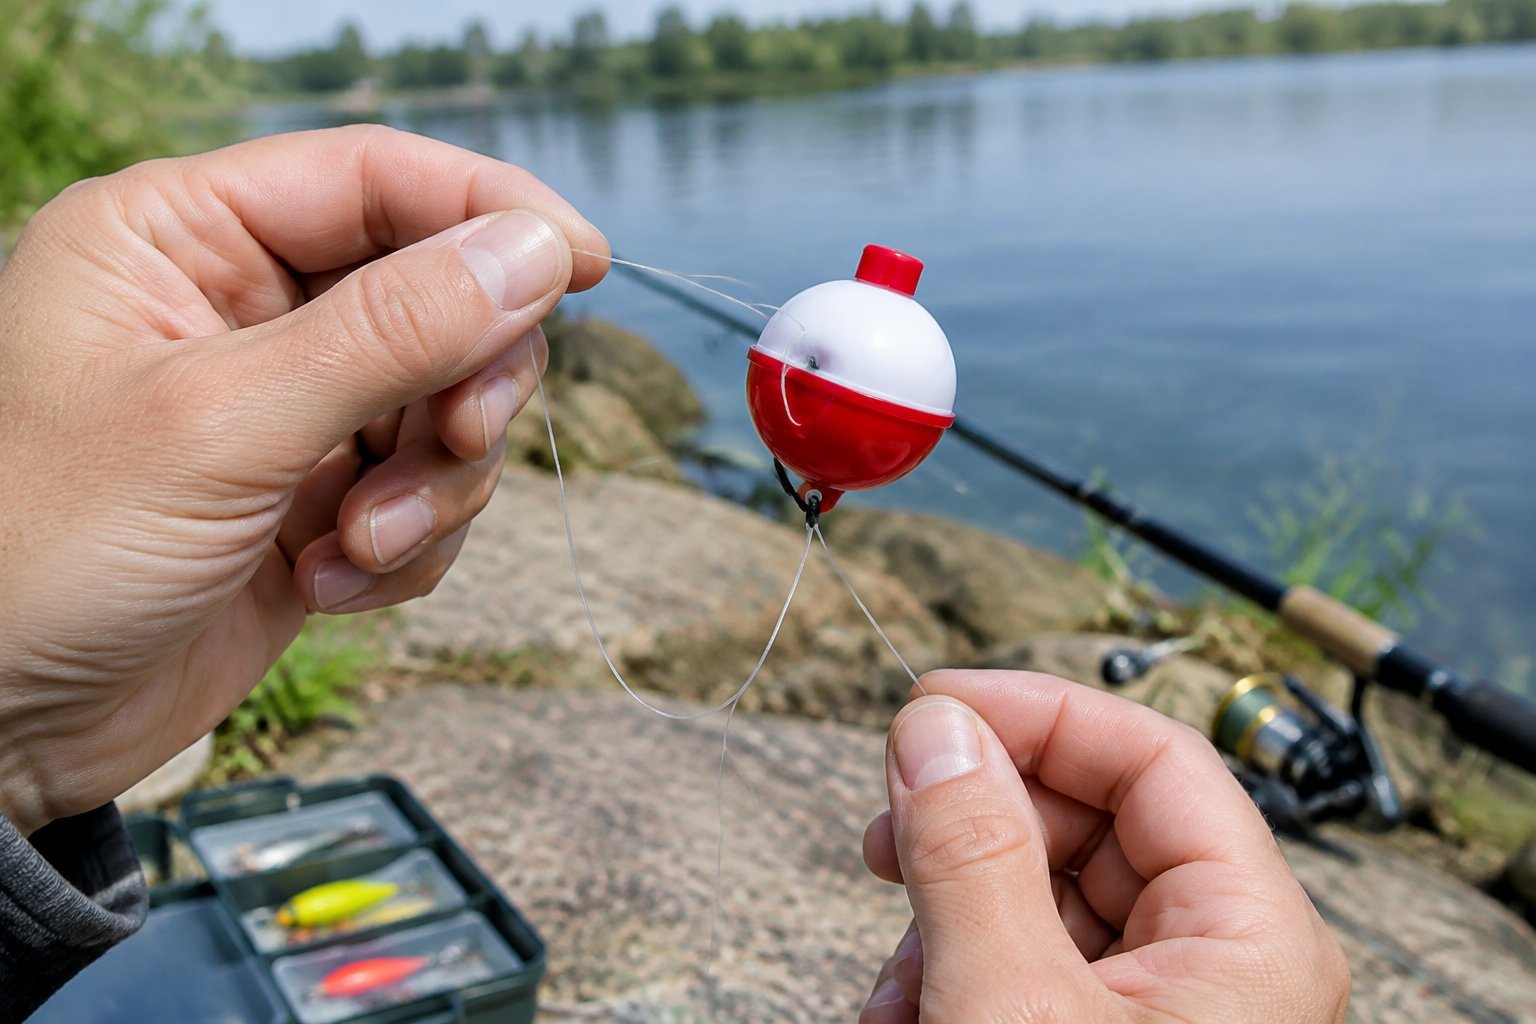
Check your float’s load and attachment first, then inspect whether your bait is hanging clear of the bottom. You’ll resolve many bobber problems by changing one component or depth setting at a time.
The Bobber Sinks or Lies on Its Side
If your bobber sinks without a bite, remove some weight or reduce your bait size. Inspect a hollow plastic float for cracks or water inside, and replace it if damaged.
If your pencil-style float lies flat, check whether your sinker is resting on the bottom or whether you need additional weight to make it stand upright. Shorten your depth setting first when bottom contact is likely. With a round bobber, focus on visibility and free movement.
The Bobber Slides or the Stop Slips
For a slipping fixed bobber, open its clips and reseat your line fully beneath them. Replace the float if its spring is weak or its wire has a rough edge.
For a slipping thread bobber stop, wet it and tighten its tag ends evenly. If your rubber stop keeps moving, choose a size matched to your line diameter. Check that your bead catches the stop and cannot pass through the float’s top opening.
The Rig Tangles or Gets No Bites
If your rig tangles, shorten your fixed-bobber depth and slow your casting stroke. Keep your split shot clear of the hook, and straighten any line wrapped around the float before casting again.
If your bait returns untouched, change depth before replacing your entire setup. For a 30-minute fishing trip, test nearby weed edges or shade after several quiet casts. Check your bait each time you retrieve, especially after small pecks.
Get your gear ready and explore the related beginner-friendly guides before your next trip.