For jig fishing for crappie on a short trip, start with a 1/16-ounce jig near docks or brush, keep it just above the fish, and work it with slow swims or small lifts followed by pauses. You’ll spend more of your available time fishing when you arrive with one light spinning rod rigged and a few replacement jigs ready.
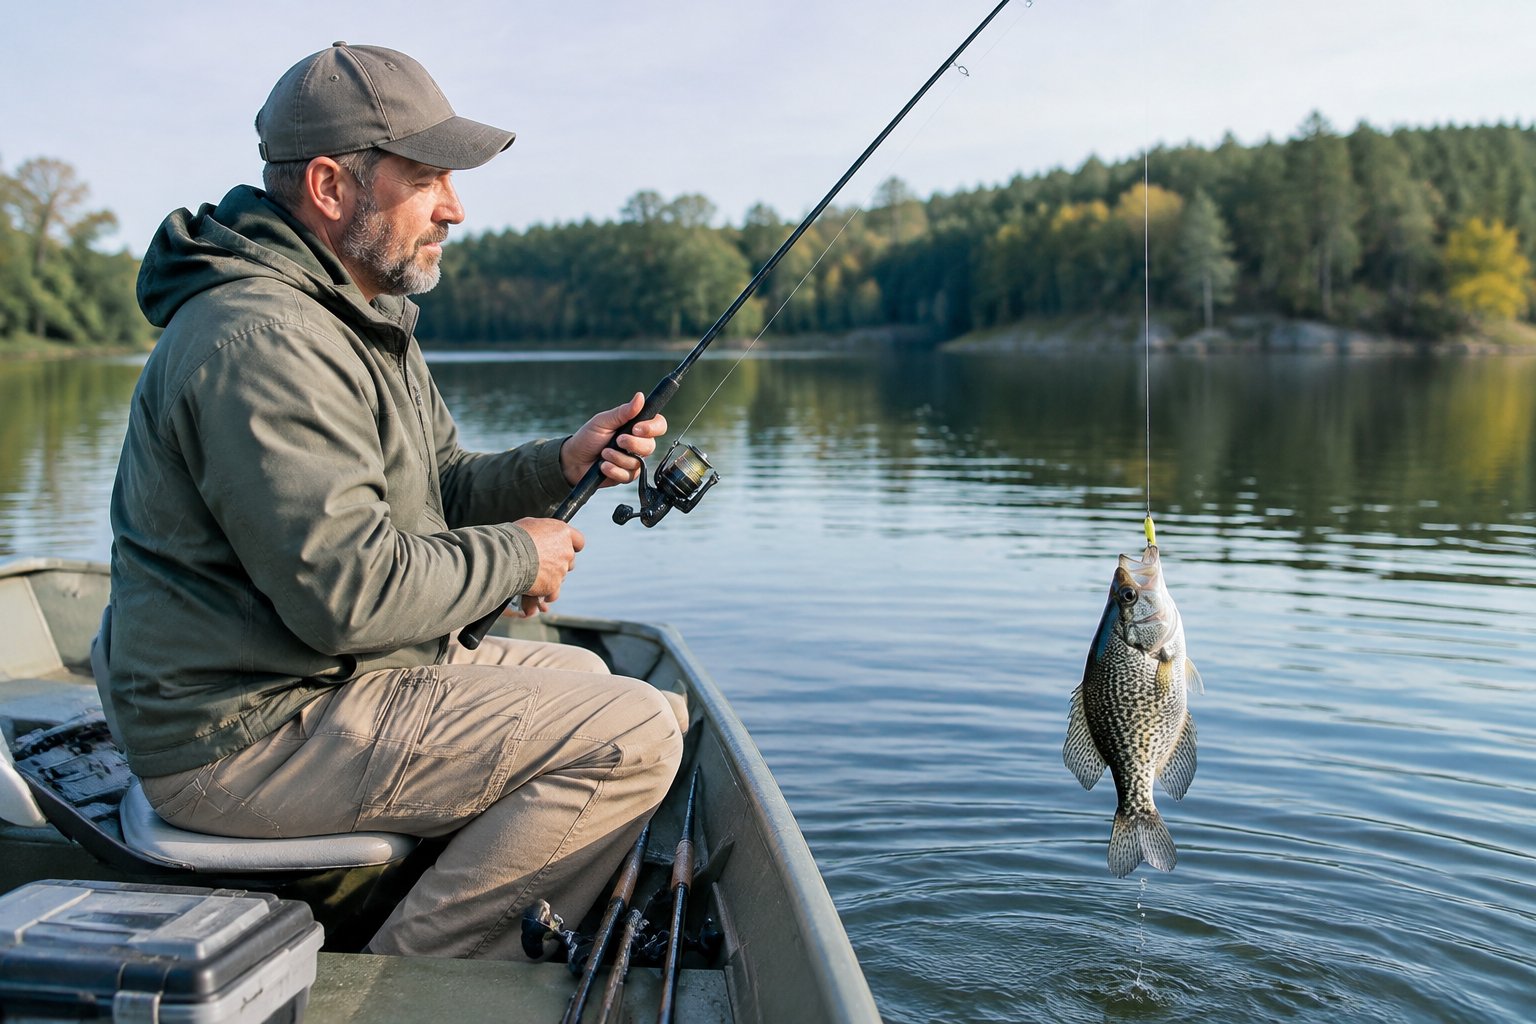
You can fit crappie fishing into a before-work stop or a short outing with your kids by concentrating on accessible cover and repeating productive presentations. As you build your crappie fishing skills, make your first goal finding a repeatable depth and retrieve during each visit.
How Do You Work a Jig to Catch Crappie?
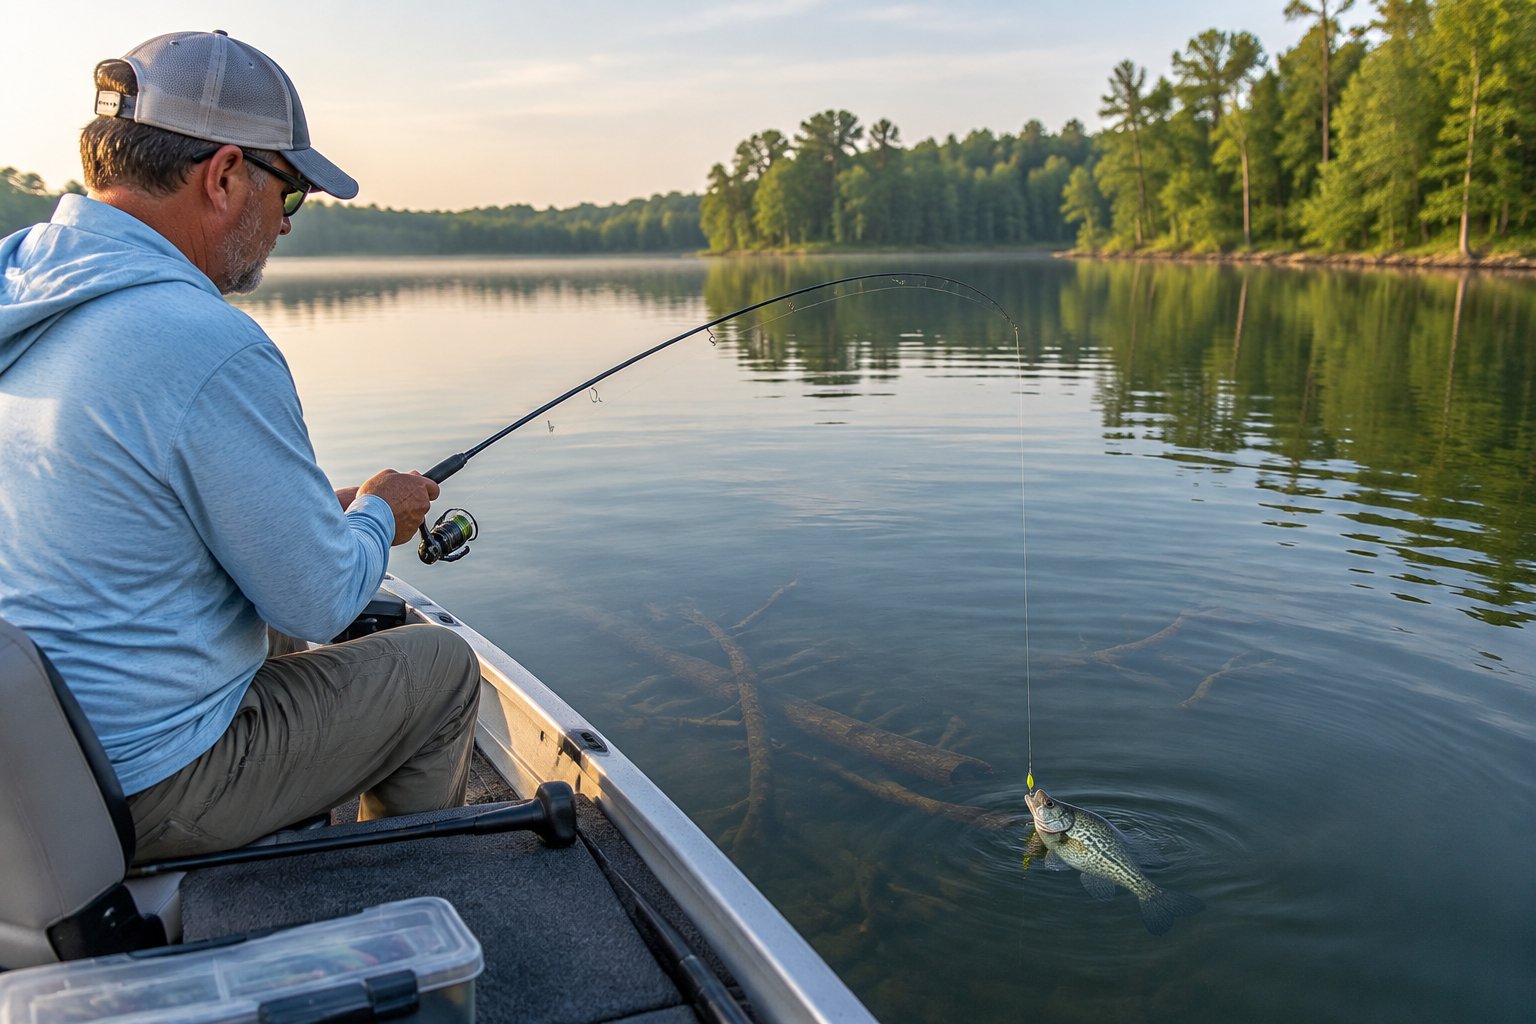
Work your jig slowly enough to keep it near the fish, using gentle movements and deliberate pauses. For beginner crappie jig fishing, choose your presentation according to how easily you can reach the cover.
Vertical Jigging: Lower the Jig, Pause, and Move It Gently
Use vertical jigging when you can lower your lure beside a dock piling or directly over submerged cover. Lower it under control, close the bail at your chosen depth, and hold your rod steady for several seconds.
Start with a lift of about 2 inches, then pause for 5–10 seconds. When you’re vertical jigging for crappie, watch where your line enters the water; a sideways twitch or unexpected slack deserves attention even when you feel nothing through the handle.
Casting and Retrieving: Count Down and Swim Slowly
Use casting and retrieving to search cover beyond your rod tip. Cast beyond the target, allow a controlled fall, and count the seconds before starting a slow, steady retrieve.
Try a two-second countdown first, then increase it by two seconds on subsequent casts where depth allows. Your jig’s sinking speed changes with its body, line, and water movement, so use the count as a repeatable reference. After a bite, repeat the same casting angle and countdown.
Fishing a Jig Under a Float for Beginners and Kids
Choose a small float when you want an easy-to-see bite indicator or need to hold your jig at a fixed depth. Start with the jig 2–3 feet below the float where the water is deep enough to keep it clear of bottom.
Give the float a short twitch, then let it settle for several seconds. Use a slip float when your required fishing depth makes a fixed-float rig awkward to cast. With kids, leave generous casting space and have everyone check behind them before each cast.
Where Should You Fish, and How Deep Should Your Jig Be?
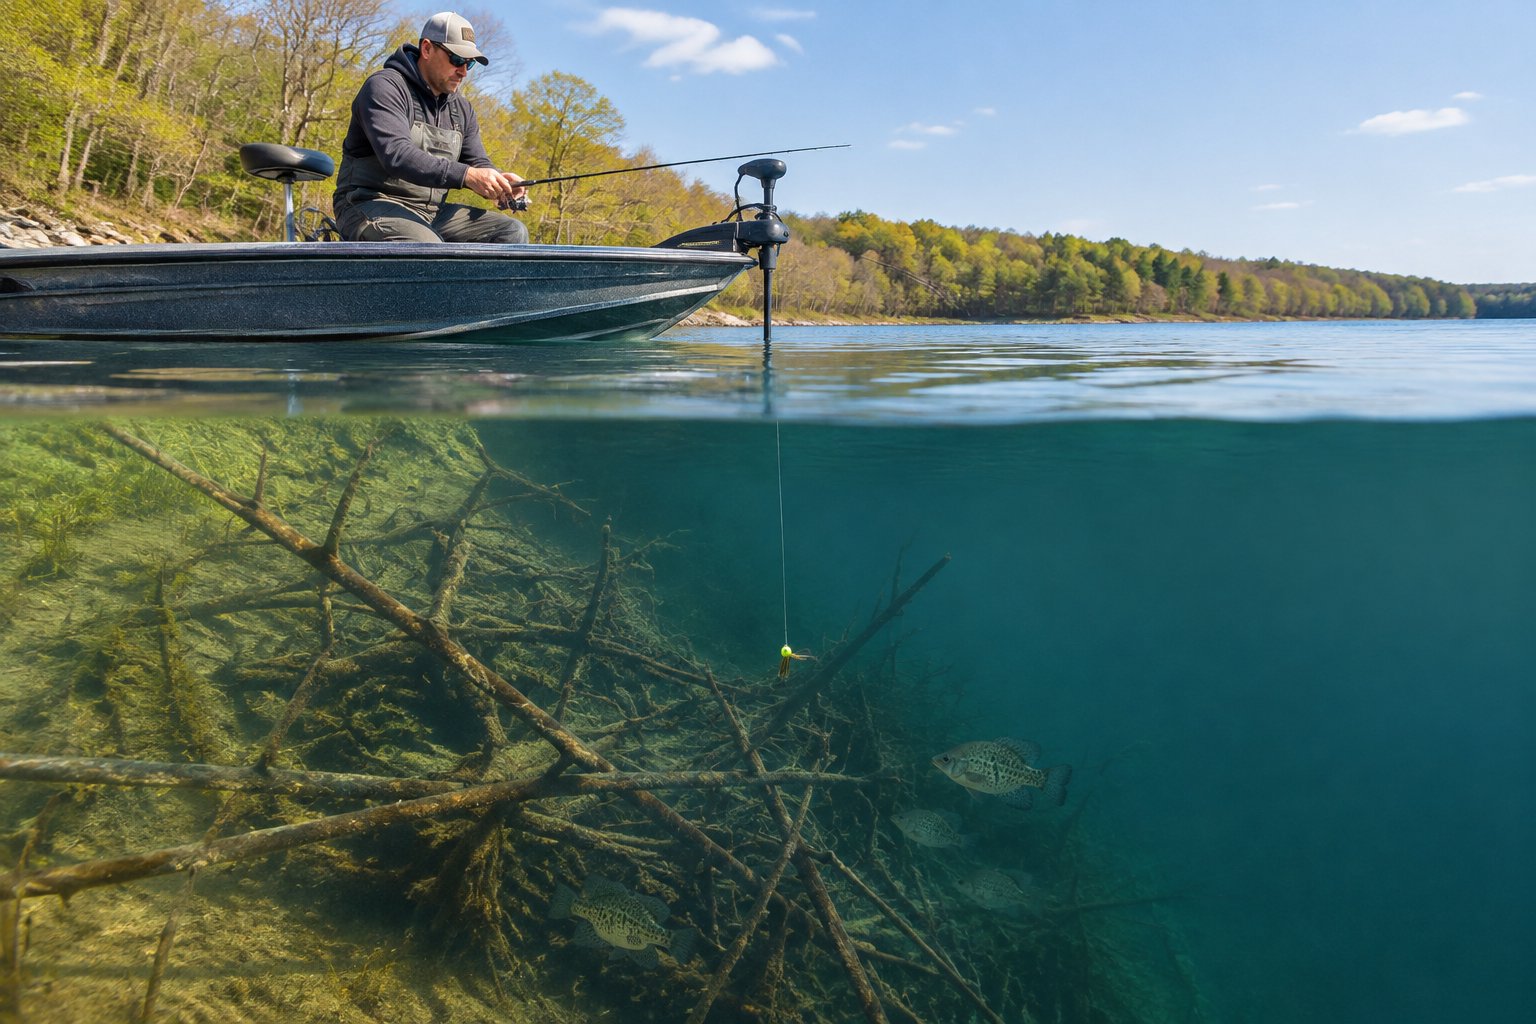
Start at reachable cover near a depth change, then search downward until you find bites or establish the top of the cover. Keep your jig slightly above the fish whenever you know their depth.
Start with Accessible Docks, Brush, and Shoreline Cover
Choose a public fishing dock, shoreline laydown, or known brush pile that you can reach without a long setup. Give priority to cover beside deeper water, especially when a shallow shoreline produces no activity.
Work the outside edges before placing your jig among branches. Around submerged structure, approach each opening from a manageable angle so you can lift your lure clear if it touches wood. Confirm access rules, and keep your footing secure on wet banks and docks.
Keep the Jig Just Above Fish and Adjust Depth Methodically
If you locate fish 8 feet down, begin with your jig around 7 feet deep. Crappie frequently take prey above them, so this gives you a useful starting position without dropping through the school.
Without a known fish depth, begin above the cover and lower your jig in roughly 1-foot steps. Pause at each level long enough to make several controlled presentations. When you get a bite, remember the float setting or amount of line below your rod tip before casting again.
Use Seasonal Clues and Optional Sonar to Narrow the Search
Use water temperature and nearby depth changes to choose your starting area. During spring warming, check protected shallow cover; during summer heat or winter cold, give deeper cover and nearby suspended fish more attention.
For fall crappie fishing, follow baitfish activity around creek arms and adjacent depth changes. When you’re judging when crappie start biting, consider recent weather and local conditions alongside the calendar.
If you have a fish finder, use it to estimate cover height and fish depth. Fish finders with side imaging help you search beside the boat, but you still need to check promising targets with your jig.
What Rod, Reel, and Line Do You Actually Need?
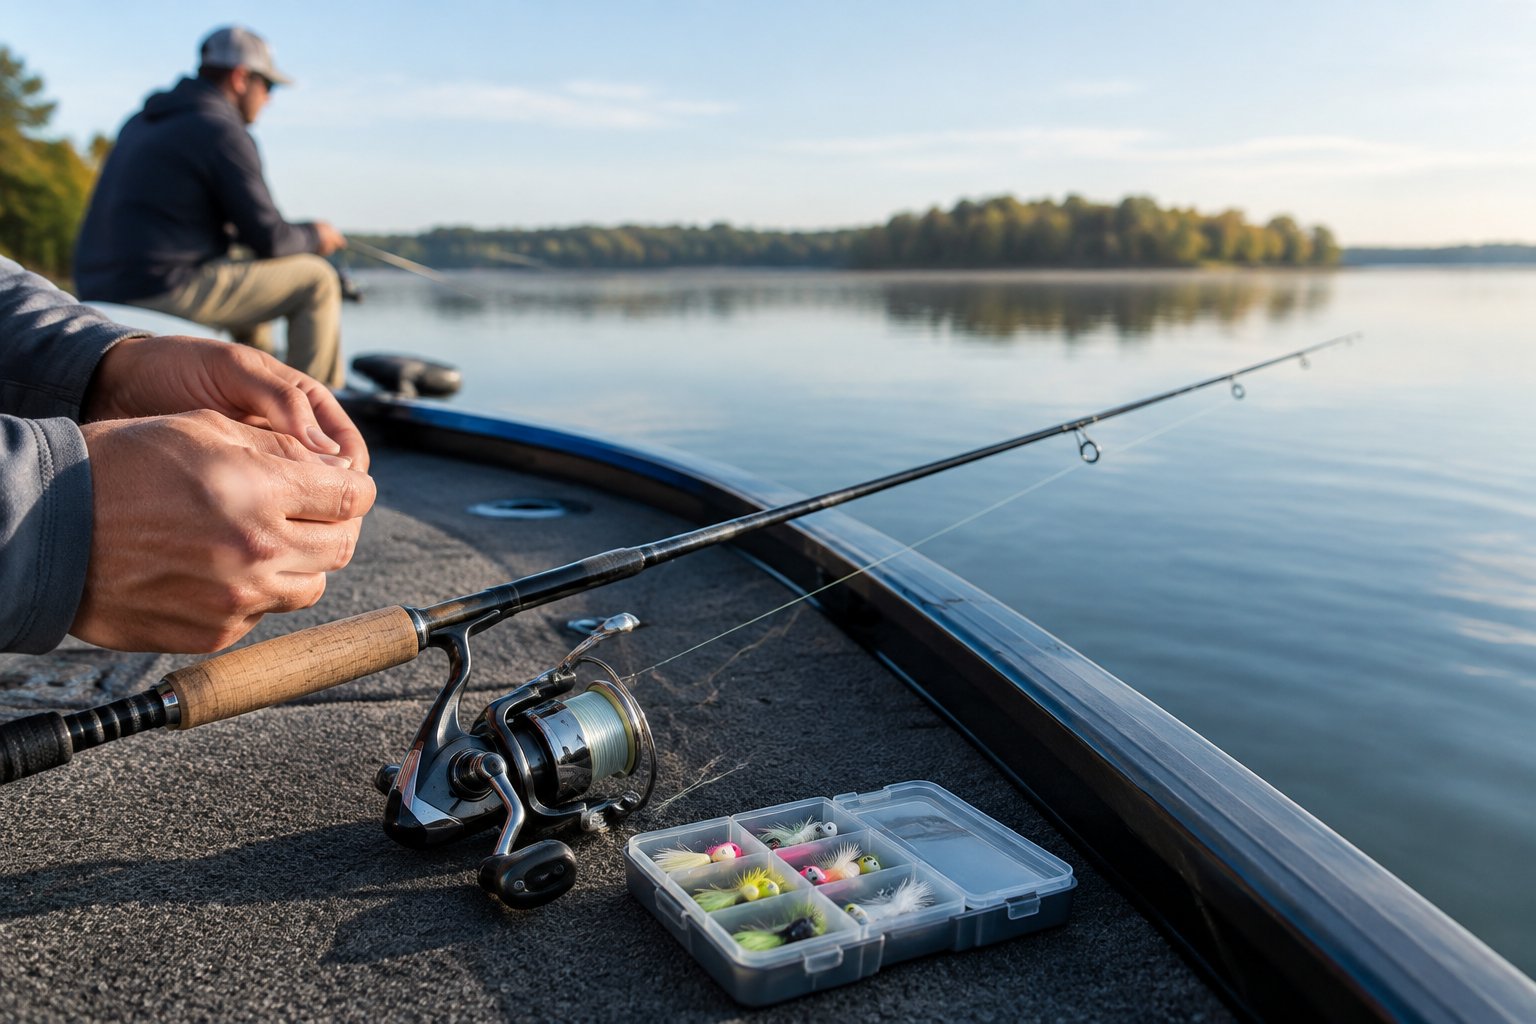
For bank and dock fishing, use a light spinning rod around 6–7 feet long, a small spinning reel, and 4–6-pound monofilament line. You’ll have a manageable setup for casting small jigs and detecting light bites.
A Light Spinning Setup for Bank and Dock Fishing
When choosing fishing rods for crappie, look for a lure rating that includes your intended jig weight. Light or ultralight power helps you cast small lures, while a responsive tip helps you notice changes in tension.
Pair your rod with a 1000- or 2000-size reel, checking the manufacturer’s sizing because reel sizes vary between brands. Among small spinning reels, prioritize smooth drag operation and comfortable balance with your rod.
Start with Monofilament or Add a Leader to Braid
Choose 4-pound monofilament line for small jigs in open water, or move to 6-pound around light cover. You get an easy starting setup with stretch that helps cushion a hooked fish.
For greater bite sensitivity, try 6–10-pound braided line with a 2–3-foot fluorocarbon leader rated at 4–6 pounds. Fluorocarbon line also works as a main line, though stiffer varieties require extra care on small spools. When you set up your spinning reel, follow its fill guidance to reduce loose coils and tangles.
Pack a Small Kit That Is Ready for a Short Outing
Keep your rod rigged with its hook secured in a keeper and the point covered during transport. Carry replacement jig heads, a few bodies, a float, line clippers, forceps, and a small landing net.
Add your fishing license, drinking water, and any locally required safety equipment. Check harvest rules before keeping fish, including length and daily limits. When you take children, choose a stable bank or guarded dock and use properly fitted life jackets near deep water.
Which Jig Weight, Body, and Color Should You Choose?
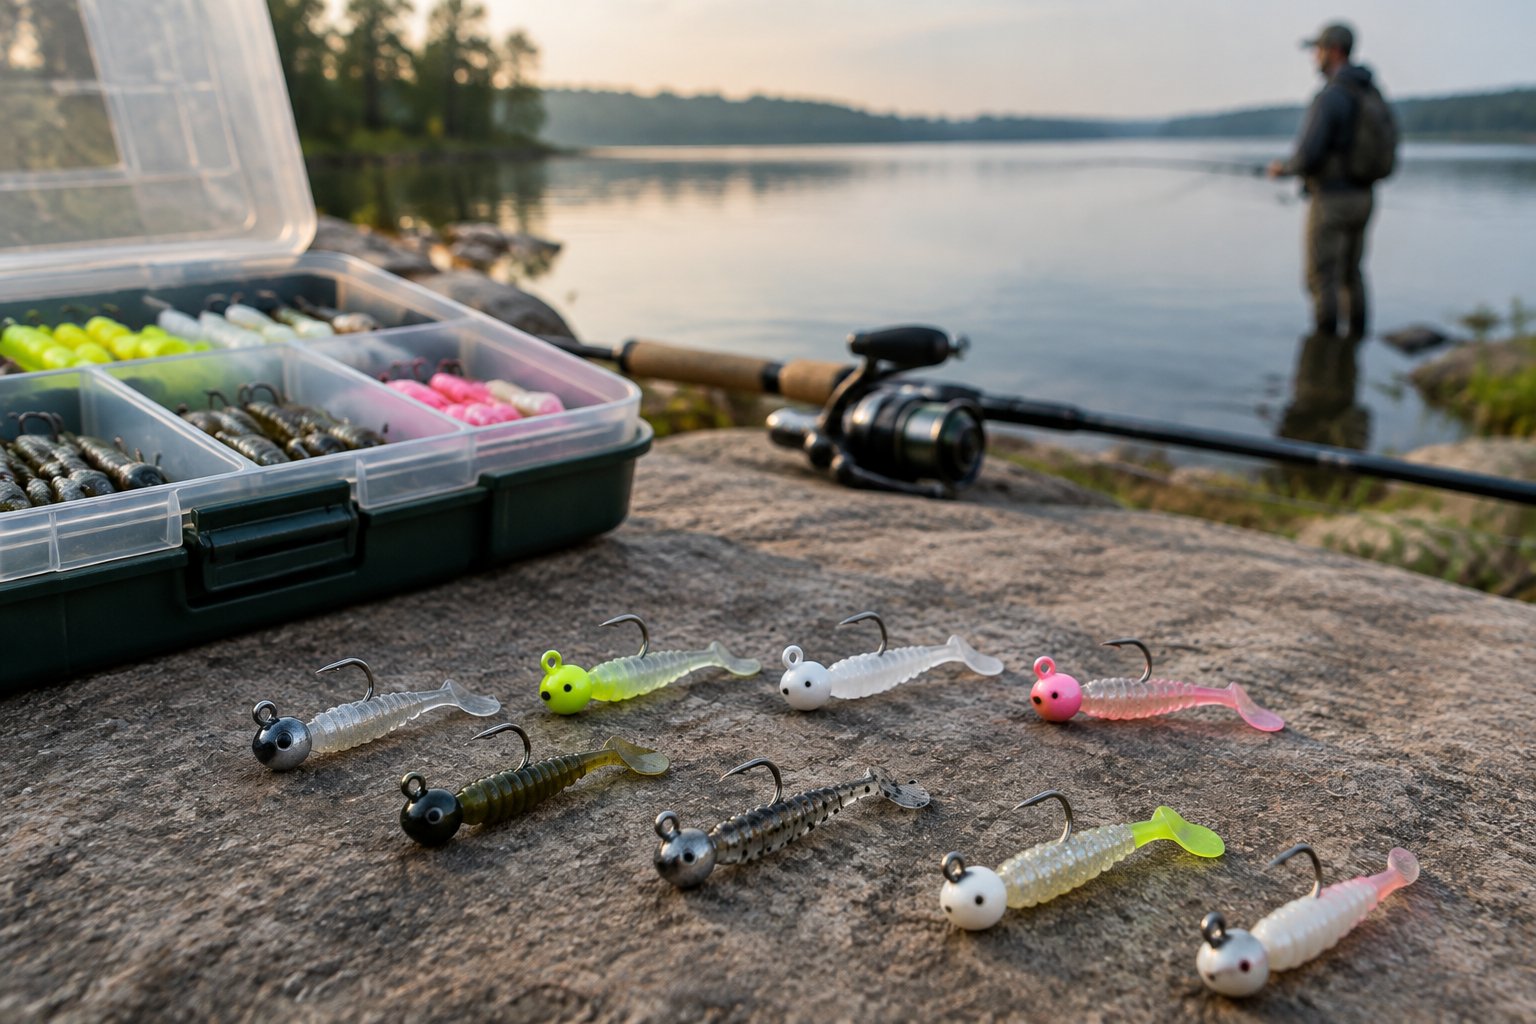
Begin with a 1/16-ounce crappie jig and a small minnow-shaped body, then adjust weight for control and color for visibility. You’ll narrow your choices faster by carrying a few useful crappie jigs in distinct profiles.
Start with a 1/16-Ounce Head and Adjust for Depth and Wind
Use a 1/16-ounce head as your starting point for sheltered bank and dock fishing. Move to 1/32 ounce when you need a slower fall in shallow water, or 1/8 ounce when wind, current, or depth makes control difficult.
Choose the lightest jig head weight that lets you maintain your intended presentation. Among crappie jig heads, a round head gives you a straightforward starting shape. Explore specialized jig head shapes after you’re comfortable controlling depth with a basic head.
Choose Between Soft Plastics, Hair, and Marabou
Start with 1½–2-inch soft plastic baits so you can replace damaged bodies quickly. With plastic grubs, you get tail movement during a steady swim; with slender jig trailers, you get a quieter profile for hovering near cover.
You can use a Bobby Garland Baby Shad for its small baitfish profile and thin tail, or a Crappie Magnet for its split-tail profile. Include hair jigs or marabou jigs when you want movement during long pauses. With a marabou jig, test its feather movement beside the bank before adding rod action.
Match Color and Profile to Water Clarity
In clear water, begin with a small natural-looking body in pearl, smoke, or translucent shad. In stained water, try chartreuse or a dark body that gives you a stronger silhouette.
Treat water clarity as a starting clue, then use bites to refine your choice. When selecting crappie lures, keep one natural pattern and one high-contrast pattern ready. Your best crappie jigs for a particular trip are the ones you can present at the productive depth with a profile fish accept.
How Do You Rig a Jig Correctly?
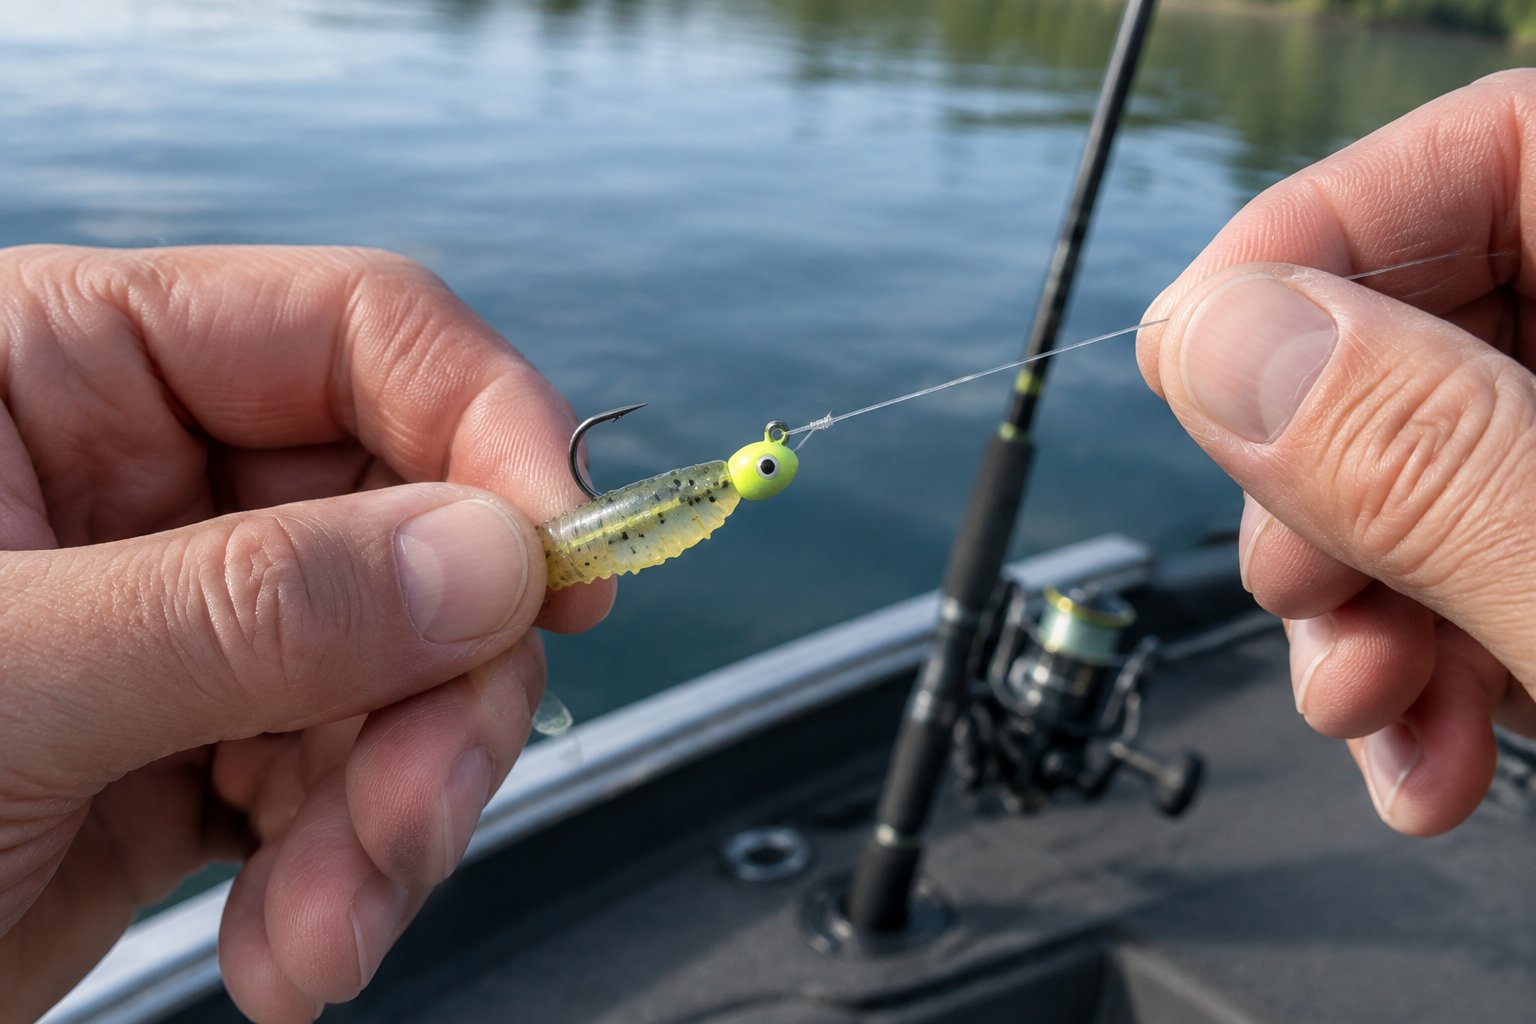
Rig your plastic straight, leave the hook point exposed, and test your knot before fishing. A crooked body or crowded hook gap wastes casts through otherwise promising water.
Thread the Plastic Straight and Check the Hook Gap
Lay the plastic beside the hook to identify where the point should exit. Push the hook into the center of the nose, thread the body along the shank, and bring the point out at that mark.
Slide the nose snugly against the jig head without bunching the body. When choosing fishing hooks as a beginner, match the hook to the body so you retain open space between the plastic and hook point. Pull the rig through shallow water to check for spinning.
Choose a Secure Knot or a Loop Knot for Freer Movement
Use a carefully tied improved clinch knot with light monofilament, or choose a non-slip loop knot when you want the jig to pivot freely. Keep your loop small enough to avoid catching around the hook.
As you attach your lure to the fishing line, moisten the knot before tightening and seat it gradually. Give it a firm pull, then inspect the line above it. Retie after you find roughness or damage from contact with cover.
When to Try a Minnow Tip or a Double Jig Rig
Try a small minnow on your jig when you’ve located fish and repeated artificial-only presentations produce few bites. If you use minnows for crappie fishing, check local live-bait rules and hook the bait securely through the lips while leaving the point exposed.
Use a double jig rig only where local hook limits allow it. Space the jigs about 12–18 inches apart to sample two depths, and account for their combined weight when choosing your rod and float. For kids or tight shoreline cover, keep your single-jig rig to reduce tangles.
What Beginner Mistakes Waste a Short Fishing Trip?
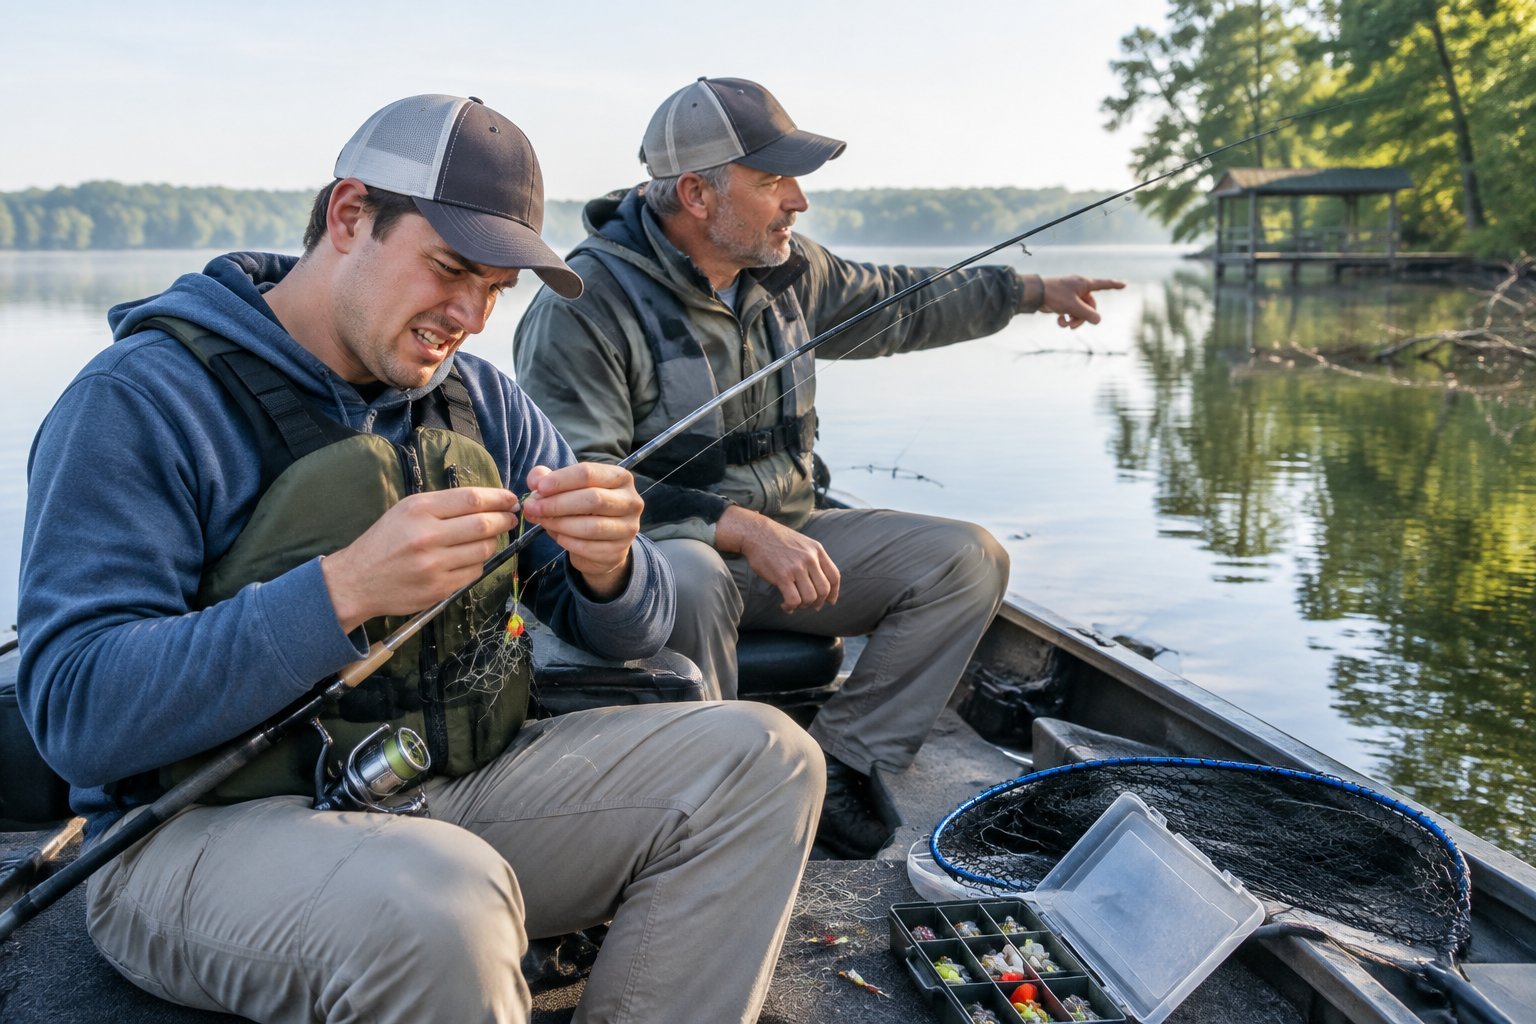
Protect your fishing time by controlling depth, watching the line, and making one adjustment at a time. Most beginner crappie jigging problems give you a visible clue before you need a different lure.
Moving the Jig Too Much or Fishing Below the Crappie
If your jig jumps several feet with every rod movement, shorten your lift and lengthen the pause. Watch its response beside the dock so you can connect a small hand movement with what happens underwater.
When you repeatedly snag bottom, raise your fishing depth and check whether your retrieve is letting the jig sink too far. Reassess jig head weight if the lure drops faster than you can control. Keep searching above the cover before probing its interior.
Missing Slack-Line Bites or Setting the Hook Too Hard
Watch for your line to stop sinking early, jump sideways, or become slack before the jig should reach its set depth. If you see an unexplained change, reel up slack and make a short, firm rod lift.
Keep steady pressure after the hook connects, and let your drag release line during a strong pull. Use your landing net at the water’s edge to reduce strain on the hook hold. Check that the plastic remains straight before your next cast.
Changing Everything Instead of Testing One Adjustment
After several unproductive presentations, change depth while keeping your jig and retrieve the same. Once you’ve searched the useful water column, test a slower pause or a different casting angle.
Change color or body profile after those presentation checks. If you get a bite, repeat the successful setup immediately and note the depth. On later trips, record that detail with water conditions and the specific piece of cover you fished.
A Simple 30-Minute Plan for Fishing Before or After Work
Use your first short session to check two nearby targets with a rig you prepared at home. Keep your travel and access time separate from this 30-minute fishing plan:
- Minutes 0–5: Check your knot, inspect your rig, and choose the safest reachable cover.
- Minutes 5–15: Fish the first target, starting above the cover and adjusting depth methodically.
- Minutes 15–25: Move to a second target if the first produces no activity, or repeat the productive depth if you get bites.
- Minutes 25–30: Make your remaining casts, record useful details, and secure your hook for transport.
For a trip with children, shorten the session when attention or comfort drops and leave time for safe packing. Get your gear ready and explore the related beginner-friendly guides before your next trip.