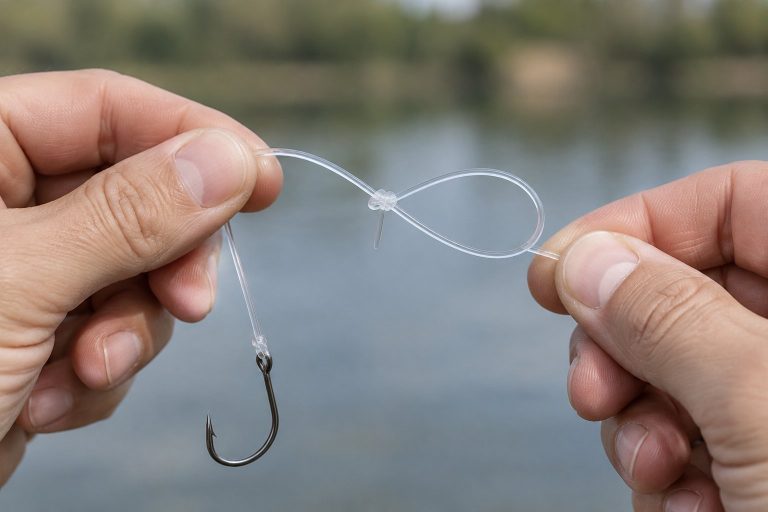
To tie braided fishing line to a hook, start with a Palomar knot: double your line, pass the loop through the eye, tie a loose overhand knot, pass the hook through the loop, then moisten and tighten. You get a beginner-friendly connection with few steps, so you spend less of a short fishing trip rigging.
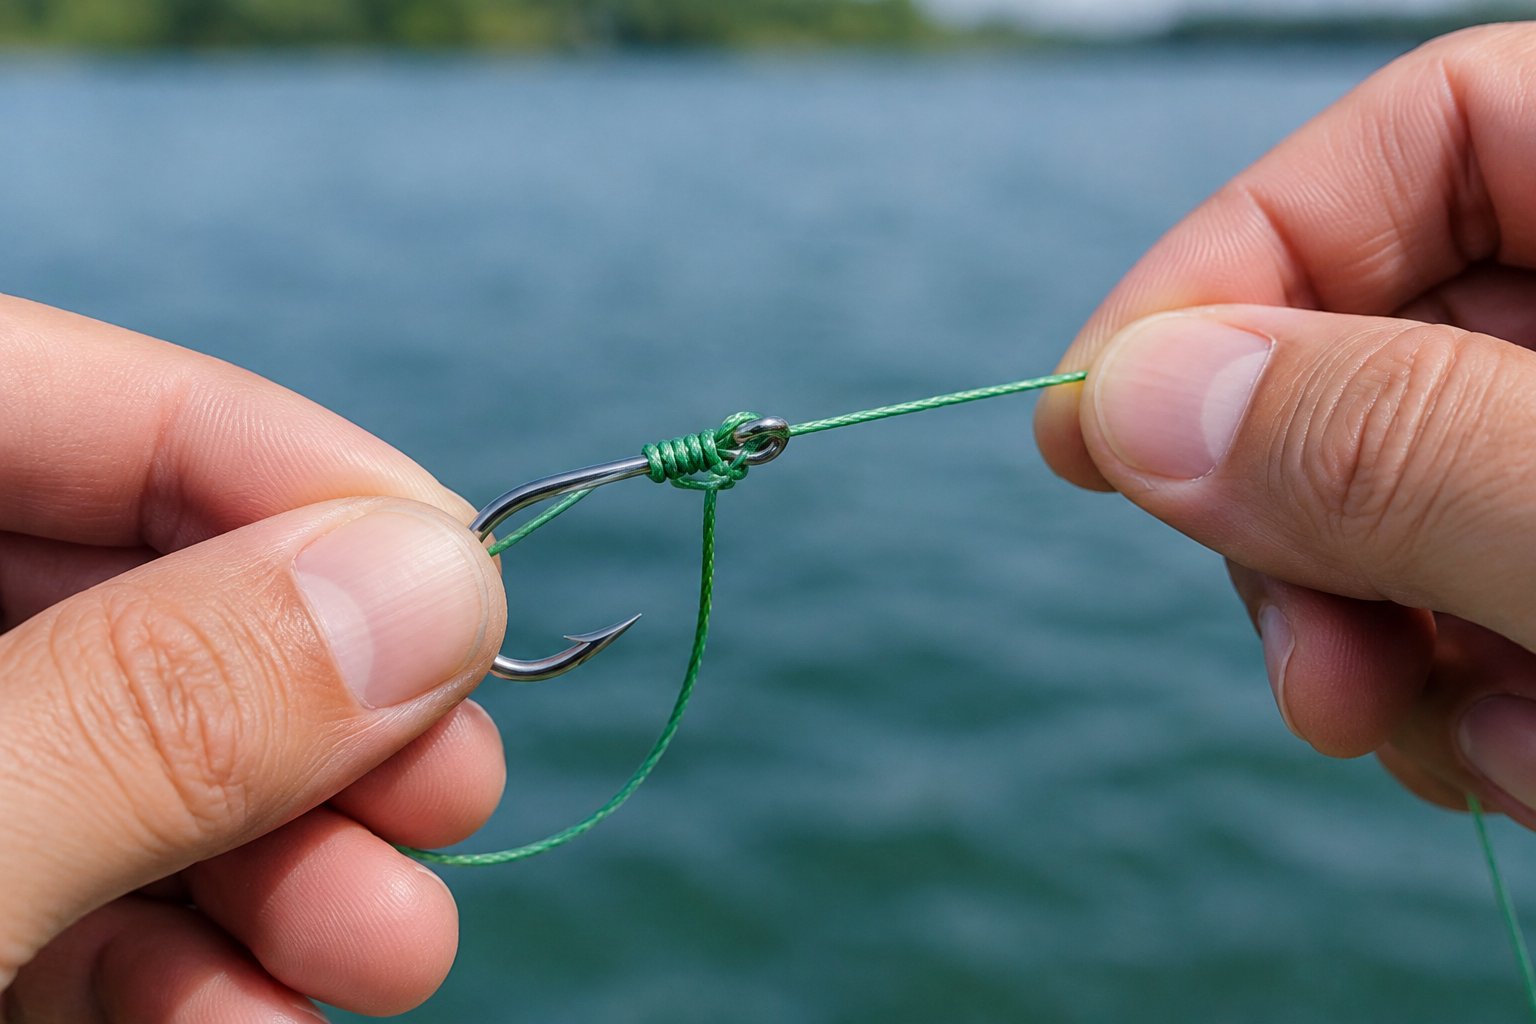
When you’re learning how to tie a knot on braided fishing line, neat seating deserves your attention. Braid’s slick surface makes some familiar fishing knots prone to slipping; a suitable knot and a steady pull-test help you head to the water with your tackle ready.
Which Knot Should You Use for Braid?
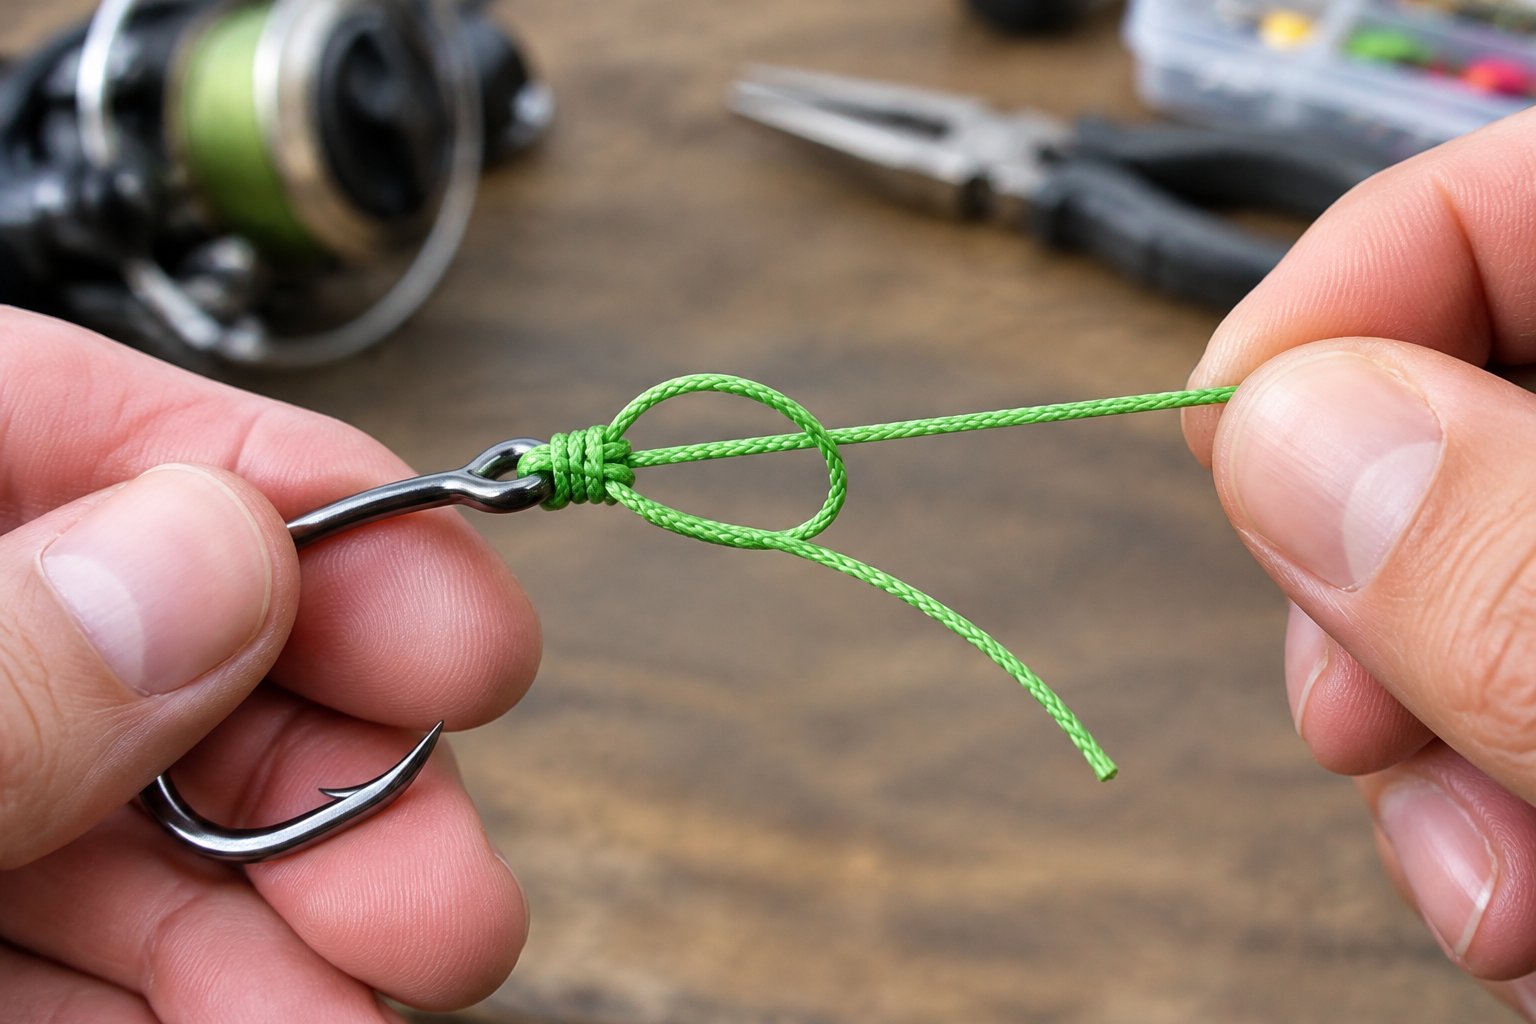
Choose a Palomar for direct tackle connections and a double uni knot for joining braid to a leader. You’ll cover most simple freshwater setups with these two beginner fishing knots.
Choose a Palomar for Hooks, Lures, and Swivels
For a beginner attaching terminal tackle, your best knot for braided fishing line is a Palomar. Its short tying sequence is easy to practice, and you have fewer wraps to manage.
Use it when your hook eye accepts doubled line and your tackle fits through the finishing loop. When you put a hook on your fishing pole, check the eye for sharp edges or an open seam before threading.
Choose a Double Uni for a Simple Leader Connection
Choose a double uni knot when you want an approachable connection to a fluorocarbon leader or monofilament line. You tie a small uni knot with each line, then draw the two knots together.
Give the slick braid more wraps than the leader. With a heavy leader, expect a bulkier connection and check its passage through your rod guides before casting.
When Should You Add a Leader Instead of Tying Directly?
Add a leader when you want a less visible section near your bait or a replaceable section for contact with rough cover. Choose its material and diameter for the conditions; inspect either fluorocarbon or mono after rubbing against rocks.
For frog fishing around vegetation, tying directly to braid keeps your setup straightforward. For a basic clear-water pond rig, a leader gives you another way to adjust your presentation.
How Do You Tie a Palomar Knot?
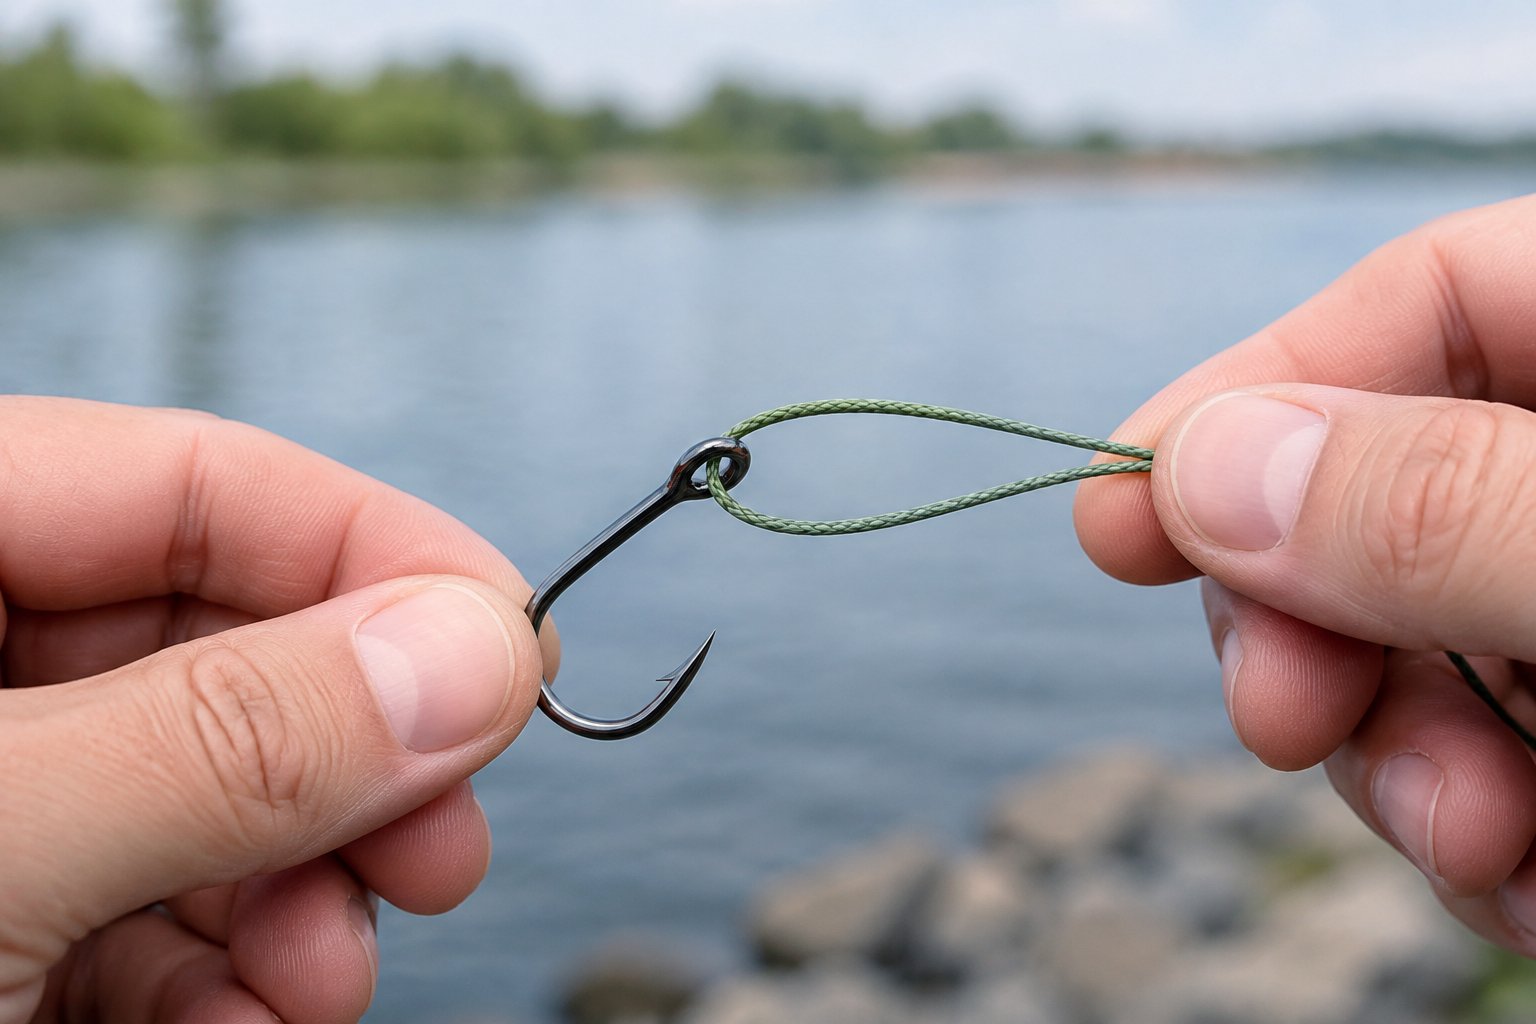
Tie your Palomar with enough slack to clear the entire hook or lure, then seat the doubled strands neatly against the eye. Keep the hook point facing away from your fingers throughout.
Double the Line and Pass It Through the Hook Eye
Fold about 6–8 inches of braid back on itself and push the folded end through the hook eye. Leave a larger loop when your lure needs more clearance.
If the folded end won’t fit, pass the single tag end through the eye first. Feed it back through the eye in the opposite direction to create the same doubled arrangement, leaving your loop on one side.
Tie a Loose Overhand Knot and Pass the Tackle Through
Tie a loose overhand knot with the doubled line, leaving the hook hanging beneath it. Keep the two strands alongside each other and leave everything loose.
Pass the entire hook through the remaining loop. When you attach a lure to fishing line, clear every hook and the full lure body before drawing the loop upward.
Moisten, Seat, and Test the Connection
Wet the line with clean water, then ease the standing line and tag end tight. Guide the loop above the eye so it seats around the knot without catching under the hook or around the shank.
Inspect your braided fishing line knot for trapped or twisted strands. Apply steady pressure with a protected grip, then trim with braid scissors, leaving about a ¼-inch tag.
Leave a Longer Tag for Drop-Shot Rigs
For drop-shot rigs, leave enough tag line to reach your intended sinker position. After seating the Palomar knot, feed the tag back down through the hook eye from the hook-point side.
Pull gently and check that your hook point faces upward with the sinker below it. Adjust the tag length for your desired bait height before attaching the weight.
What If Your Lure Is Too Bulky for a Palomar?
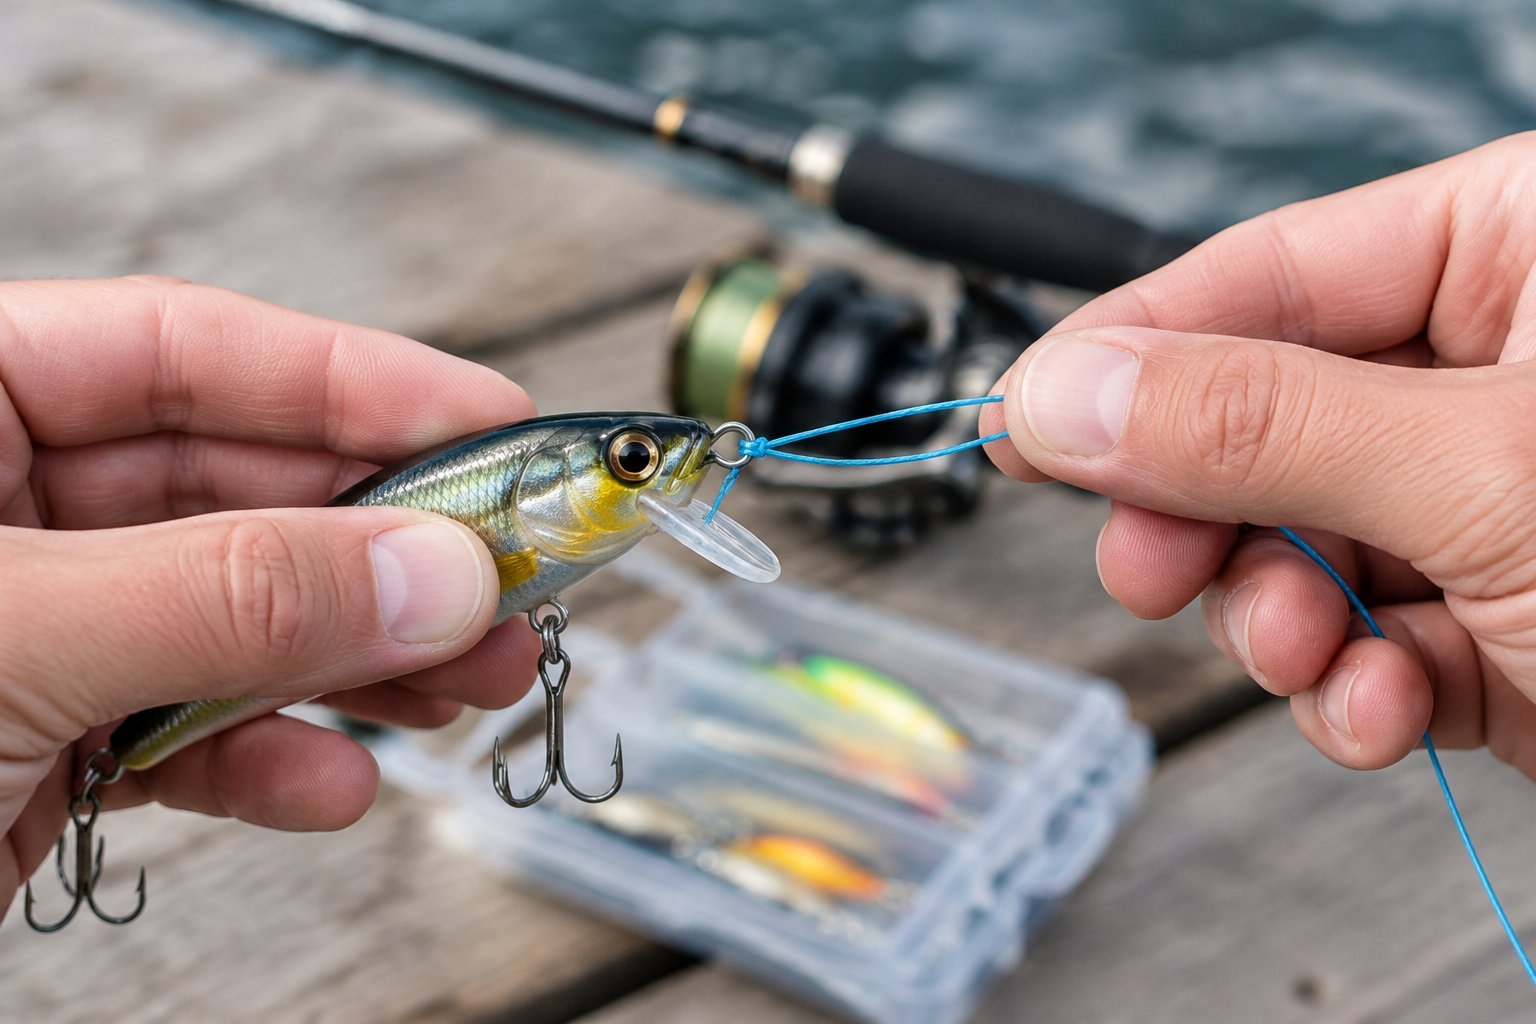
Use a uni knot when passing a large lure through a Palomar loop becomes awkward. You work with the tag end beside the eye, keeping bulky tackle out of the tying sequence.
Tie a Uni Knot Without Passing the Lure Through a Loop
Start with about 10 inches of tag line so you have room for the wraps.
- Thread the braid through the lure eye.
- Lay the tag alongside the standing line, then curve it back to form a loop.
- Wrap the tag around both parallel strands and through that loop 8–10 times.
- Moisten the wraps and pull the tag to gather them.
- Pull the standing line to slide the knot down to the eye.
Keep the coils orderly as you tighten. When you tie on a ChatterBait, use the designated line tie and check that your knot leaves the blade free to move.
Adjust the Wraps for Your Braid and Check for Slippage
Use 8–10 wraps as a starting point, especially with thin, slick braid. Follow your line manufacturer’s knot guidance if it specifies a different arrangement.
Watch the tag while you load the connection steadily. If it creeps toward the knot, cut off the connection and retie; extra wraps help only when you seat them fully.
A snug uni fixes your line against the eye. If your presentation calls for a freely moving loop, choose an appropriate fishing loop knot for the line material you’re attaching.
When to Consider a Berkley Braid Knot Instead
Consider a Berkley braid knot when you want another braid-focused terminal connection to practice. You use doubled line and multiple wraps to build its grip.
Give yourself time to learn its sequence before relying on it during a quick trip. When comparing braided fishing line knots, choose the one you seat cleanly and repeatedly pull-test with your own line.
How Do You Connect Braid to a Leader?
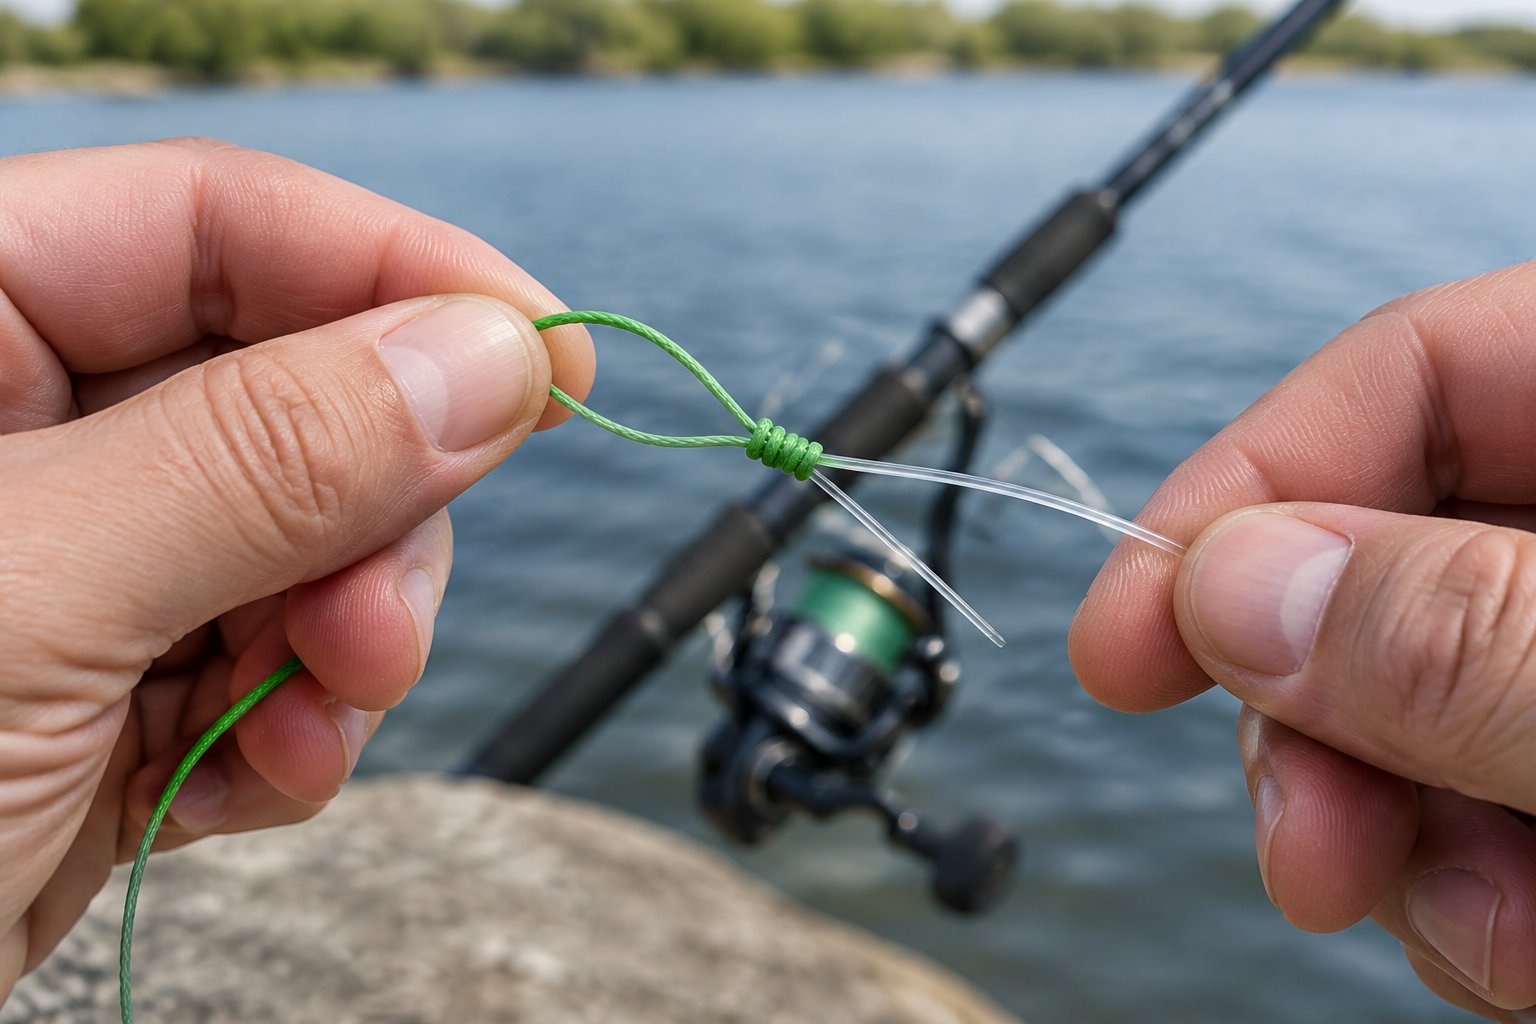
Start with a double uni for your first braid-to-leader knot; choose an Alberto when you need a more compact connection. Match your leader knot to the line diameters and the space inside your rod guides.
Tie a Double Uni With Extra Wraps on the Braid Side
Overlap your braid and leader by about 10–12 inches. Keep both tag ends accessible while you tie.
- Bend the braid tag back into a loop over the overlapping lines.
- Wrap that tag around both lines and through its loop 8–10 times.
- Moisten and pull the braid tag to gather its knot.
- Repeat with the leader tag, using 4–6 wraps.
- Wet both knots, then pull the standing lines to slide them together.
Inspect the joined barrels and pull-test before trimming the tags to about ¼ inch. If your fluorocarbon line bunches into crossed coils, start again with fresh line.
You might already know a blood knot for joining similar-diameter mono sections. For this braid-to-leader setup, keep your practice focused on the double uni and its extra braid-side wraps.
Use an Alberto Knot for a More Compact Connection
Choose an Alberto knot when your double uni catches against small guides. You wrap braid around a doubled leader, producing a compact connection when you seat it correctly.
- Fold several inches of fluorocarbon leader or monofilament line into a narrow loop.
- Pass about 10–12 inches of braid through the loop.
- Wrap the braid around both leader strands seven times, moving away from the loop opening.
- Make seven return wraps toward the opening.
- Feed the braid tag through the opening so it exits on the same side of the leader loop as the standing braid.
- Moisten, snug the wraps progressively, and pull the standing lines firmly.
Check the entry and exit positions before tightening. If your braid ends emerge on opposite sides of the leader loop, rethread the tag before seating.
Understand the Albright Connection and When an FG Is Worth Learning
With an Albright knot, you also wrap braid around a doubled leader. You make a single run of wraps before returning the tag through the opening; the Alberto adds a return series of wraps.
Consider an FG knot when you frequently cast a long leader through small guides. You form a tensioned braid weave around the leader, which takes more practice to seat and finish securely.
For a short after-work outing, tie your practiced connection at home. Learn the FG separately, with enough time to inspect and load-test several attempts.
Why Does a Braid Knot Slip or Break?
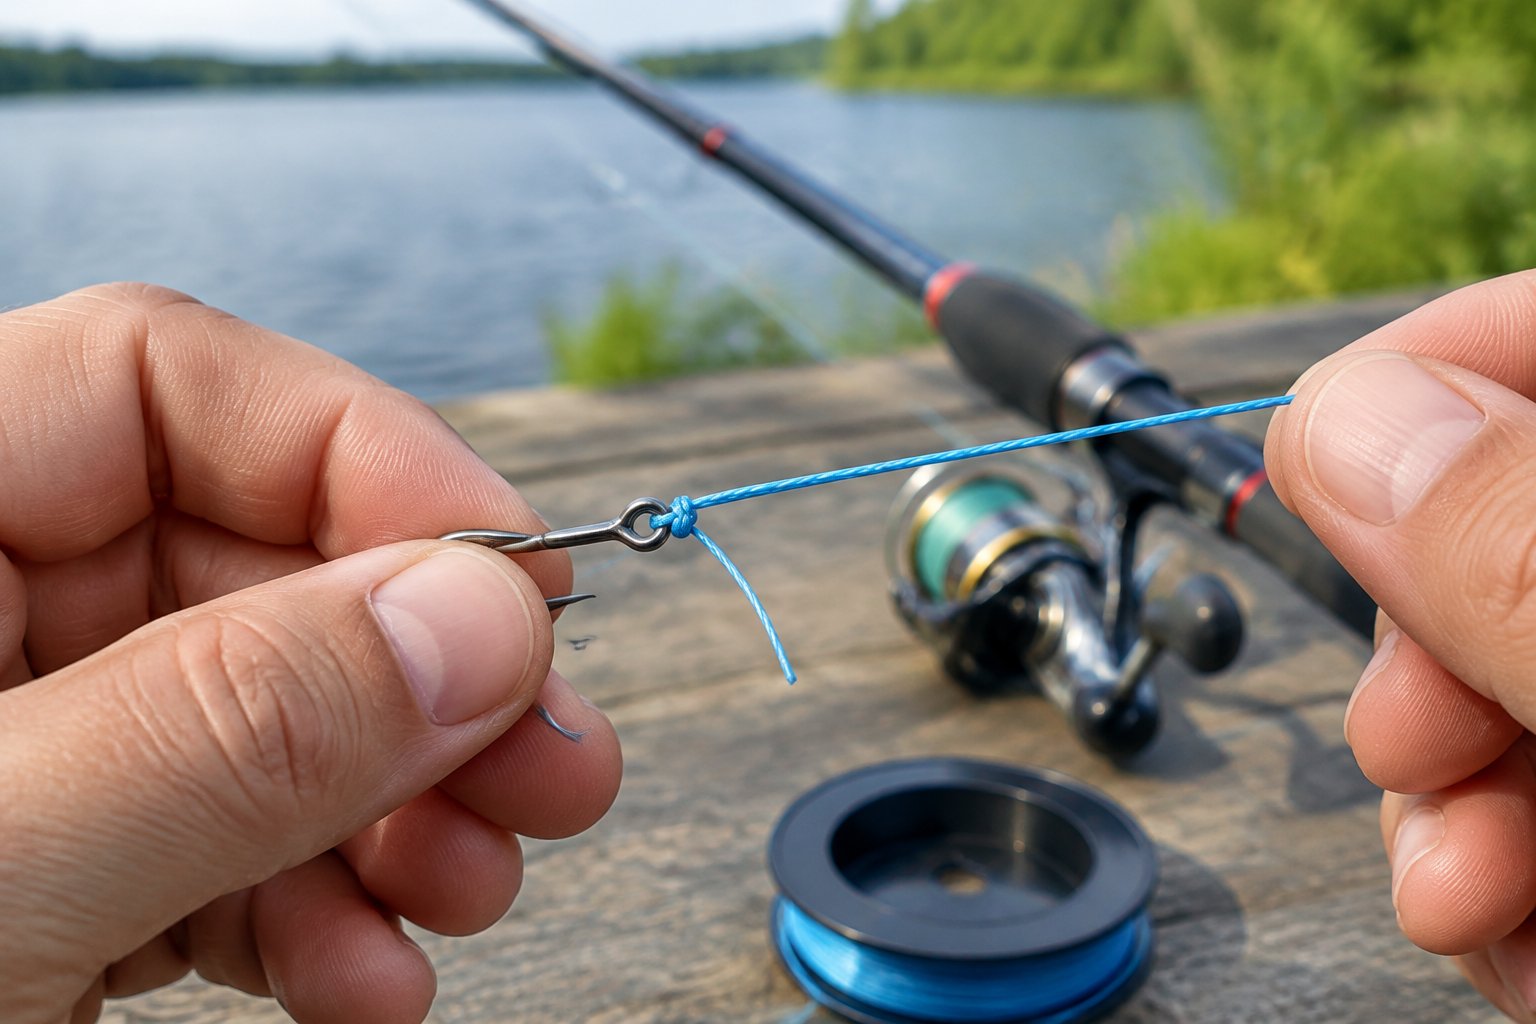
Check knot choice and seating first when your braid connection fails, then inspect the surrounding line for damage. A slipping tag and a frayed break give you different clues about what needs correcting.
Why Standard Clinch Knots Are Not the Default for Braid
Choose a braid-friendly connection because a standard clinch knot relies on coils gripping a slick line surface. With braided fishing line, those coils are prone to sliding under load.
An improved clinch knot adds a finishing tuck, but you still need a connection suited to your particular braid. Save these fishing line knots for compatible applications and use your practiced Palomar or braid-adjusted uni for direct attachments.
Check for Crossed Wraps, Incomplete Seating, and Damaged Line
Inspect your knot for overlapping coils or a loop caught against the tackle. A partly seated knot shifts as you load it, leaving your connection unreliable.
Run your fingers along the nearby braid and look for fuzzing or flattened fibers. Check the hook eye too, then cut back beyond any damaged section before retying.
If the entire line pack rotates on your reel spool while the knot stays secure, check how you spooled your baitcaster with braid. Spool grip requires a separate fix from your terminal connection.
Test Safely and Retie Before a Quick Trip
Use a smooth knot-pulling tool or a purpose-made line puller to apply firm, steady pressure. Keep bare fingers clear of tensioned braid, which cuts skin, and keep hooks pointed away from everyone.
Retie after a hard snag or visible abrasion. When fishing with children, handle the tightening and trimming yourself while keeping loose hooks out of reach.
Get your gear ready and explore the related beginner-friendly guides before your next trip.