For more bites on a short trip, set your tip-ups along weed edges or drop-offs, keep your bait at a measured depth, and respond promptly when a flag rises. These tip up ice fishing tips help you spend your limited fishing time with working baits in productive water.
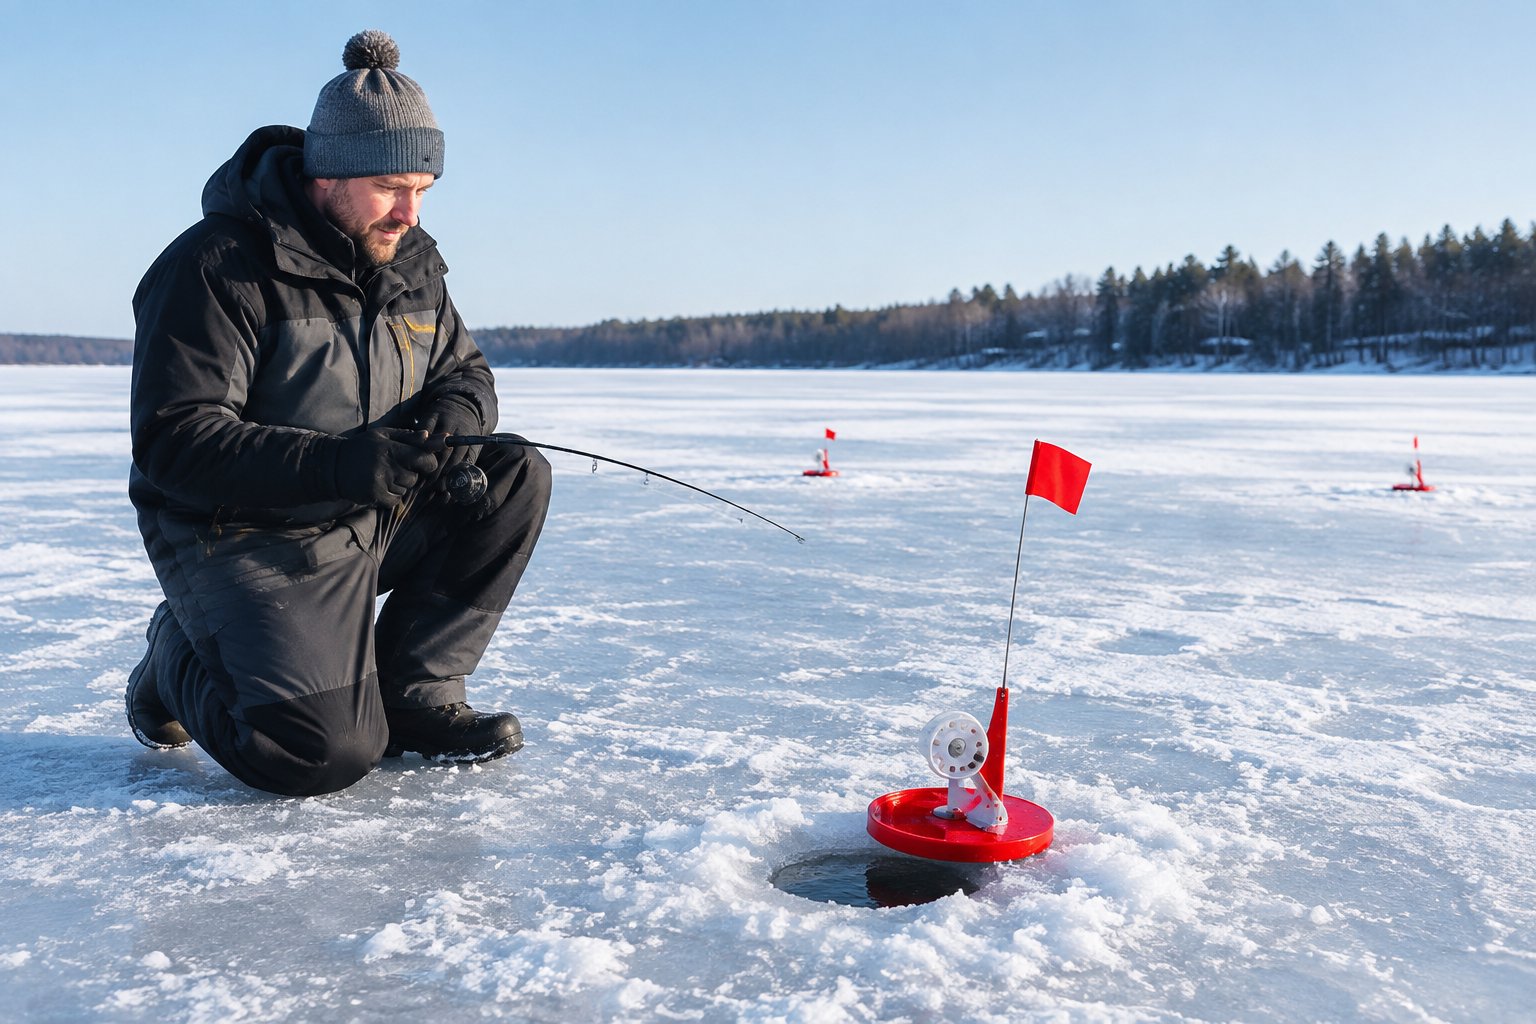
You get a manageable start to tip-up ice fishing with one or two devices, simple bait rigs, and a compact area you can supervise. If you’re approaching ice fishing as a beginner, give yourself time to check conditions and practice the setup before bringing your kids along.
How Does a Tip-Up Work, and What Gear Do You Need?
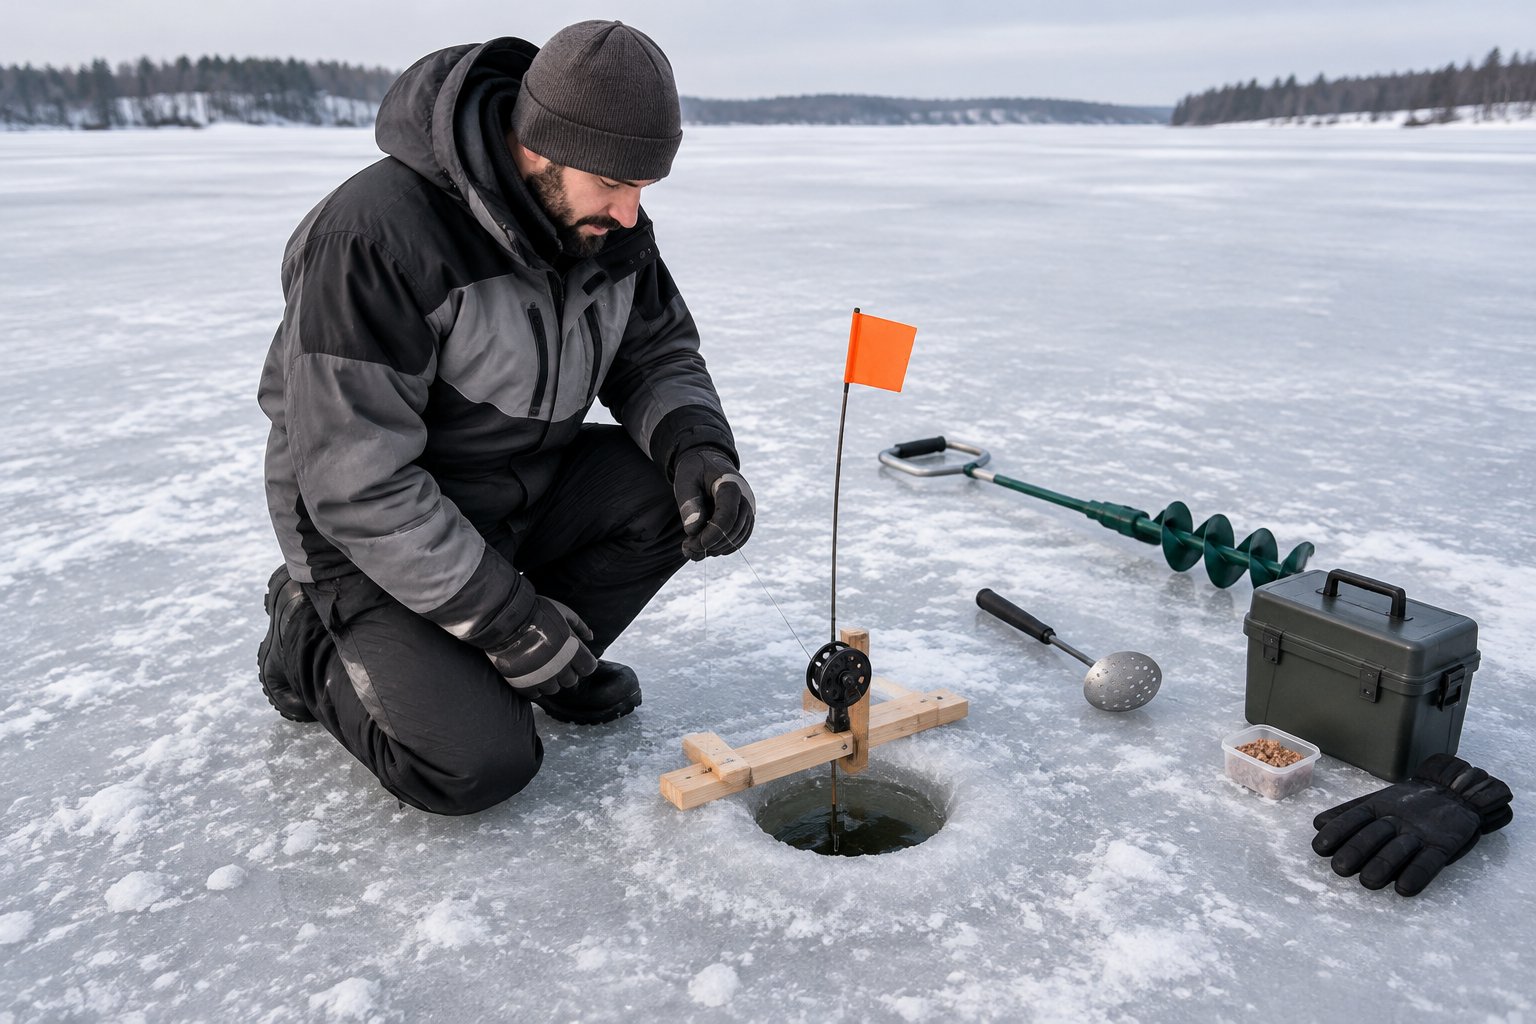
Your ice fishing tip-up suspends bait below the ice and raises a flag when a fish pulls line from its spool. You need a dependable device, suitable line and tackle, plus equipment for making and maintaining the hole.
How the Spool, Trigger, and Flag Signal a Bite
On a traditional tip-up, you position the spool underwater and latch the spring-loaded flag beneath the trigger. When a fish takes line, the rotating spool moves the trigger and releases the flag.
Before baiting, pull line gently to check that the mechanism trips and the spool turns freely. A raised flag signals movement at your bait; you still need to check for a fish because wind or a vigorous minnow also triggers some setups.
Choosing Between Traditional, Insulated, and Rod-Based Designs
For a straightforward first setup, choose traditional ice fishing tip-ups with stable bases and adjustable triggers. You retrieve fish by hand with these designs, so comfortable line handling deserves attention.
An insulated tip-up covers the hole and slows freezing. A thermal tip up is useful in cold or windy conditions, although you still need to inspect the opening. With a rod-based design, you use an ice fishing rod and reel to fight the fish; follow that device’s instructions for releasing the line and engaging the reel.
A Simple Starter Kit for Your First Outing
Keep your ice fishing gear compact enough that you can find everything with gloves on:
- One or two tip-ups, where legal
- An ice auger and slush scoop
- Tip-up line, swivels, leaders, hooks, and split shot
- Legal bait in an insulated container
- A depth weight and line markers
- Long-nose pliers and hook cutters
- Ice-safety equipment and spare dry gloves
Choose an auger diameter suitable for your target fish and device. Practice opening the tip-up and setting its trigger at home, then pack sharp tackle in a closed box.
What Safety Checks and Local Rules Come First?
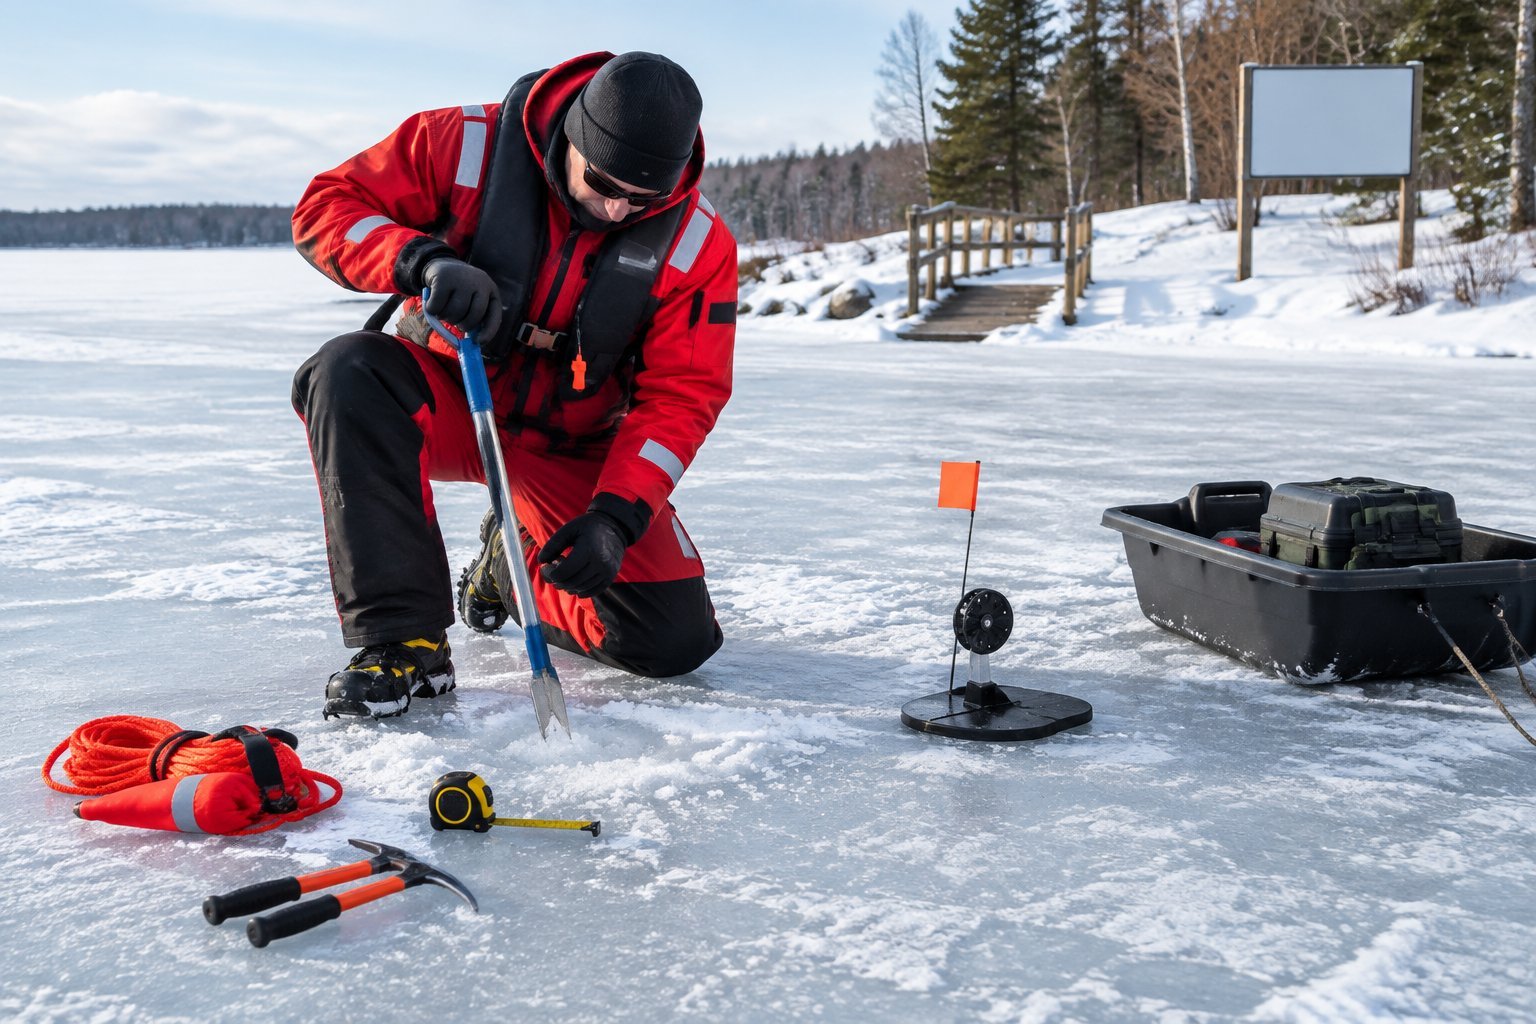
Check current ice conditions, legal access, and the waterbody’s fishing regulations before setting any lines. Your tip-up fishing plan needs to fit both the conditions and your ability to attend every device.
Check Ice Conditions and Access Before Heading Out
Get current local information, then check ice thickness and quality repeatedly as you travel. Many US agencies use at least 4 inches of new, clear ice as a walking guideline, but thickness alone never guarantees safety. Current, springs, cracks, and deteriorating ice create hazards even beside thicker areas.
Wear appropriate flotation and carry accessible ice picks. Bring a throw rope, travel with another adult, and keep away from inlets and outlets. For winter fishing, confirm parking and access hours so your return route remains available.
Confirm Combined Line Limits, Bait Restrictions, and Attendance Rules
Read the current regulations for your state and specific lake. Check whether your jigging rod and tip-ups count toward one combined line limit, along with hook restrictions and any required device identification.
Confirm the rules for live bait and dead bait, including permitted species and transport requirements. Some waters restrict baitfish even when purchased legally elsewhere. Check attendance distances, seasons, and harvest limits before you leave home.
Keep Kids Supervised and Every Flag Within Reach
Place your spread where you can see every flag and reach each hole safely. Visibility through a shelter window deserves a check after you sit down, especially when snowbanks or other equipment obstruct your view.
Keep children beside a supervising adult and establish clear boundaries around open holes. Give them jobs such as watching flags or holding the scoop, while you handle exposed hooks. Walk steadily to bites and keep your access path clear of gear.
How Do You Rig a Tip-Up and Present the Bait?
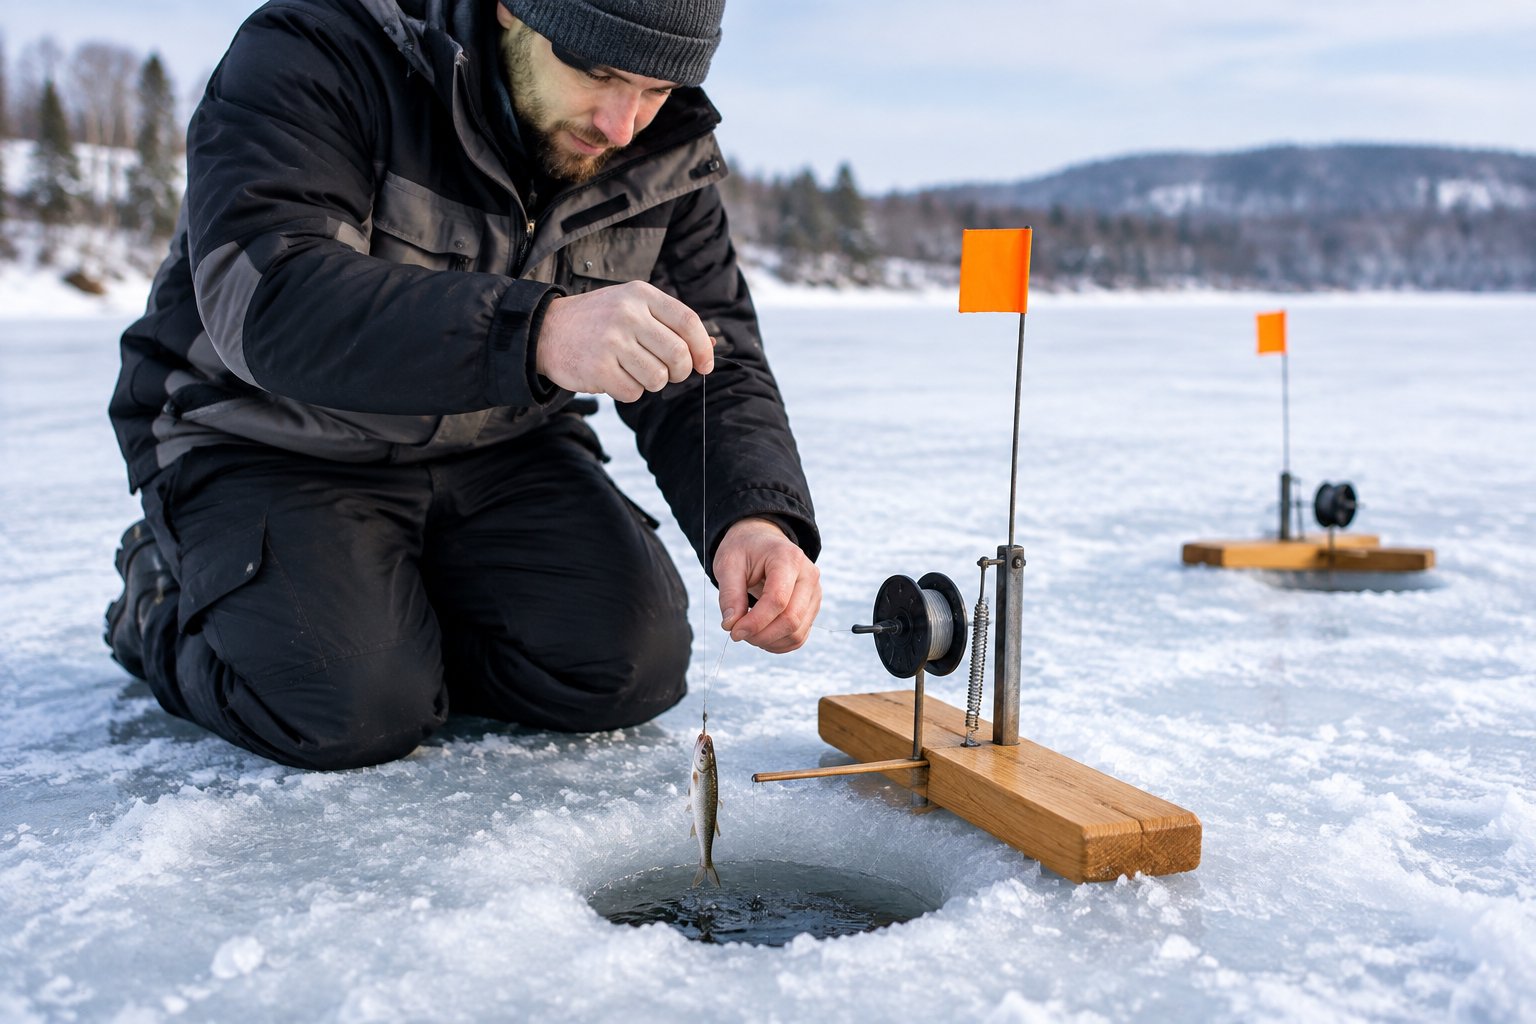
Build your rig around manageable tip-up line, a swivel, and a leader suited to your target fish. Then match the hook to your bait and test the trigger with the complete presentation underwater.
Connect the Main Line, Swivel, and Leader
Use purpose-made braided tip-up line that is comfortable to handle with cold fingers. Compared with thin ice fishing line intended for a rod and reel, its larger diameter gives you a better handhold during retrieval.
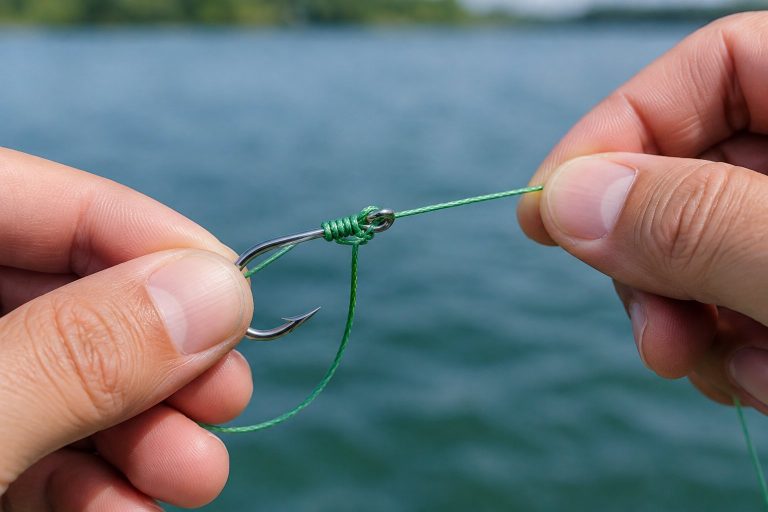
Tie your main line to a barrel swivel with a Palomar knot if the line manufacturer recommends that knot. Add roughly 3 feet of fluorocarbon leader for a simple walleye setup, adjusting strength to your fish and conditions. Wet and tighten compatible knots carefully, then pull-test every connection.
For northern pike, choose a steel leader or suitable wire leader for tooth protection. Fluorocarbon leaders resist abrasion, but ordinary walleye-strength fluorocarbon leaves your bait vulnerable to a pike’s teeth.
Match Single Hooks and Quick-Strike Rigs to Your Bait
Choose a small octopus hook for modest minnows and lighter presentations. Match hook size to the bait so the point remains exposed, and add only enough split shot to hold your intended depth.
For larger pike bait, a quick-strike rig places hooks along the bait to support a prompt hook-set. Quick strike rigs commonly use multiple treble hooks, so check local hook-point limits before using one. If you choose a single treble hook, keep its unused points clear of the bait.
Follow the rig maker’s bait-placement directions. Your quick strike rig should hold the bait securely without burying the working hook points.
Hook a Live Minnow Without Restricting Its Movement
For a stationary presentation, pass one hook point shallowly beneath the skin near the dorsal fin of your live minnow. Keep clear of the spine and leave enough space around the hook bend for the bait to move.
When deciding how to hook a minnow, consider how you want it suspended. Back-hooking supports a roughly horizontal position, while light lip-hooking offers another presentation. Lower the bait gently and check that it swims without spinning or wrapping around the leader.
Set Trigger Sensitivity and Mark Your Fishing Depth
Start with enough trigger resistance to hold against your bait’s movement. Pull line by hand to confirm that a light, steady take releases the flag, then adjust using the manufacturer’s settings.
Measure bottom depth with a clip-on depth weight and remove that weight before fishing. Raise your bait to the desired position and attach line markers at a repeatable reference point near the spool. Make sure your marker passes clear of the mechanism and follows the device’s instructions.
Where Should You Place Tip-Ups and Set Bait Depth?
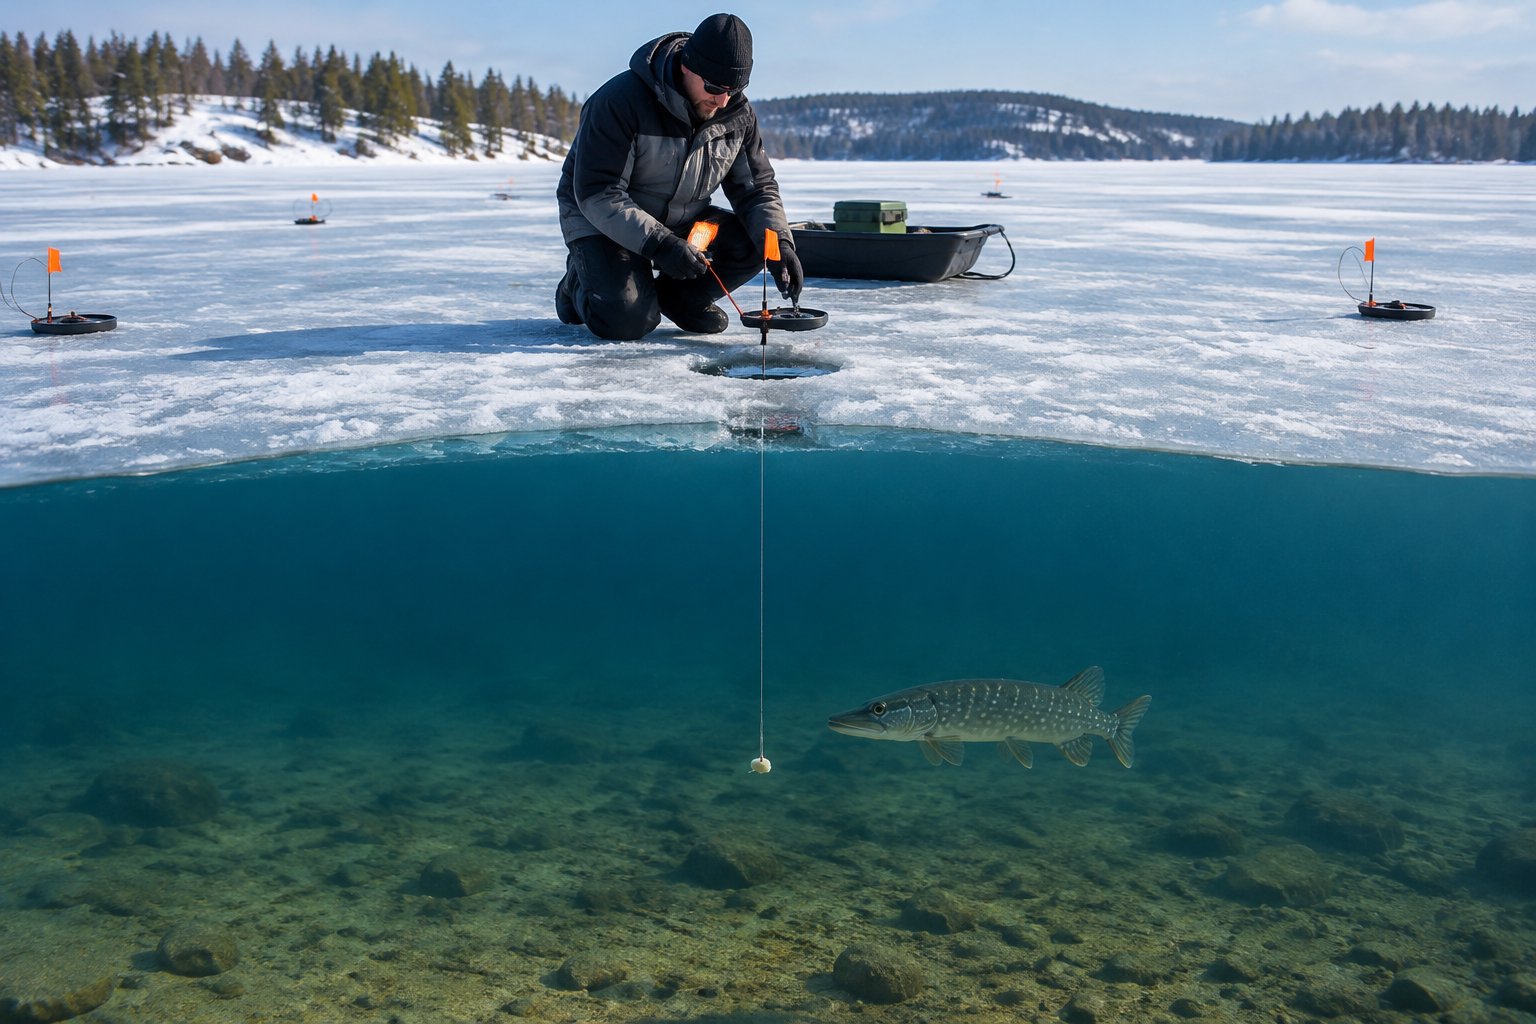
Place your tip-ups along identifiable structure and use different bait depths to locate feeding fish. Start with a small area that includes a shallow edge and nearby deeper water.
Use Maps and Optional Sonar to Find Structure
Study a lake map before drilling so you have a specific target, such as a point connecting a flat to deeper water. Weed edges, drop-offs, and reefs give you useful starting locations.
If you have a fish finder, use sonar to confirm depth and look for weeds or suspended fish. A map contour gives you a plan; your depth measurement confirms the actual hole. Without electronics, use a depth weight and record the depth at each position.
Spread Legal Lines Across Different Depths
Use your permitted lines to sample distinct positions along the same feature. With two tip-ups, place one near the shallow edge and the other farther down the slope, keeping both within legal attendance distance.
Record water depth and bait depth separately. A bait 2 feet above bottom in 10 feet of water presents differently from one at the same bottom clearance in 20 feet. When one position produces bites, shift your unproductive line toward that depth or feature.
Start Near Bottom for Walleye and Above Weeds for Pike
For ice fishing for walleye, start with your minnow about 1 to 2 feet above bottom beside a break or feeding flat. Keep enough clearance to prevent the bait from settling into sediment.
Your walleye ice fishing approach should also account for light levels, with dawn and dusk worth planning around where access allows. Set up while you still have good visibility for checking your route.
For northern pike, suspend your bait above weed beds so it remains visible and clear of stems. Measure the weed tops separately from the lakebed, then begin a foot or two above the vegetation.
Adjust for Perch, Crappies, and Suspended Lake Trout
For perch, begin near bottom with smaller bait and a sensitive trigger. If you see fish higher on sonar, raise your offering to their level and check whether the smaller fish are taking bait without releasing the flag.
For crappies, check the water column carefully because a bottom-focused setup misses suspended schools. Position your bait at or slightly above the depth of visible fish.
When ice fishing for lake trout, use adequate spool capacity for the depth plus a fish’s run. If you choose live bait for lake trout, verify that it is permitted on that water and match its depth to observed fish activity.
What Should You Do When a Flag Goes Up?
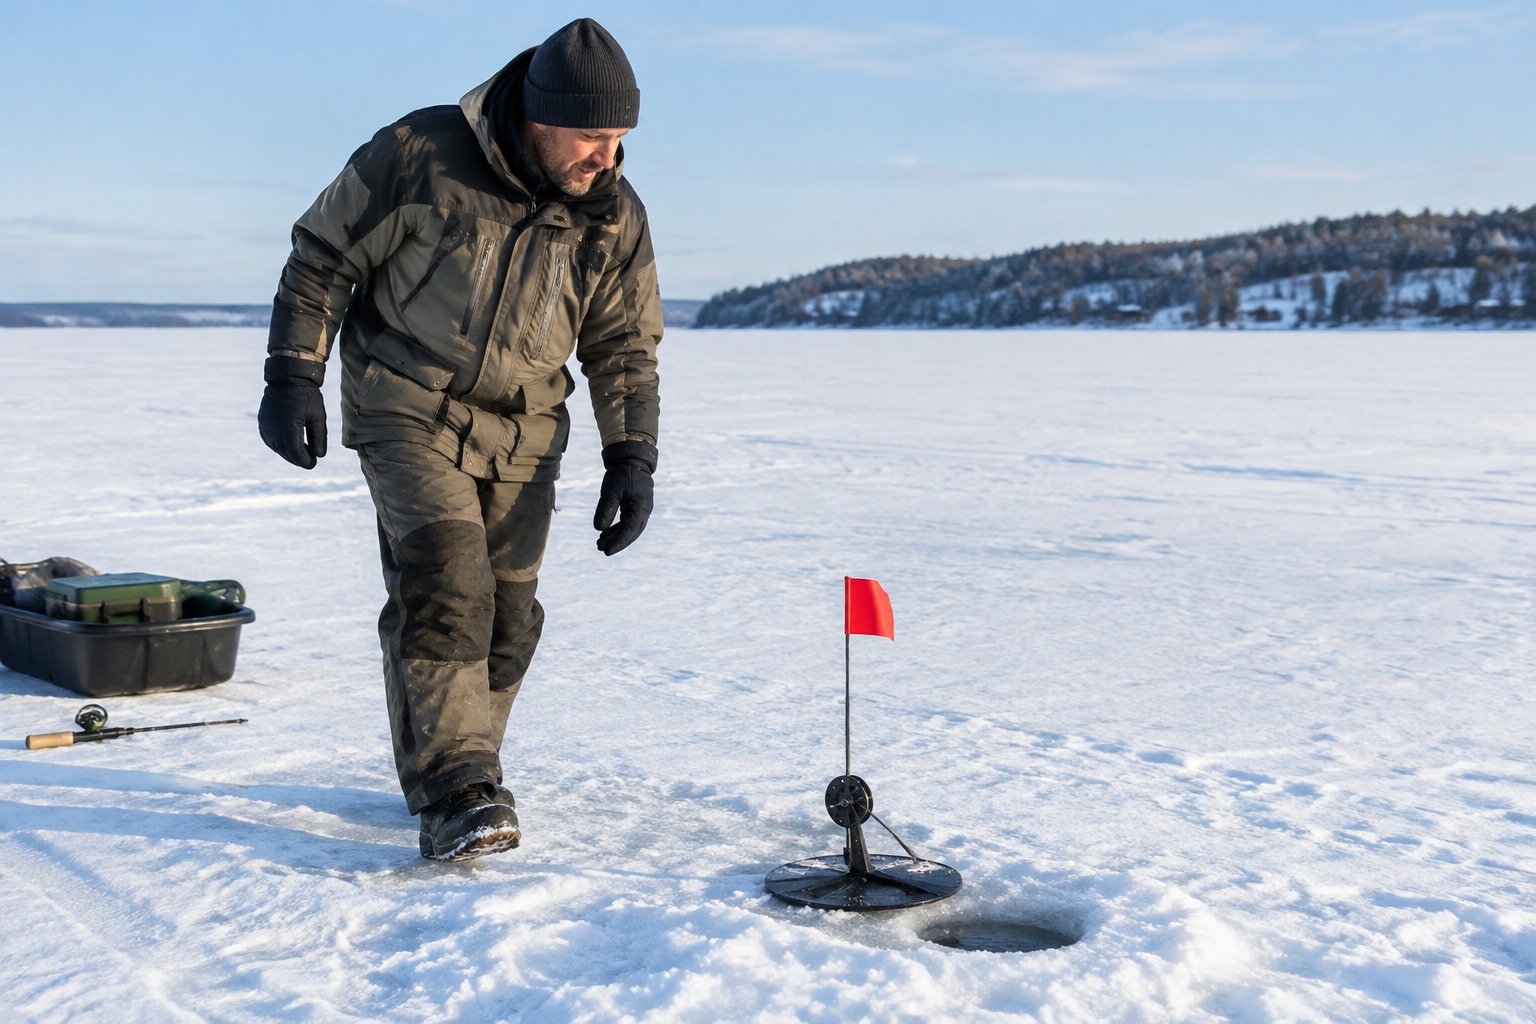
Walk to the flag, establish contact with the fish, and retrieve with controlled tension. Prompt attention during tip-up fishing helps you avoid prolonged bait swallowing and gives you time to manage the line.
Approach Safely and Lift the Tip-Up Without Pulling the Line
Watch your footing as you approach and keep children back from the opening. Look at the spool for movement, then position yourself where you have room to retrieve line.
Lift a traditional tip-up carefully while allowing line to feed freely. Set the device beside the hole without dragging the line against its frame. With a rod-based model, follow its release procedure before taking control of the rod.
Take Up Slack and Set the Hook Without a Long Delay
Gather slack gently until you feel the fish’s weight. For standard J-hooks and a quick-strike rig, use a firm, controlled pull when setting the hook.
Avoid a preset waiting period intended to let the fish swallow your bait. With large bait on a quick-strike rig, prompt contact is part of the rig’s purpose. If the line is slack, recover it steadily until you establish contact.
Retrieve Hand Over Hand and Keep Loose Line Clear
Pull your fish toward the hole with smooth hand-over-hand movements. Place retrieved line in loose coils on clear ice away from your boots, children, and exposed tackle.
Never wrap line around your fingers or hand. When a strong fish runs, ease line out under controlled pressure and keep your hands clear of the coils. Guide its head into the opening before lifting or supporting it with an appropriate landing method.
Unhook, Release or Keep Legally, and Reset
Have your pliers ready before landing the fish. Wet your hands for handling, support the body, and keep a fish intended for release out of the water for as little time as possible.
Check legal length and possession limits before keeping your catch. In severe cold, protect released fish from prolonged air exposure that damages eyes and gills. Inspect your leader for abrasion, replace damaged tackle, and use your depth marker to reset the bait.
How Can You Avoid Wasted Time on a Short Trip?
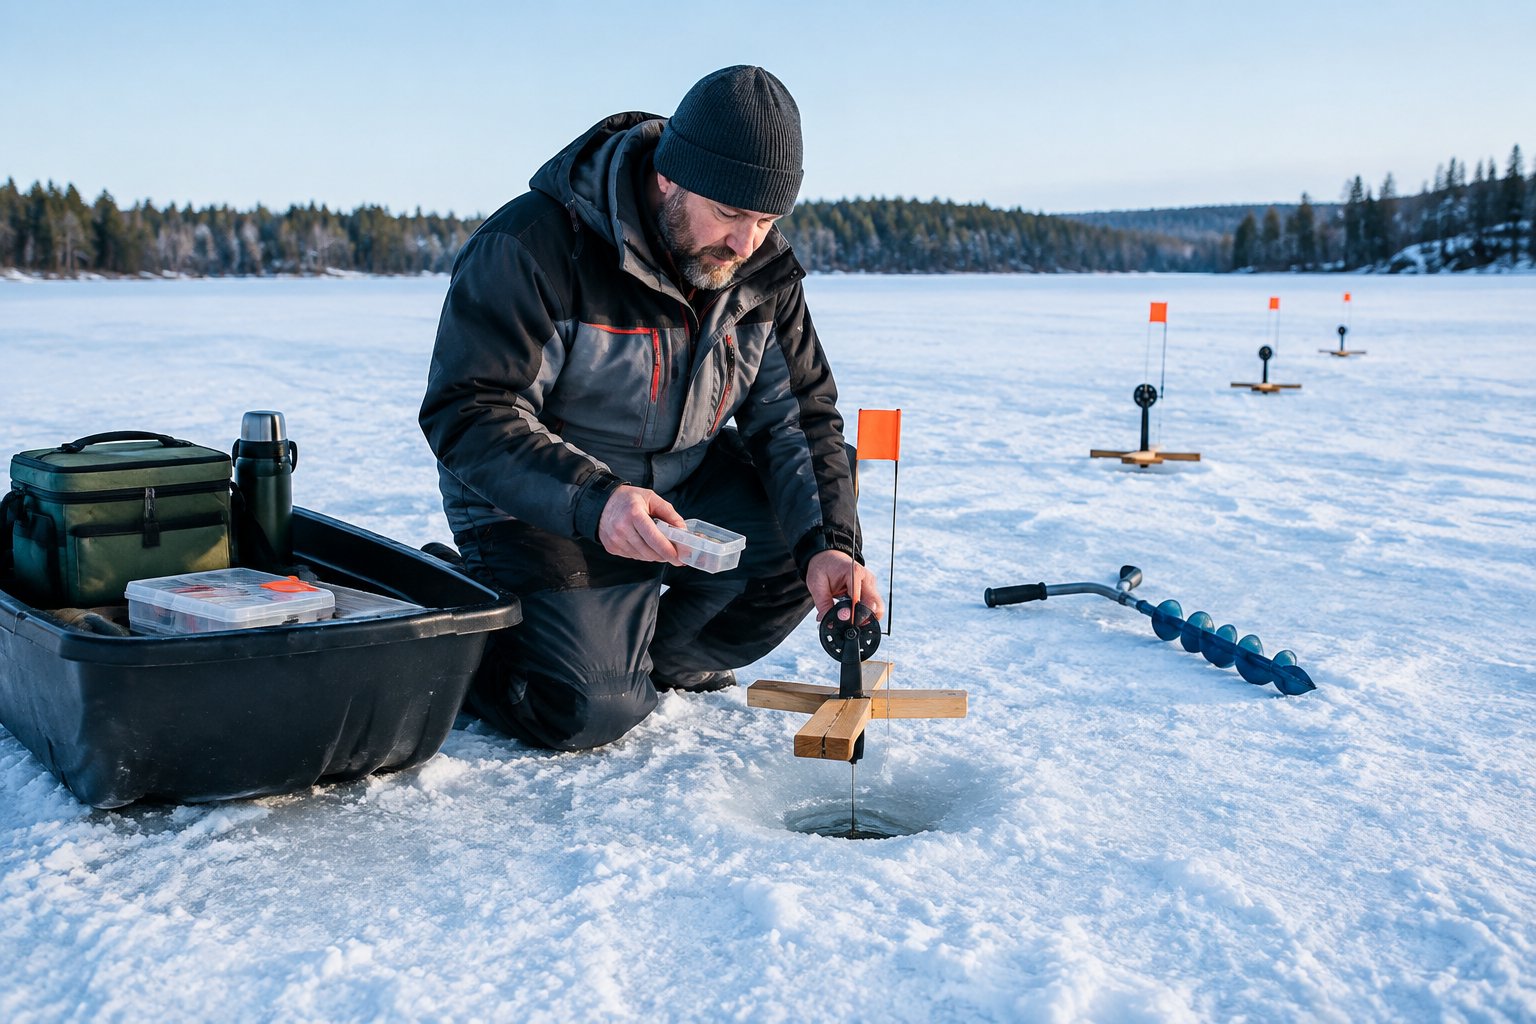
Save time by preparing your rigs at home and checking each setup on a regular rotation. A small spread leaves you enough attention for bait maintenance and family supervision.
Fix False Flags, Frozen Holes, and Tangled Bait
When you get repeated false flags, watch whether wind or bait movement releases the trigger. Increase resistance a little at a time, testing after each adjustment so a fish still pulls line freely.
Use an insulated tip-up to slow ice formation and skim accumulating slush before it traps your line. If your bait tangles, check leader length and swivel function. Reduce unnecessary slack and reposition the bait clear of weeds.
Check Bait Regularly and Move Unproductive Lines
Begin with a bait-check interval of about 20 to 30 minutes, shortening it when holes freeze quickly or bait tangles. Check that your live bait remains active and your dead bait stays securely attached.
For a 30-minute fishing window, arrive with a location and rigging plan already chosen. Change one unproductive setup at a time so you know whether a new depth or position improves results. Recover every line before leaving the area.
Combine a Small Tip-Up Spread With Nearby Jigging
If your combined line limit allows it, pair one tip-up with a nearby jigging rod. Keep your jigging setups positioned so you can watch the flag while staying clear of the baited line.
Count every active line before adding another rod. When a flag rises, secure your jigging hook before walking over. With children, reduce the number of active setups whenever helping with one fish divides your attention.
Pre-Rig at Home and Keep Family Outings Manageable
Tie leaders at home and store each rig separately with its hooks covered. Check trigger operation before packing, and keep your scoop and pliers where you can reach them without unloading the sled.
When you have little time to go fishing, choose a familiar access point and one target area. Pack snacks and spare mittens for your kids, and set a return time that leaves room for gathering equipment in daylight. Use line markers to speed resets, then dry your gear after the trip.
Get your gear ready and explore the related beginner-friendly guides before your next trip.