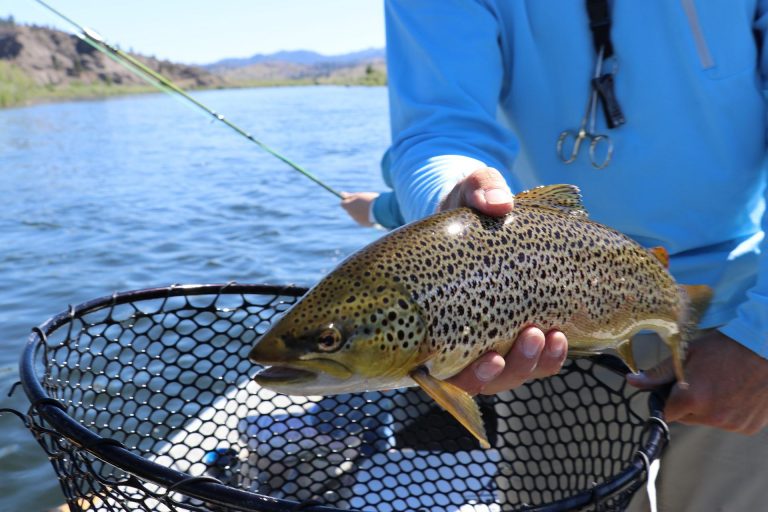
You can make your first ice fishing trip manageable with a local guide, a safe and accessible lake, and a basic rod-and-bait setup. For ice fishing for beginners, start on foot with an experienced local angler or guide who can help you check conditions, choose a fishing spot, and learn the setup.
A few simple decisions make the day easier: confirm the lake is open to fishing, check your license and local rules, dress for hours outdoors, and carry ice safety gear. Once you’re set up, a small jig or live bait gives you a straightforward way to learn.
How Do You Plan Your First Trip?
Plan your first trip around a legal access point and local guidance, then confirm your license, regulations, and current conditions before leaving home. An experienced angler or guide can help you choose a suitable place and keep your first outing focused.
Choose a Legal, Accessible Lake
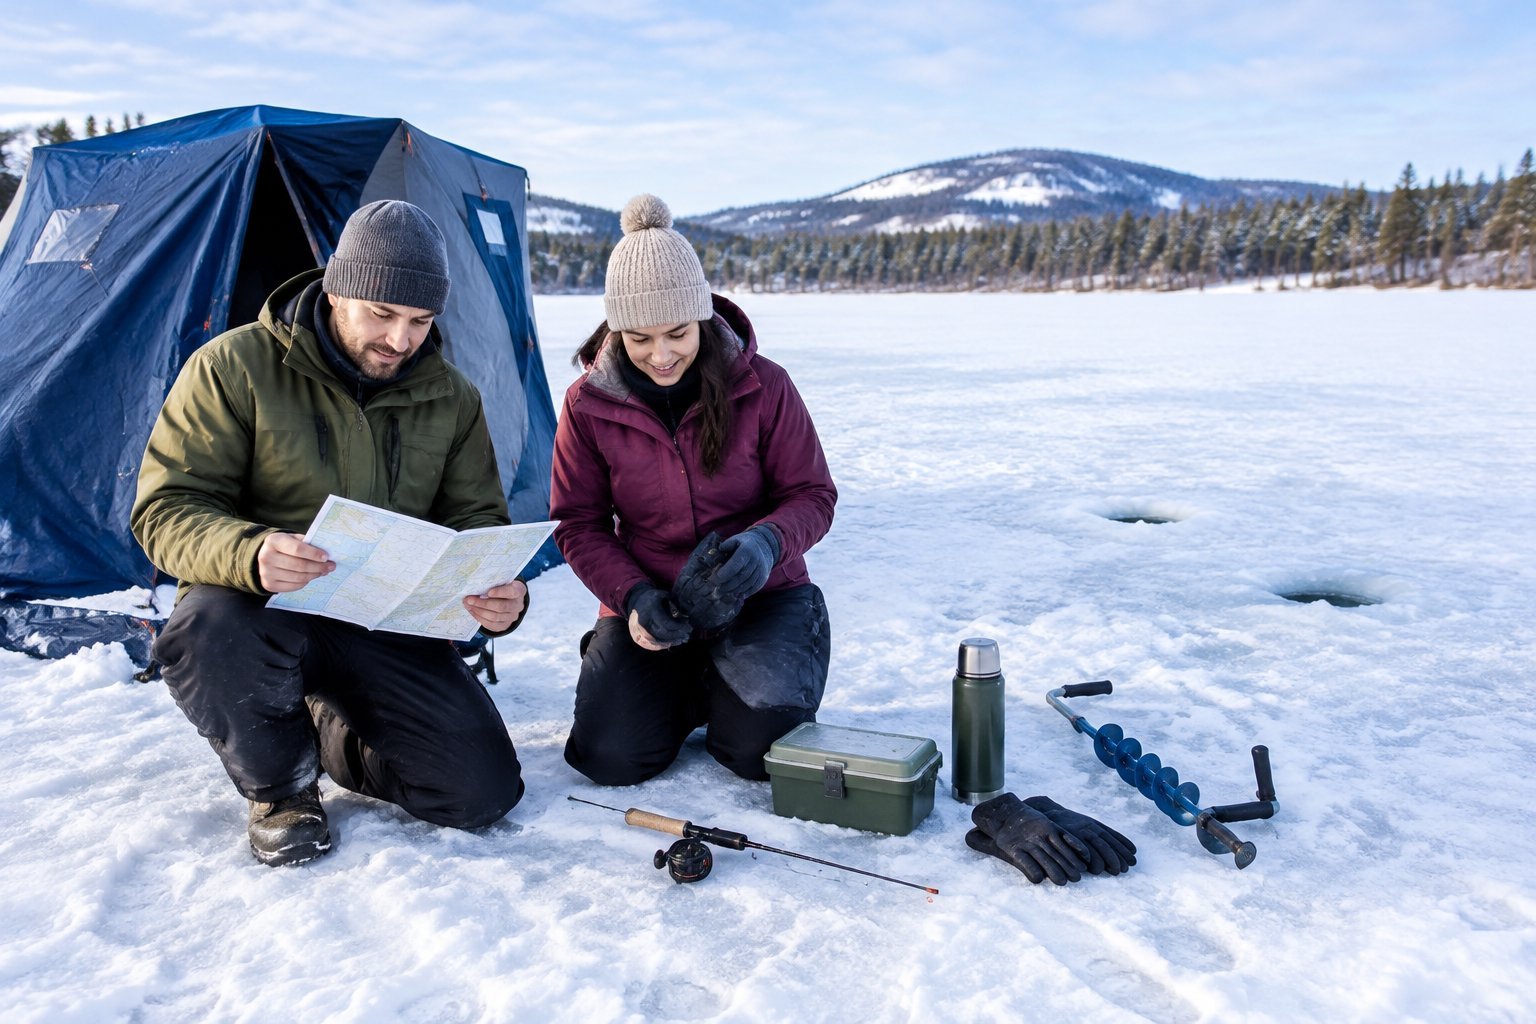
Choose a lake with public access, clear rules, and current information from a local source. Ask whether ice fishing is permitted, where you can park, and whether access is open to foot traffic. A well-known name such as Lake of the Woods does not make every access point or area suitable for a beginner; check the specific location and conditions.
Keep the first trip simple by choosing a spot close to shore and planning to fish on foot. Check the weather forecast, daylight hours, and travel time so you can get back before conditions or visibility worsen.
Check Licenses, Regulations, and Local Conditions
Buy a valid fishing license for the state where you plan to fish, then check the rules for that specific lake. Fishing regulations can set seasons, catch limits, size limits, and restrictions on bait or equipment. Review them before you pack, and make sure you can identify the species you might catch.
Get a same-day ice and access update from a local bait shop, guide, or natural resources agency. Conditions can change across a lake, so a report from another date or another access point does not establish that your route is safe.
Ask a Local Expert Where to Start
Ask a local guide or experienced ice angler to recommend where to ice fish and how to approach the access point. A local expert can point out hazards, share current fishing information, and show you how to use the gear.
For your first outing, consider hiring a guide or joining someone who knows the lake. You’ll learn more by seeing how they test the route and set a line than by carrying extra equipment you haven’t used before.
How Can You Stay Safe on the Ice?
Safe ice fishing starts with checking current conditions as you go, carrying essential rescue gear on your body, and fishing with a partner. No single ice thickness guideline guarantees safety across a lake, so follow local advice and turn back whenever conditions raise concern.
Check Conditions Without Relying on One Thickness Rule
Ice thickness guidelines are reference points, not a promise that every part of a lake is safe. Ice changes with currents, springs, inlets, outlets, snow cover, and temperature shifts. Even a route that appears uniform can have weak spots.
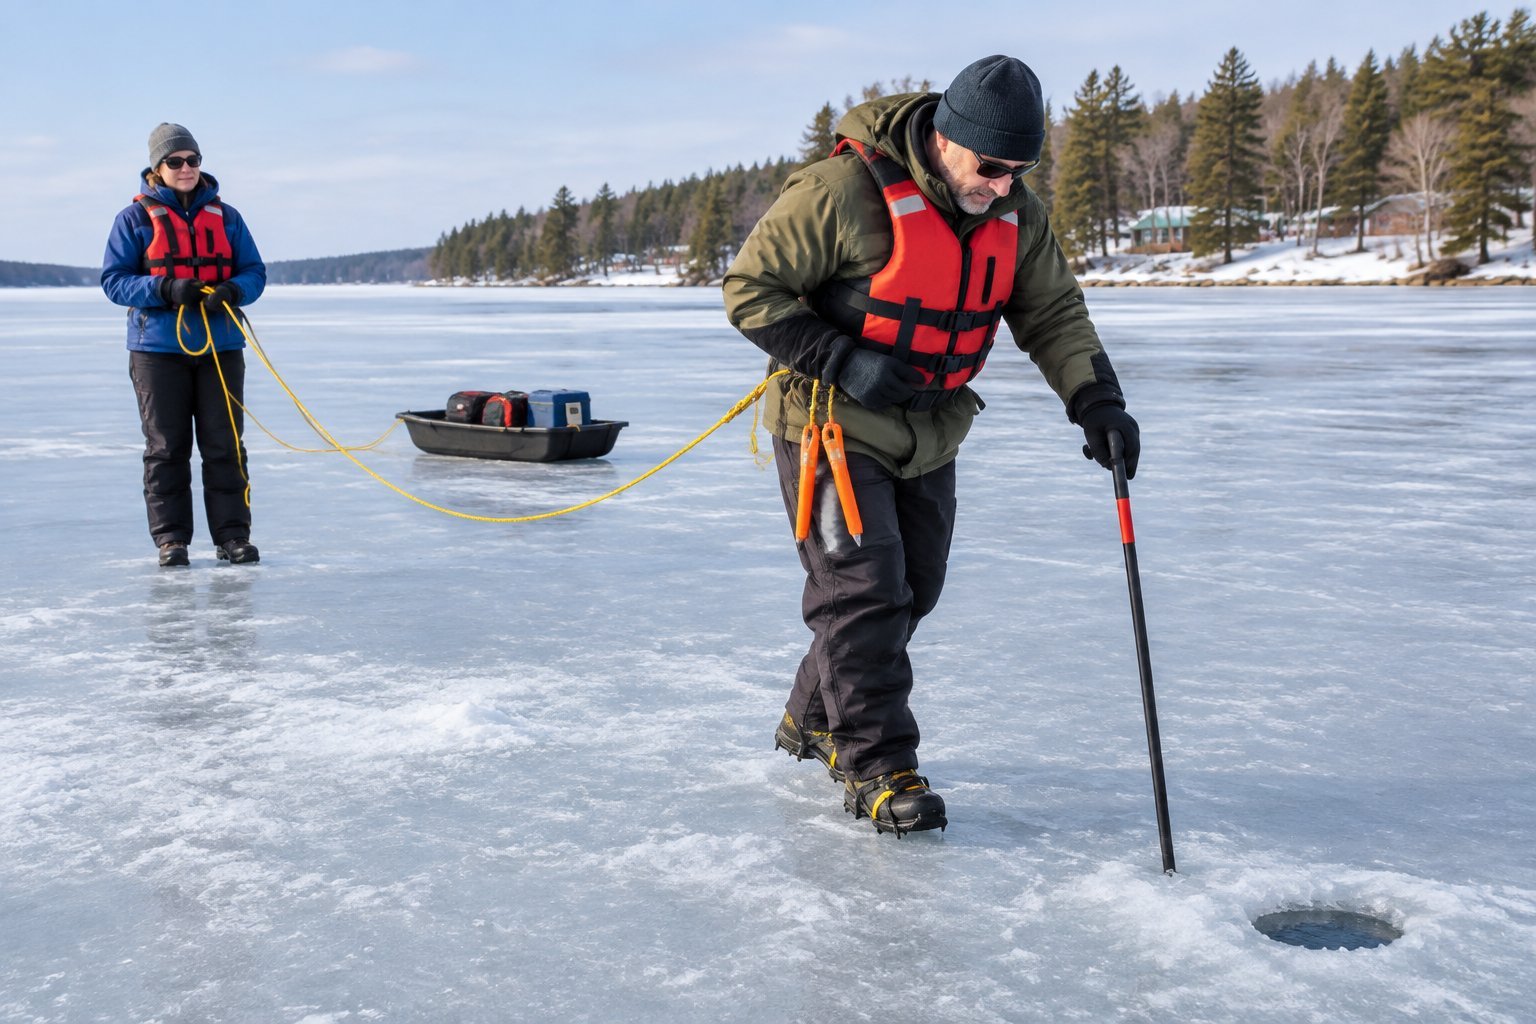
Ask a local expert about current conditions and learn how to test ice with a spud bar or ice chisel before each step forward. Check repeatedly as you move, and stay away from moving water, cracks, pressure ridges, and areas with slush or wet-looking ice. Clear ice can be stronger than white or cloudy ice, but color alone cannot confirm safety. First ice deserves extra caution because it can look solid while remaining dangerously thin.
Carry Essential Safety Gear
Bring ice picks, a spud bar, and a throw rope, and keep them within reach. Wear ice picks on a cord around your neck so you can reach them if you fall through. Use the spud bar to probe ahead, and carry the rope where your partner can grab it quickly.
Dress in warm layers with insulated, waterproof boots and gloves. Keep a charged phone in a protected pocket and tell someone where you’re going, your planned route, and when you expect to return. Add traction cleats if your boots slide on hard ice.
Fish With a Partner and Know What to Do in an Emergency
Go with a partner who understands ice fishing safety and the local access route. Agree on a turnaround point and a check-in plan before stepping onto the ice. Keep enough distance to avoid putting both people on a questionable patch at once.
If someone falls through, stay back from the weak area and use the throw rope to help from a safe position. Call emergency services as soon as possible. Once the person is out, get them to shelter, replace wet clothing with dry layers, and seek medical help.
What Gear Do You Actually Need?
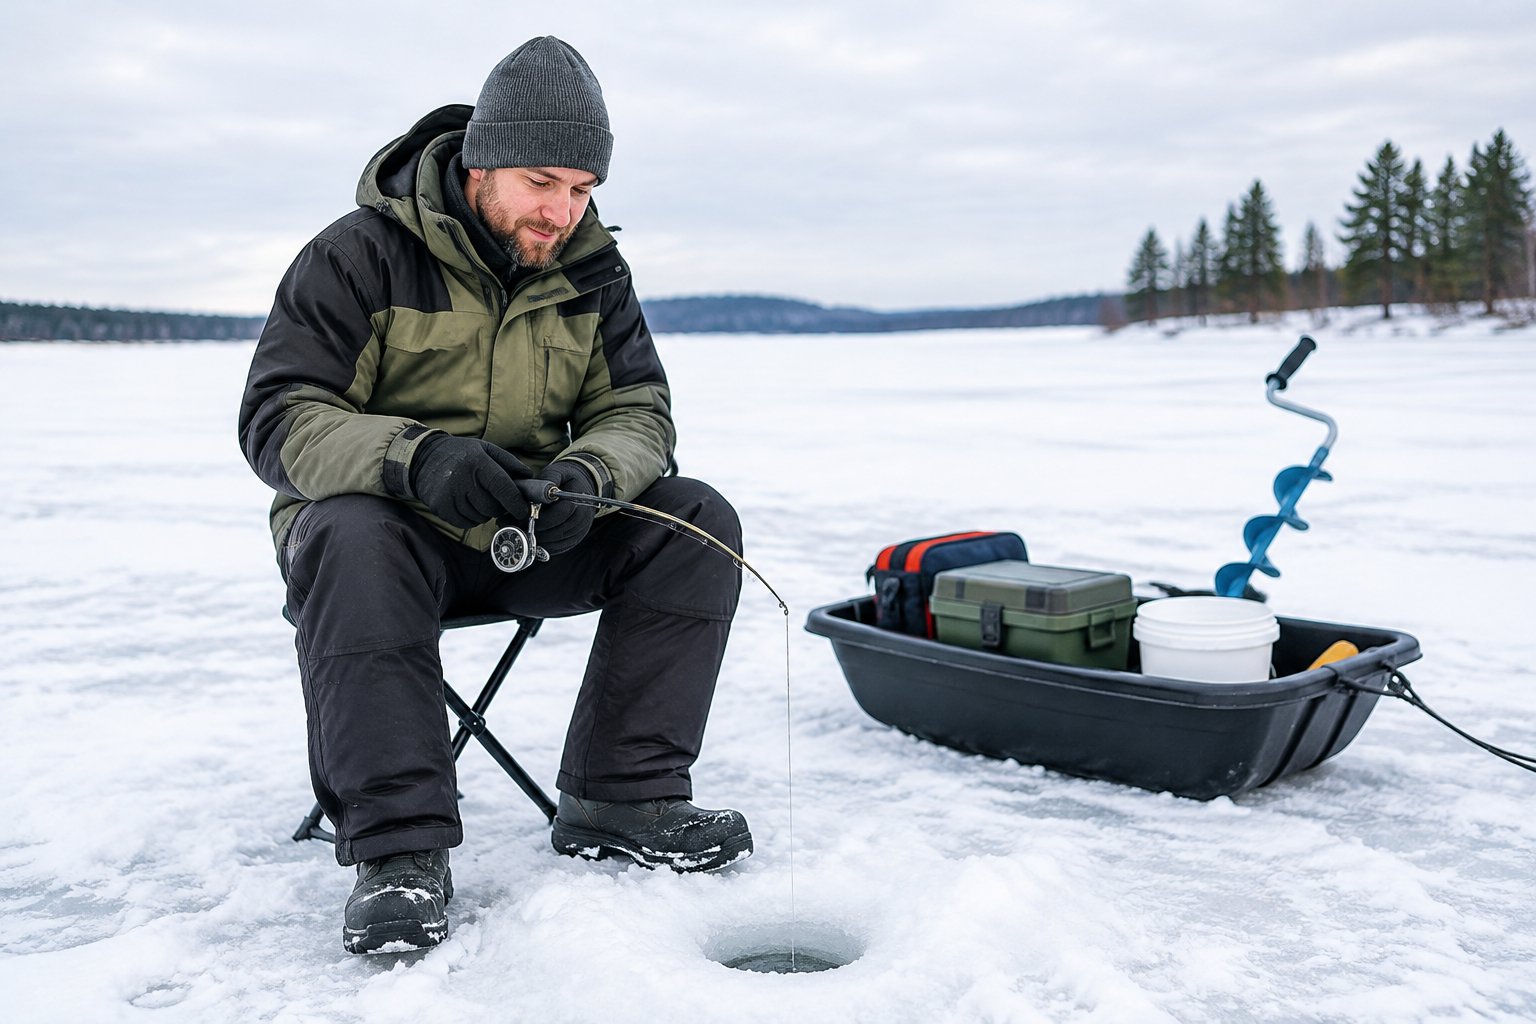
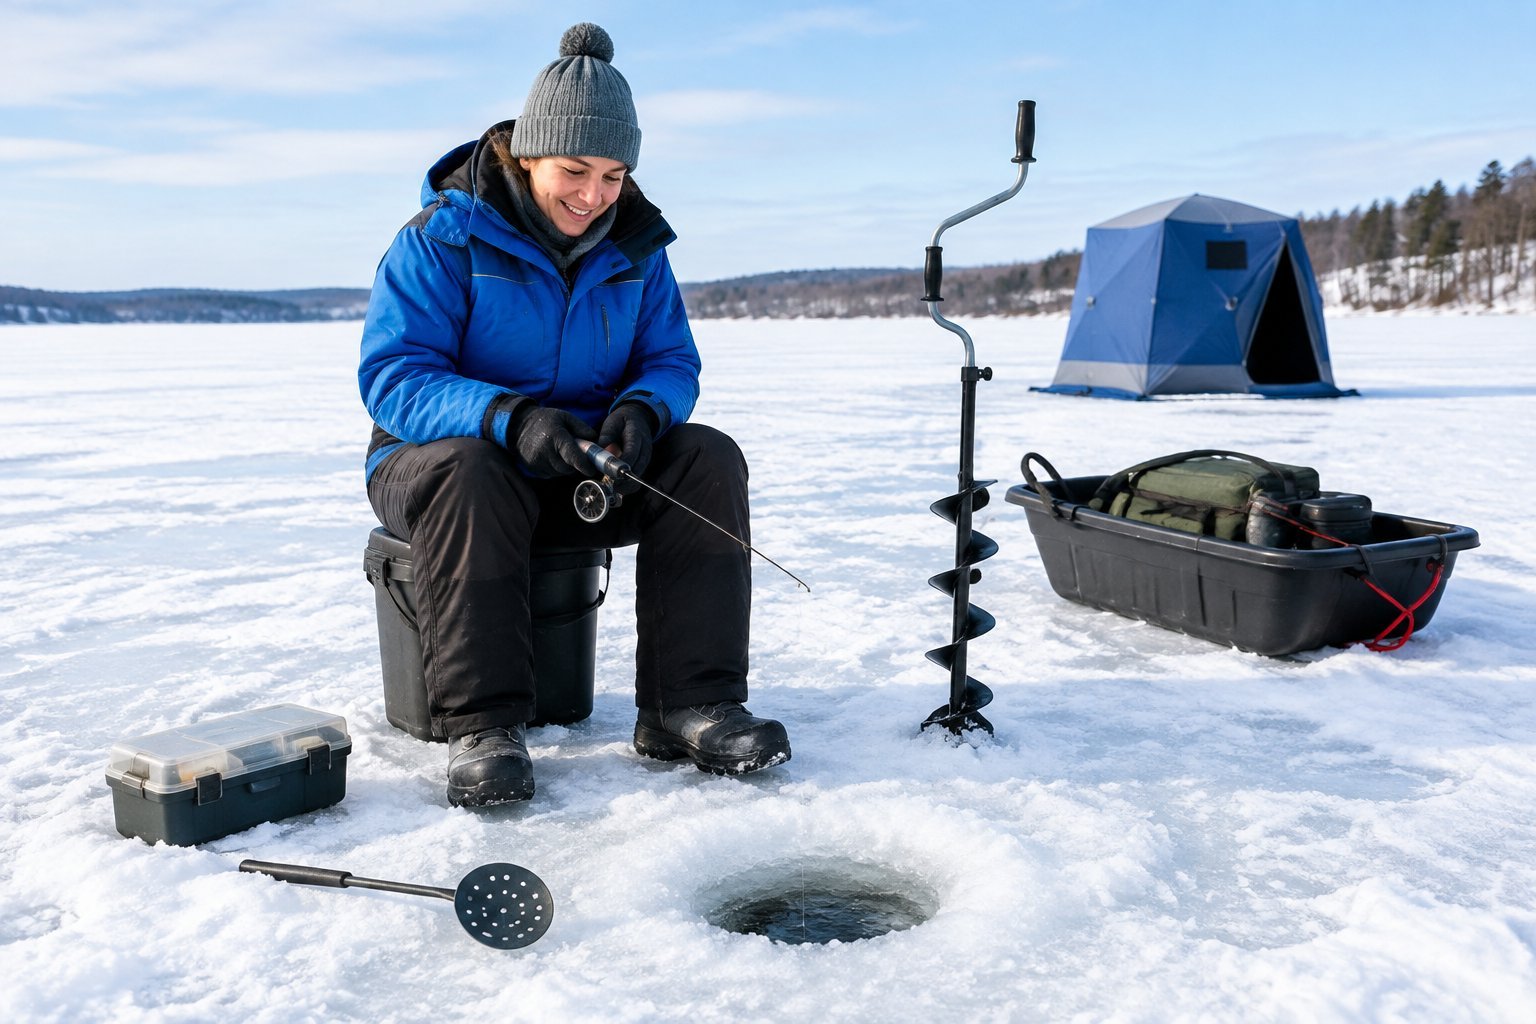
A beginner can start with a short ice fishing rod and reel, suitable line, a hand auger, an ice scoop, warm clothing, and safety gear. Add an ice fishing shelter or electronics only when the conditions or your plans make them useful.
Build a Simple Rod, Reel, and Line Setup
Choose a short, sensitive ice fishing rod that lets you work vertically over a hole and notice light bites. A basic ice fishing rod and reel with a small spinning reel is easy to use for a first trip. A jigging rod is a good starting choice for fishing one line by hand; inline reels are another option, especially for light presentations.
Match the fishing line to the fish and tackle you expect to use. Ask a local tackle shop for a suitable ice fishing line recommendation for the lake and target species. Keep a small selection of jigs and hooks organized in a compact tackle box, along with pliers and line cutters.
Choose an Auger and Clear Your Fishing Hole
A hand auger gives you a straightforward way to drill a hole for a first trip. Ask your guide or local expert to show you how to use it safely, and keep hands and loose clothing clear of the blades. If you’re fishing with a guide, ask whether an auger is included before buying or transporting one.
Use an ice scoop to remove slush and ice chips after drilling. Clear the hole when needed so your line moves freely and you can see the bite. A bucket or small sled can carry your equipment across the ice and provide a seat.
Decide Whether You Need a Shelter or Electronics
You can fish outdoors on a calm day if you have warm, weather-appropriate clothing and a place to sit. An ice fishing shelter blocks wind and helps you stay comfortable during a longer outing, especially with children. Check the forecast and plan a warm-up option before you leave.
Sonar, a fish finder, or an ice fishing flasher can show depth and fish activity, but you can learn the basics without electronics. Underwater cameras can also help you see below the hole. For a first trip, borrow or rent equipment if that option is available locally, then decide what you want after you’ve tried the experience.
What Bait and Techniques Work for Beginners?
Start with live bait on a small jig, then learn a slow jigging presentation or use a tip-up where regulations allow. These ice fishing basics give you a simple way to present bait and notice bites.
Start With Live Bait or a Small Jig
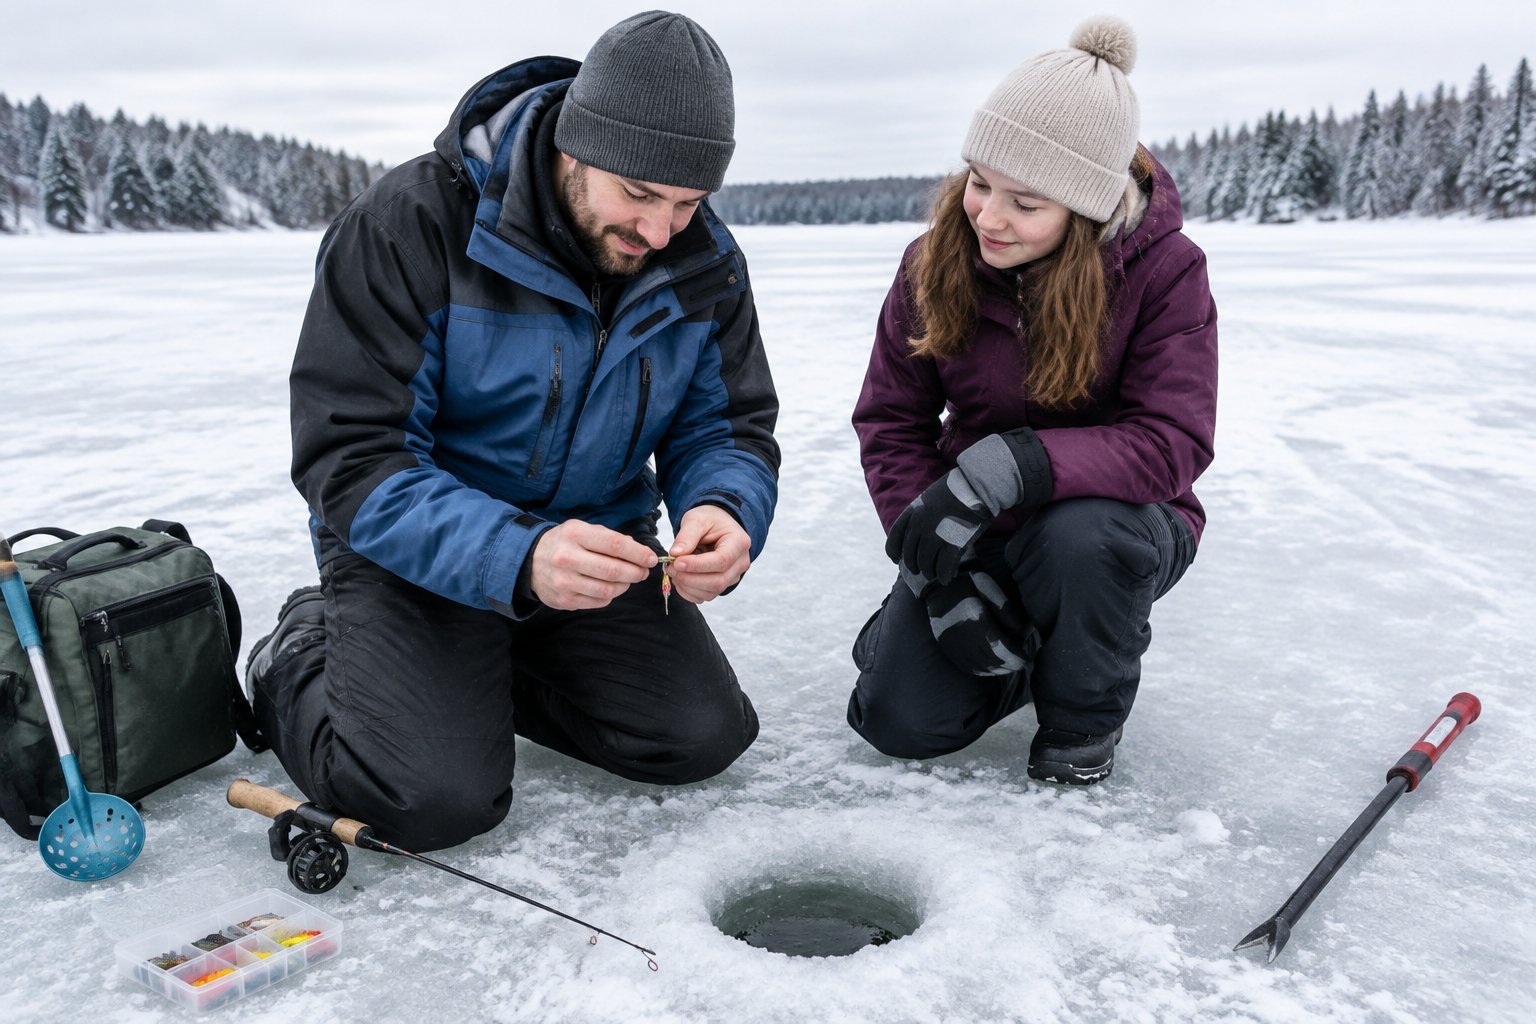
Live bait is an approachable choice when you’re learning to fish vertically. Minnows, wax worms, or pieces of nightcrawlers may suit different species and local rules, so ask what’s working and what’s legal at your lake. Keep bait cold and secure, and use only the amount you need for the trip.
A small jig gives you a simple way to present bait beneath the hole. Tungsten jigs sink quickly for their size, while small spoons add flash and movement. Start with one baited jig and change only one detail at a time if fish ignore it.
Try Jigging, Deadsticking, or a Tip-Up
With jigging, lower your lure near the bottom, then use small lifts and pauses. Watch the rod tip and feel for a faint tap or extra weight on the line. Keep the motion controlled, since a subtle presentation is easier to repeat and adjust.
Deadsticking means leaving a baited line still in a rod holder while you watch for movement. A tip-up suspends bait and signals a strike with a raised flag. Check local fishing regulations for the number of lines allowed and any rules for tip ups before setting one.
Adjust Your Presentation When Bites Are Slow
If you don’t get a bite, change the depth first. Raise the bait a little at a time, pause, and watch for a response. Fish may hold off the bottom, so a bait that sits on the lakebed can miss them.
If changing depth doesn’t help, slow down your jigging or pause longer. Try a smaller jig or fresh live bait, and ask a local angler what fish are responding to that day. Keep track of the depth and presentation that produce activity so you can repeat them.
Where Should You Look for Fish?
Start with a species common to the lake and use local reports to narrow down likely water and depth. Perch, yellow perch, crappie, bluegill, and other panfish are approachable targets in many areas; walleye, trout, rainbow trout, lake trout, pike, northern pike, and bass are also caught through the ice where available.
Match Your Target Species to Local Water
Ask a local bait shop, guide, or experienced angler which species are active and where they’re being caught. Fish selection depends on the lake, season, and local regulations. Start with one target species so you can choose suitable bait and tackle.
Panfish such as bluegill, crappie, and yellow perch are common beginner targets where local waters support them. Walleye, trout, and northern pike call for different tackle and locations, so get local advice before choosing a setup.
Use Depth, Structure, and Simple Electronics to Find Fish
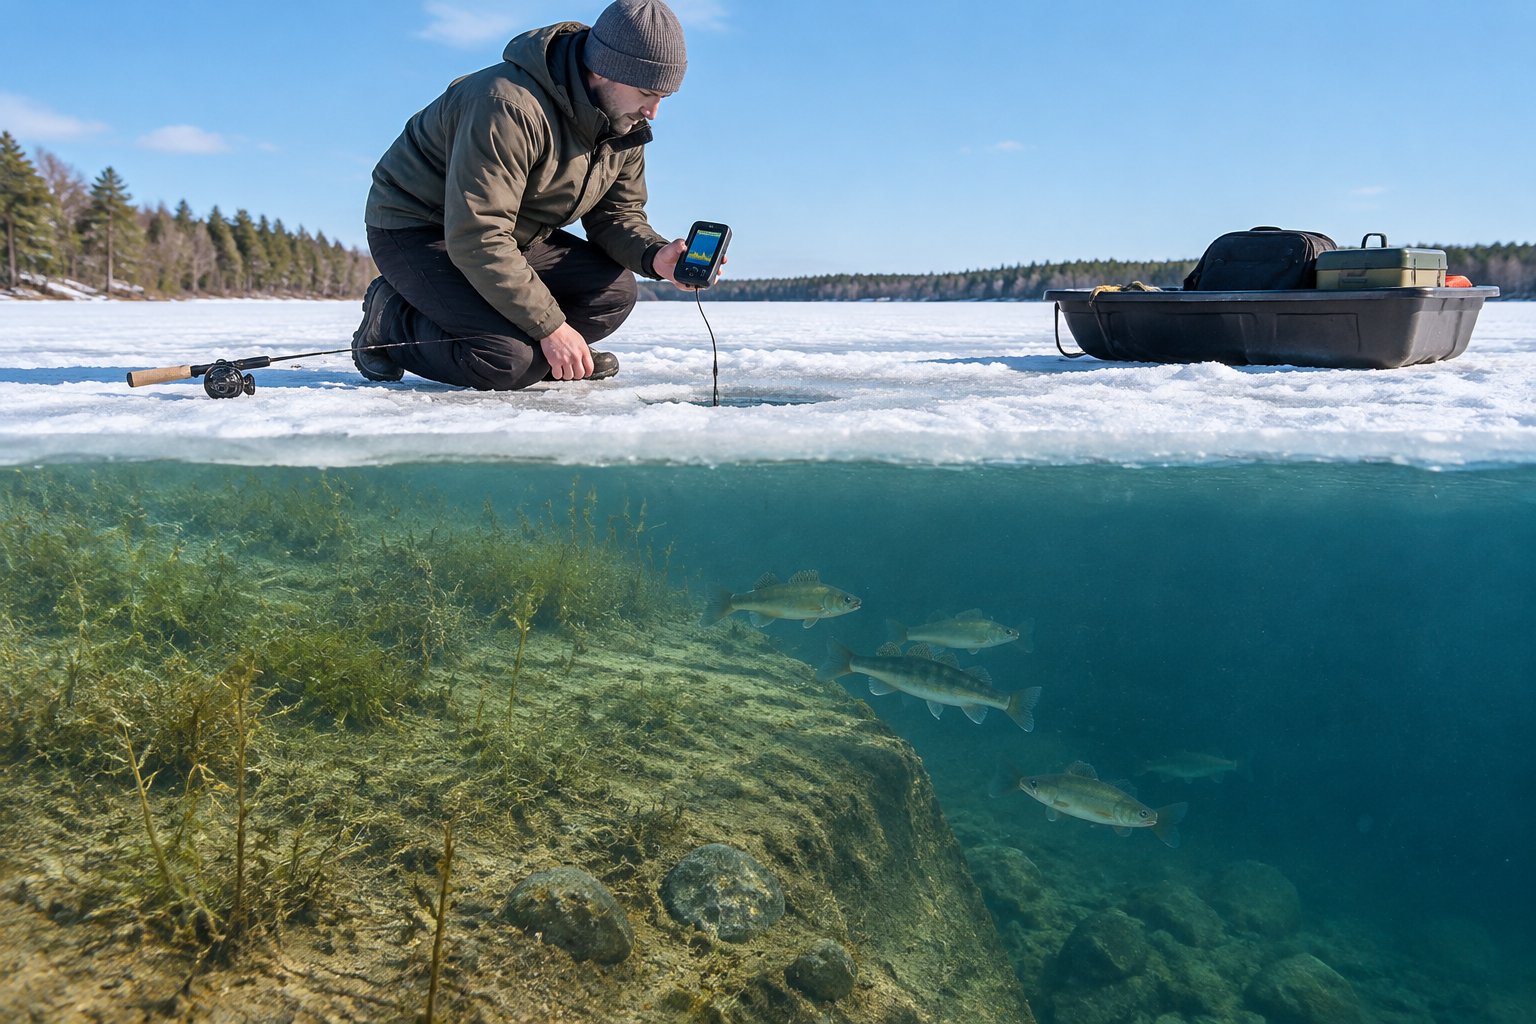
Start near underwater features that give fish access to food or cover, such as weed edges, drop-offs, and submerged structure. A lake map or a local angler’s advice can help you identify areas to try. Use a weighted line to estimate depth if you don’t have electronics.
A sonar unit, fish finder, or flasher can help you see depth and whether fish are near your bait. Fish may sit close to the bottom or suspend higher in the water, so move your bait through different depths. Keep a note of where you see activity and where you get bites.
Keep Moving if a Hole Is Quiet
Give a hole a short, focused try, then move if you see no fish and get no bites. Drill several holes only where local guidance says the ice is safe, and check conditions as you move. If you’re new to drilling, ask your guide to choose and prepare the holes.
Change location by small increments to test a different depth or nearby structure. Keep your bait and presentation consistent while you move, so you can tell whether the location made a difference. Before heading out, get your gear ready and explore the related beginner-friendly guides before your next trip.