For a short walleye ice fishing trip, choose a safely accessible point or drop-off, set up before dawn or dusk, and fish a jig or minnow near the bottom. Those walleye ice fishing tips give you a workable plan when you have an hour after work or a brief window to take your child fishing.
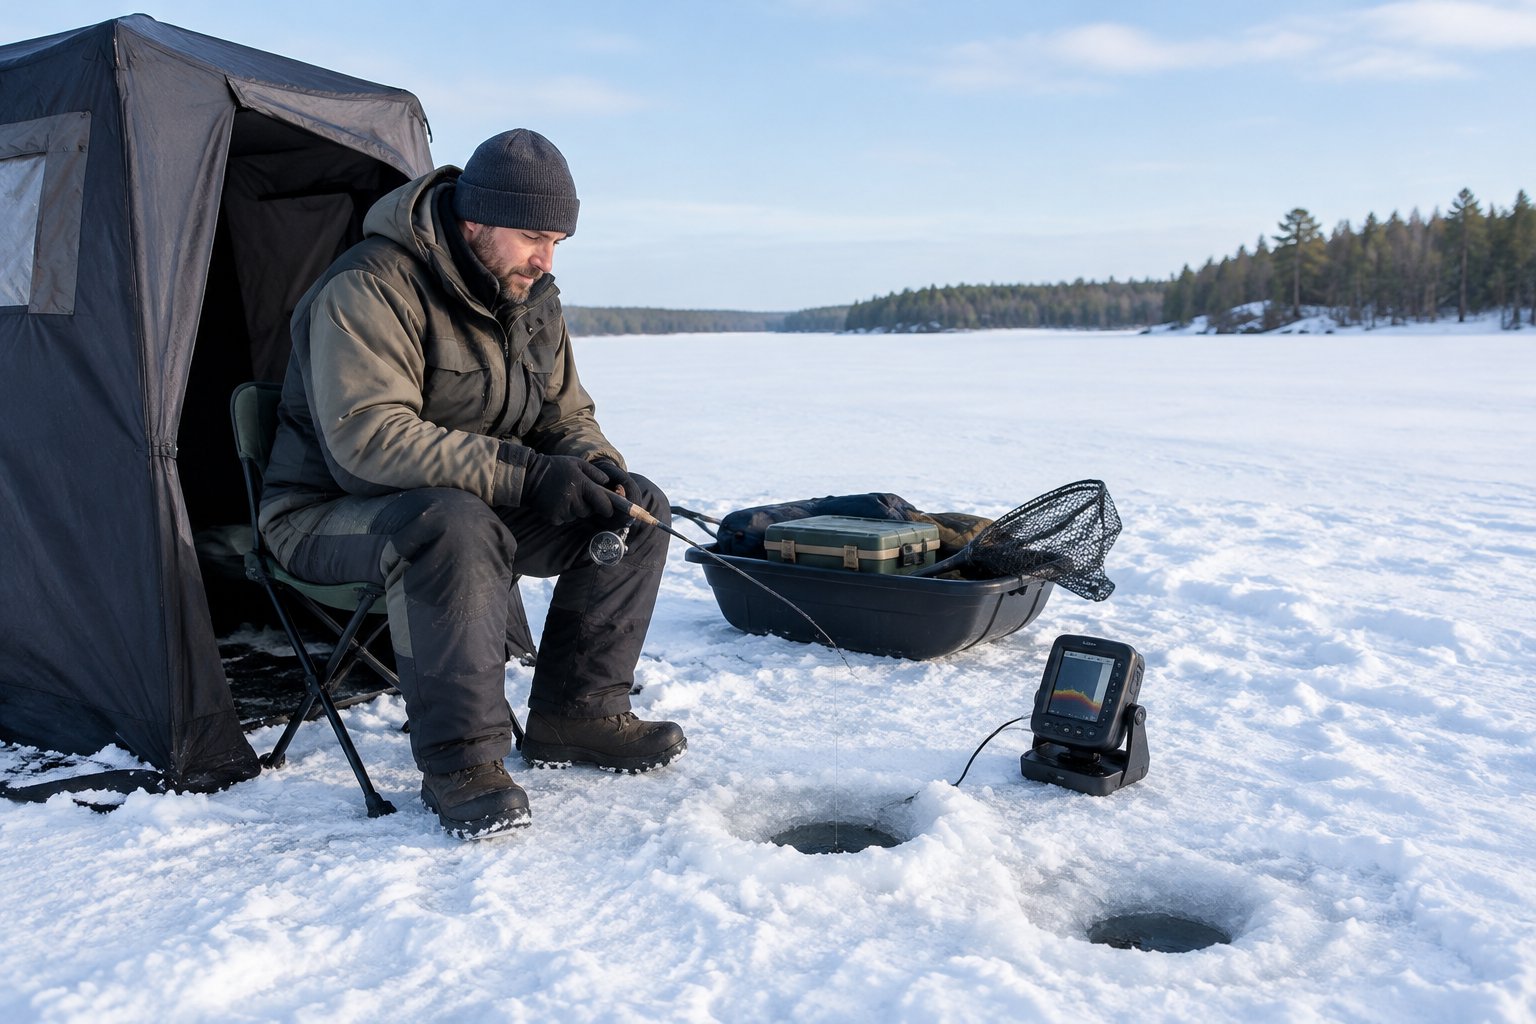
Your first decision is whether the ice supports the trip. Once you have safe access, a few holes across one depth change give you places to check without spending your fishing time hauling gear around the lake. If you are new to ice fishing for beginners, keep that first outing close to a familiar access point.
How Do You Check Ice Before a Winter Trip?
Check current local conditions, then measure ice thickness along your route before committing to a spot. Ice safety starts at the access point and continues every time you move.
Check Local Reports and Measure Ice as You Go
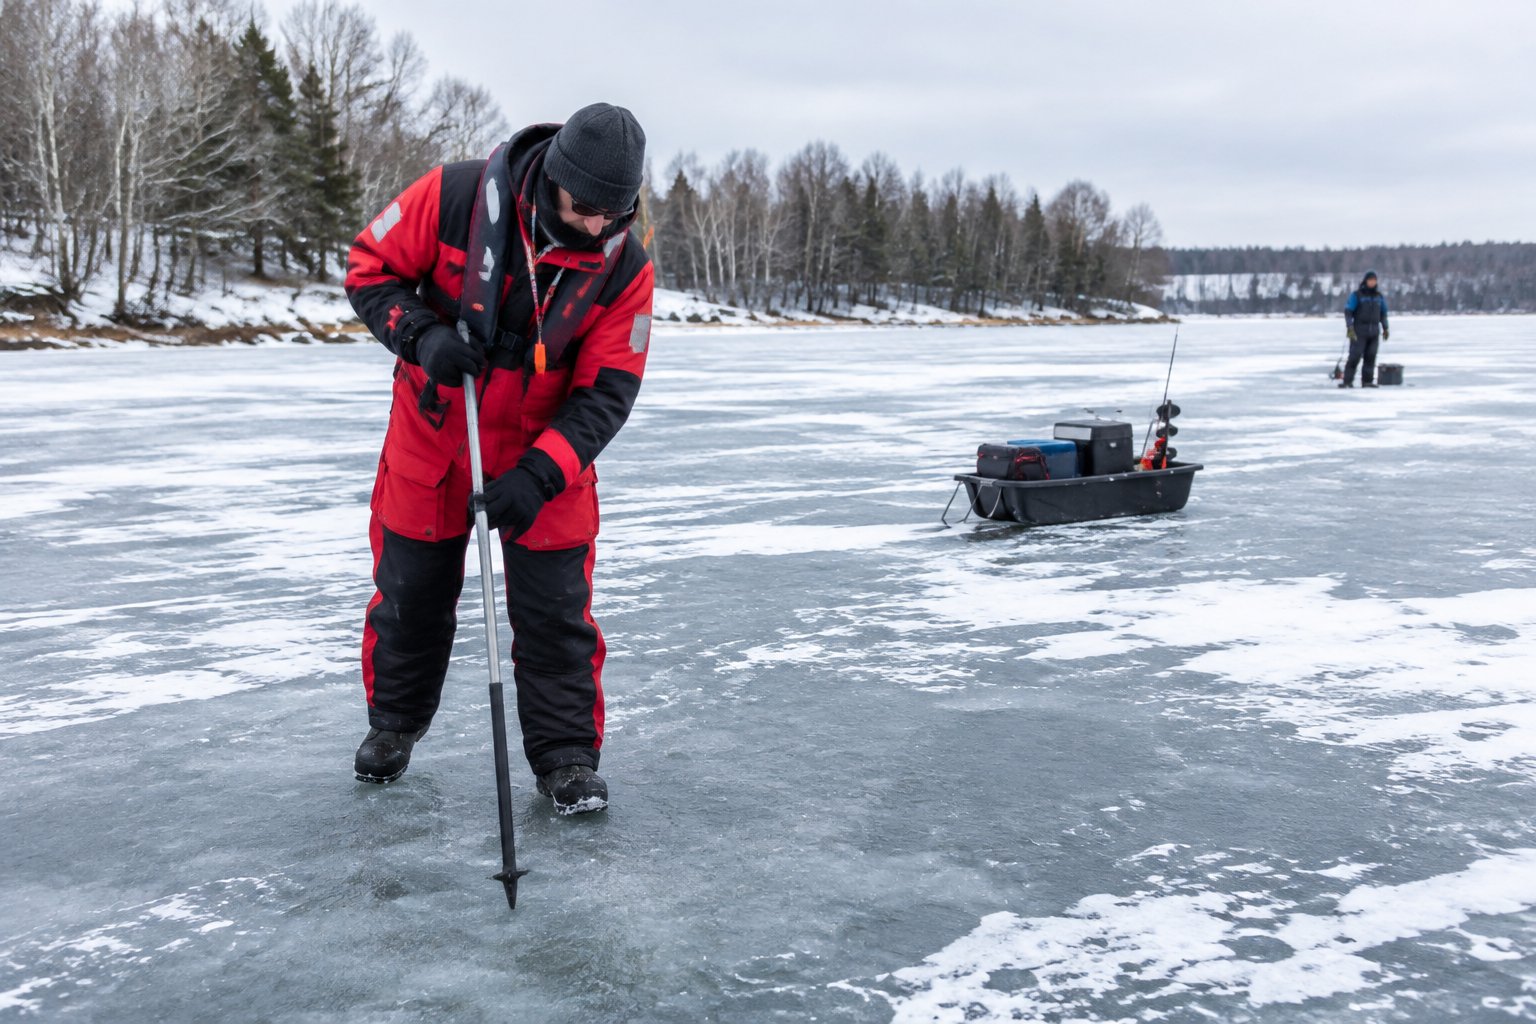
Read recent reports from local authorities or lake managers and ask about the specific access you plan to use. Use a spud bar to probe ahead and an ice auger to drill test holes so you can measure solid ice as you go. Ice augers make a hole for fishing; they also let you check conditions beneath the surface.
Many US ice-safety agencies use 4 inches of clear, solid ice as a minimum guideline for a person traveling on foot. Follow stricter local guidance, and stay off ice you cannot verify. Thickness changes near moving water, inlets, outlets, docks, and pressure cracks. Snow-covered or slushy areas deserve particular caution.
Plan Safe Access When Fishing with Kids
Choose a short, familiar route near shore and establish the conditions yourself before bringing children onto the ice. Keep kids beside you, away from open holes and cracks, and dress everyone in warm layers and a properly fitted flotation device suitable for ice use. Carry ice picks where you can reach them and tell someone on shore where you are going and when you expect to return.
If the route is uncertain, postpone the trip. A nearby spot you can check thoroughly is the better choice for a family outing than a promising point across questionable ice.
Where Should You Look for Walleye Under the Ice?
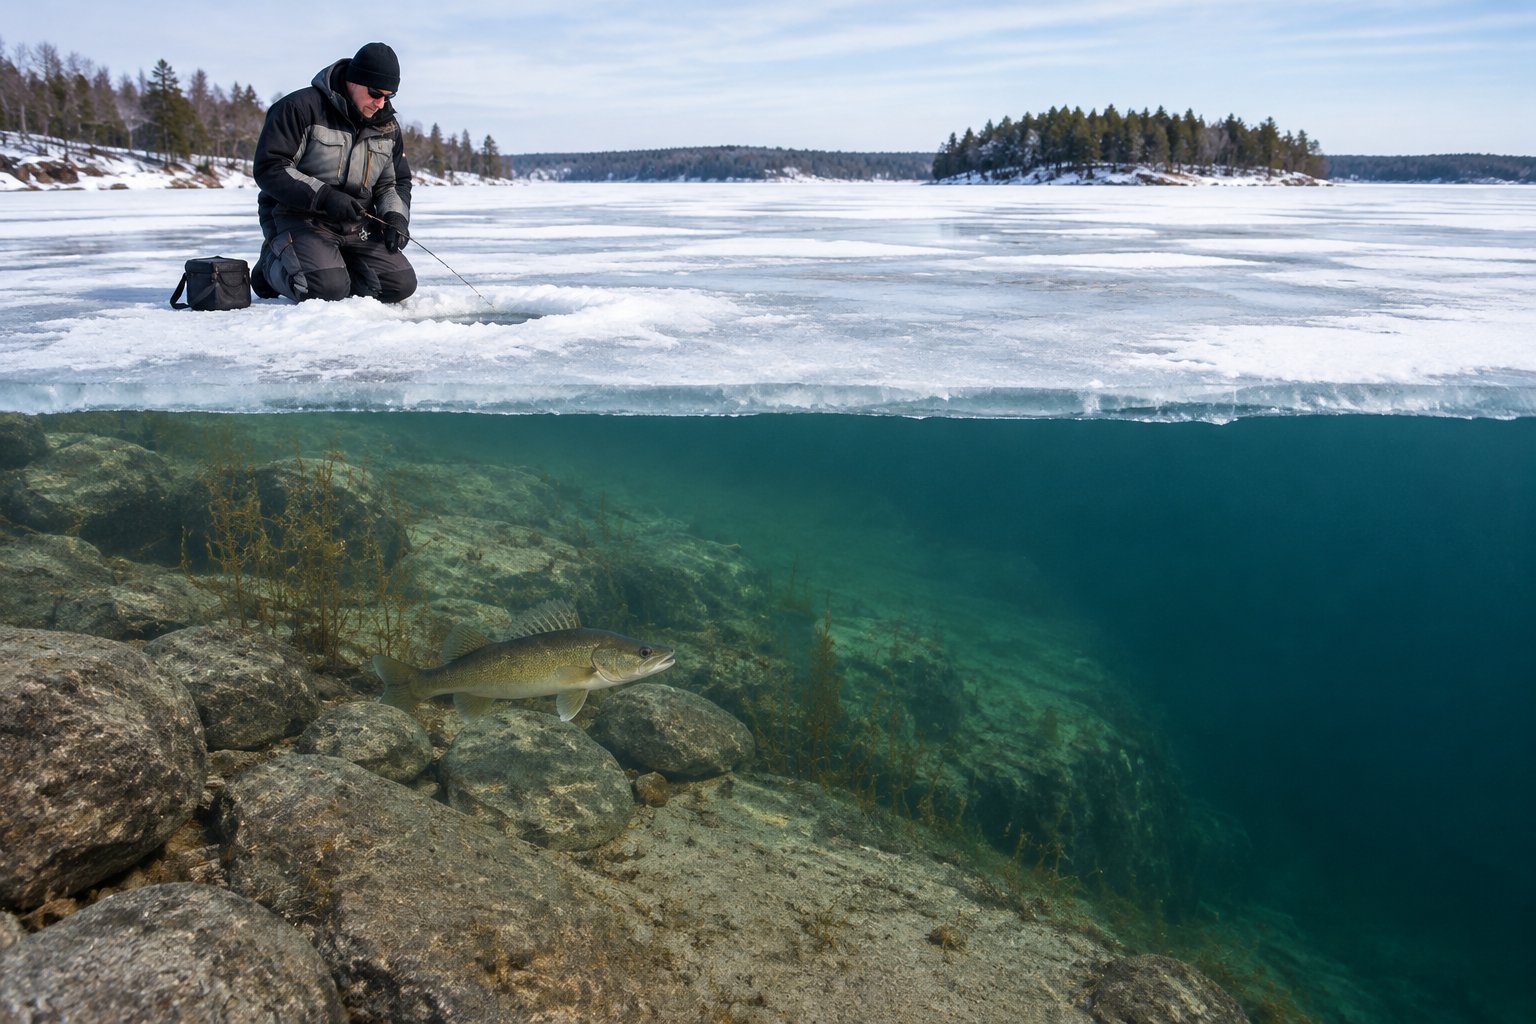
Look for walleye under the ice where a reachable depth change meets food. Points, breaks, and healthy weed beds give you specific places to start; the location of freshwater baitfish helps you narrow the choice.
Start with Points, Breaks, and Nearby Baitfish
Check a lake map for main lake points that slope toward deeper water or mid-lake humps with an accessible edge. For a short trip, favor a point near safe access. Drill holes on its shallow side, along the break, and just beyond it so you can sample the depth change without crossing a large area.
Walleye structure is most useful when baitfish are nearby. If you find minnows around a weed edge or see bait on a fish finder, spend some time there before moving.
Adjust Your Search from Early Ice to Mid-Winter
During the early ice season, begin around remaining green weed beds, shoreline points, and adjacent shallow water. As conditions change, mid-winter walleye may hold along deeper breaks or humps. Walleye behavior varies by lake, so treat those locations as starting points and adjust to the fish and bait you find.
Recheck ice conditions whenever your search takes you somewhere new. A promising offshore hump does not justify an unverified route.
Check Shallow Feeding Areas as Light Fades
Near dusk, try the shallower side of a point or the top edge of a break beside deeper water. Fish can move along that route to reach baitfish as light drops. Make the switch before visibility fades, while you can still inspect your footing and find your way back safely.
When Is a Short Trip Most Likely to Pay Off?
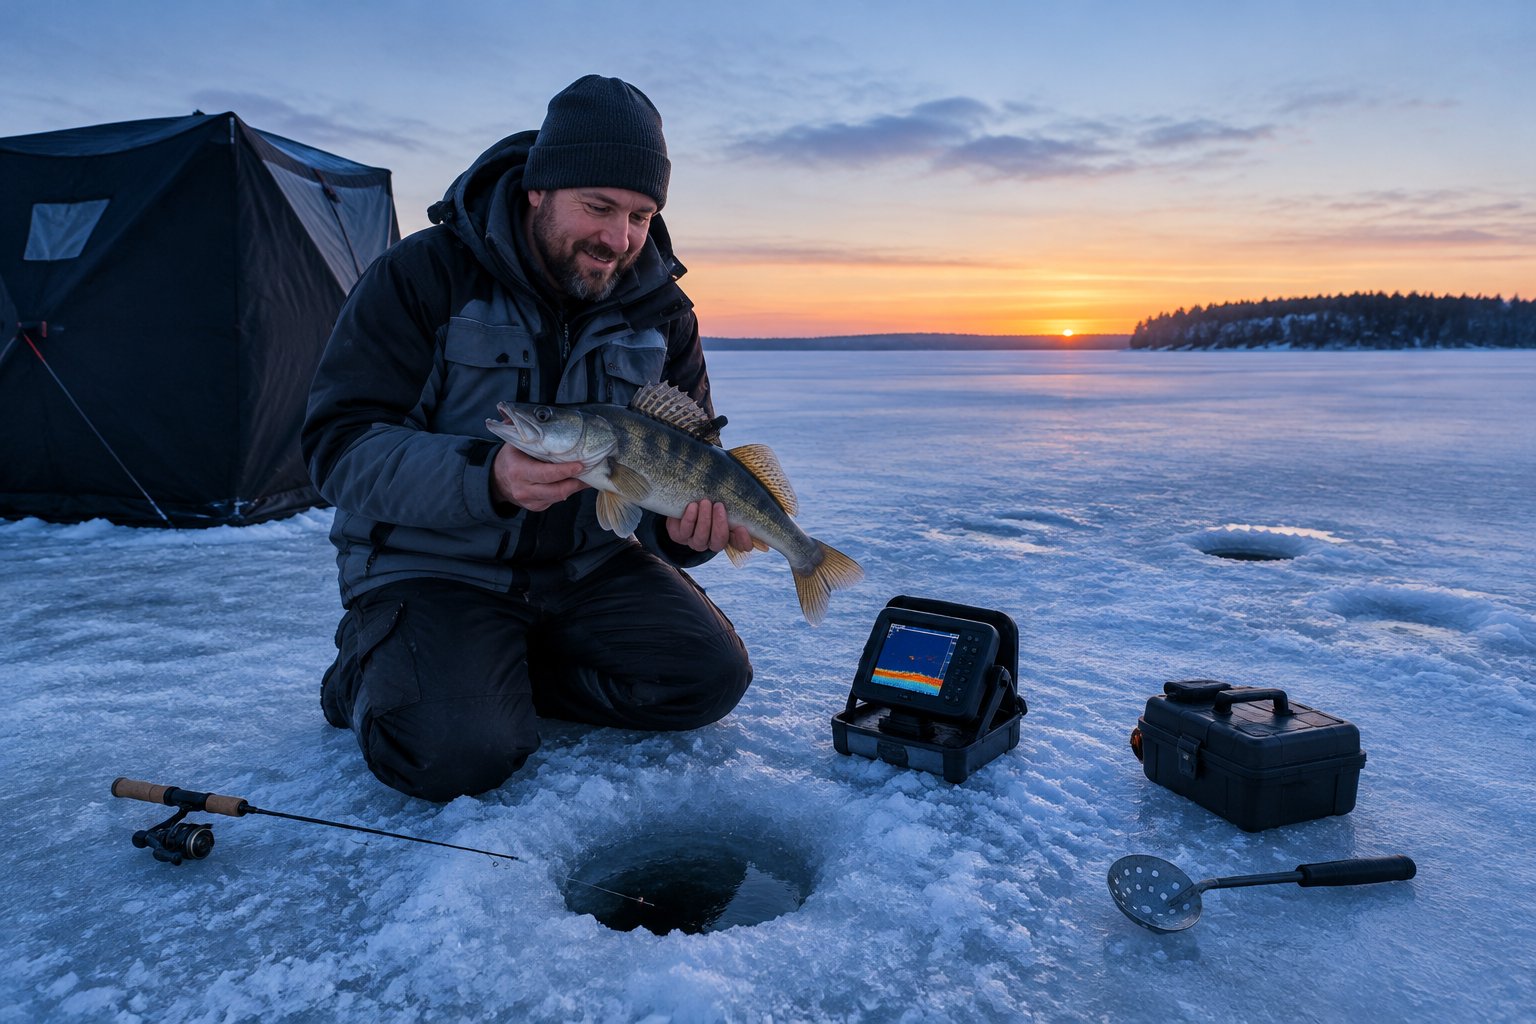
Dawn and dusk are strong choices for a short walleye trip because low-light conditions bring feeding opportunities within a manageable window. Pick the one that fits your schedule and lets you travel safely; morning and evening fishing each require time for setup and the return trip.
Prioritize Dawn and Dusk
If you have an hour, plan for your line to be in the water as daylight changes. An after-work trip might begin in late afternoon so you can fish through sunset and leave while you can still navigate the route. At dawn, allow enough time to check the ice and reach your spot without rushing in darkness.
A bright midday outing can still be worthwhile, especially where baitfish are present. Start along the deeper edge of your chosen structure and adjust if you see fish elsewhere.
Choose a Spot and Set Up Before the Bite
Select one likely point or break at home and identify a backup close to the same safe access. On the ice, drill your small group of holes, clear the slush, and tie on your lure before the light begins to change. You can then spend the feeding window fishing each depth instead of searching through your tackle box.
What Simple Gear and Bait Should You Bring?
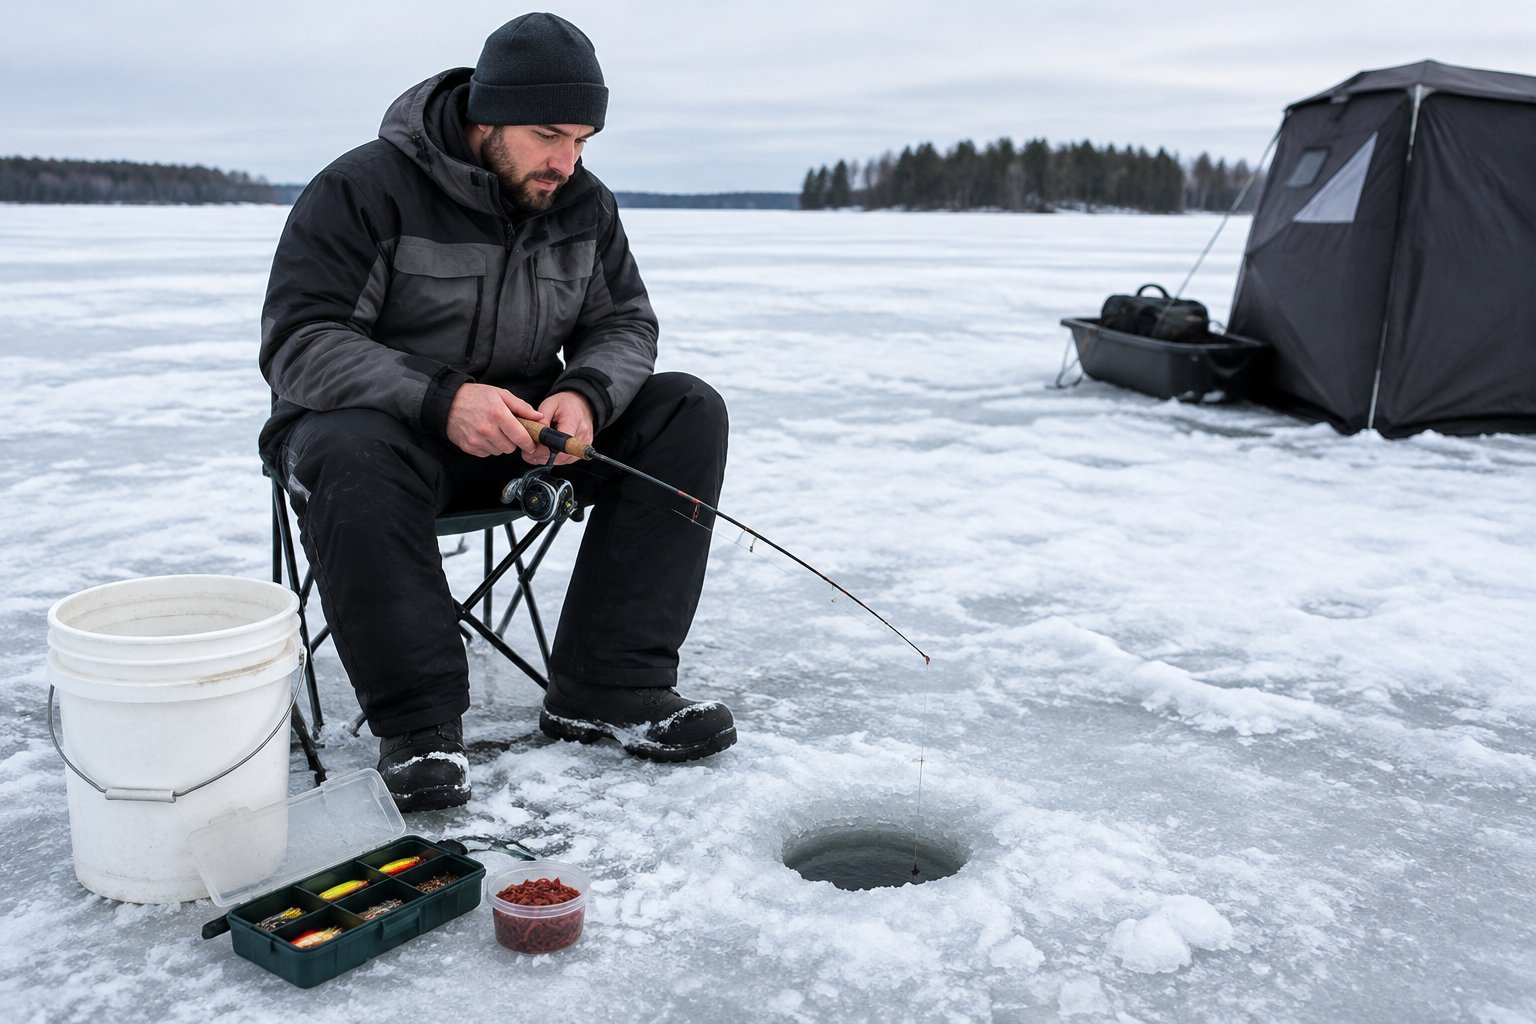
Bring one ice fishing rod, a small selection of bait and lures, an auger, and the safety gear your trip requires. A compact ice fishing gear setup is easier to carry and keeps your attention on the holes you chose.
Build a Basic Rod-and-Leader Setup
A medium-light or medium ice fishing rod with a spinning reel gives you a straightforward way to work a jig and feel a bite. Tie on a fluorocarbon leader and check its knot and last few inches for wear before lowering your bait. Set your reel drag so a fish can take line without pulling the hook free.
Carry an ice scoop to keep holes clear, plus a headlamp if your permitted trip overlaps darkness. Pack spare dry gloves where you can reach them after handling bait or a fish.
Choose Between Minnows and Easy-to-Fish Lures
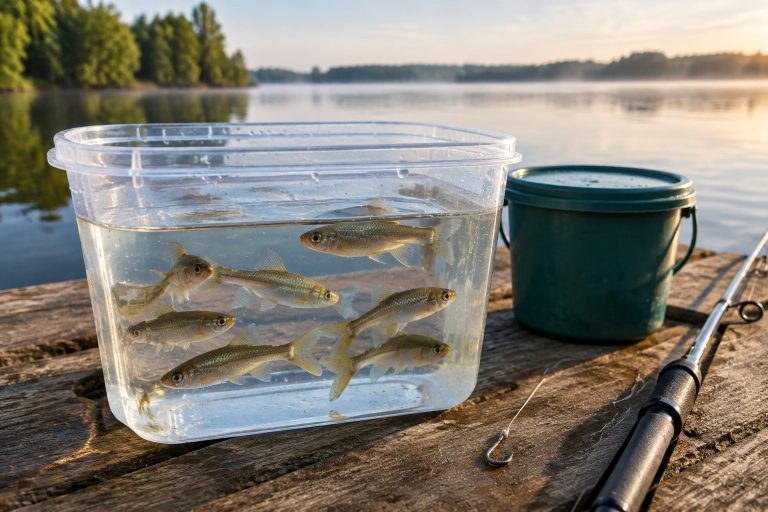
For live bait, rig a fathead minnow or one of the shiners available locally on a suitable jig or hook. Check bait rules for the water you fish, including restrictions on transporting and disposing of live minnows. A small bait container is enough for a brief outing.
For artificial options, pack a few walleye jigs and jigging spoons. A Swedish Pimple provides a spoon presentation; a Jigging Rapala (often called a Jigging Rap) darts when you lift it. Lipless crankbaits offer a stronger vibration. You only need a couple of walleye lures you can tie on quickly.
Use a Tip-Up or Shelter Only When It Helps
A tip-up can hold a live minnow at a second depth while you jig nearby, provided local line limits permit it and you can watch both holes. Learn its setup before your trip so it does not consume the bite window.
An ice fishing shelter helps when wind or cold would cut your outing short, particularly with kids. For a mild, one-hour trip, weigh that comfort against the time needed to carry and set it up.
How Do You Jig When Walleye Follow but Won’t Bite?
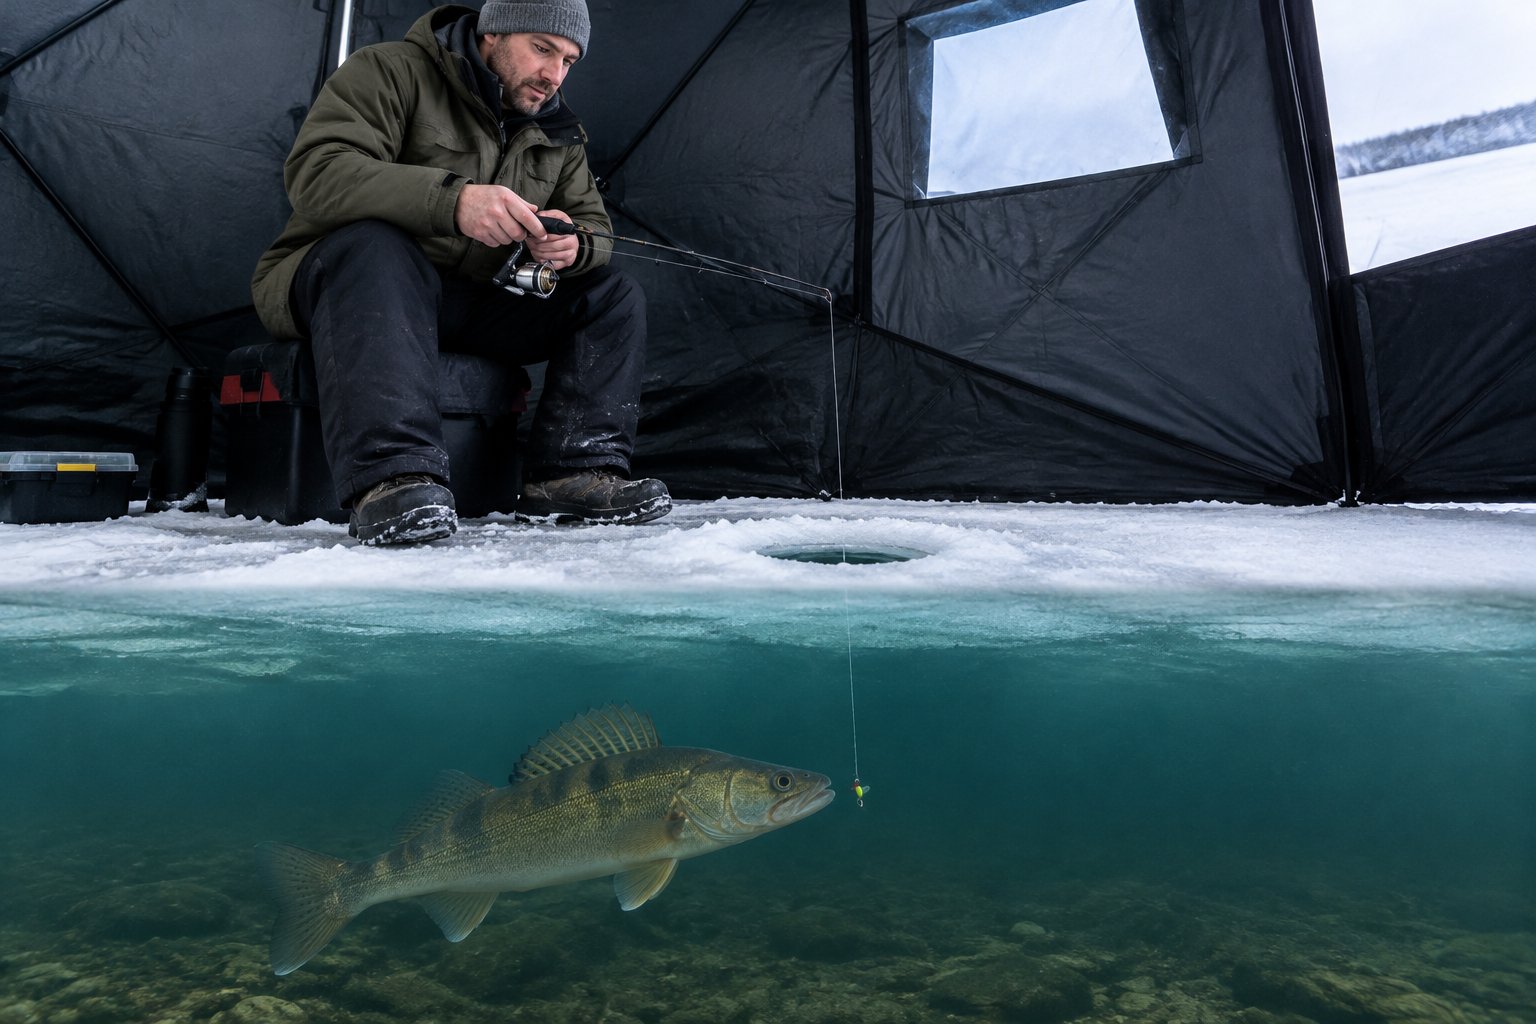
When a walleye follows your lure without striking, slow the presentation and hold it within reach. Walleye jigging works best when you give a fish time to take the bait you have brought into view.
Start Near Bottom with a Lift, Fall, and Pause
Lower your jig until it touches bottom, then reel up enough to keep it just above the lakebed. Lift the rod tip a short distance, let the lure fall, and pause with your line controlled so you can detect a light bite. Repeat while watching your line and rod tip.
A few sharper lifts can draw attention from farther away. Once you feel a tap or see a fish approach on a screen, return to smaller movements. That change gives jigging for walleye a clear purpose: attract the fish, then present an easy target.
Use a Minnow Head or Slow Down for Hesitant Fish
Tip a spoon or jig with a minnow head when permitted, especially if fish approach and turn away. Check that the hook point remains exposed. If a fish follows an aggressively jigged lure, stop snapping it and try a slight lift followed by a longer pause.
Give the fish a moment to commit. When you feel steady weight, lift firmly to set the hook and reel with even pressure.
What Is a Practical Plan for a One-Hour Outing?
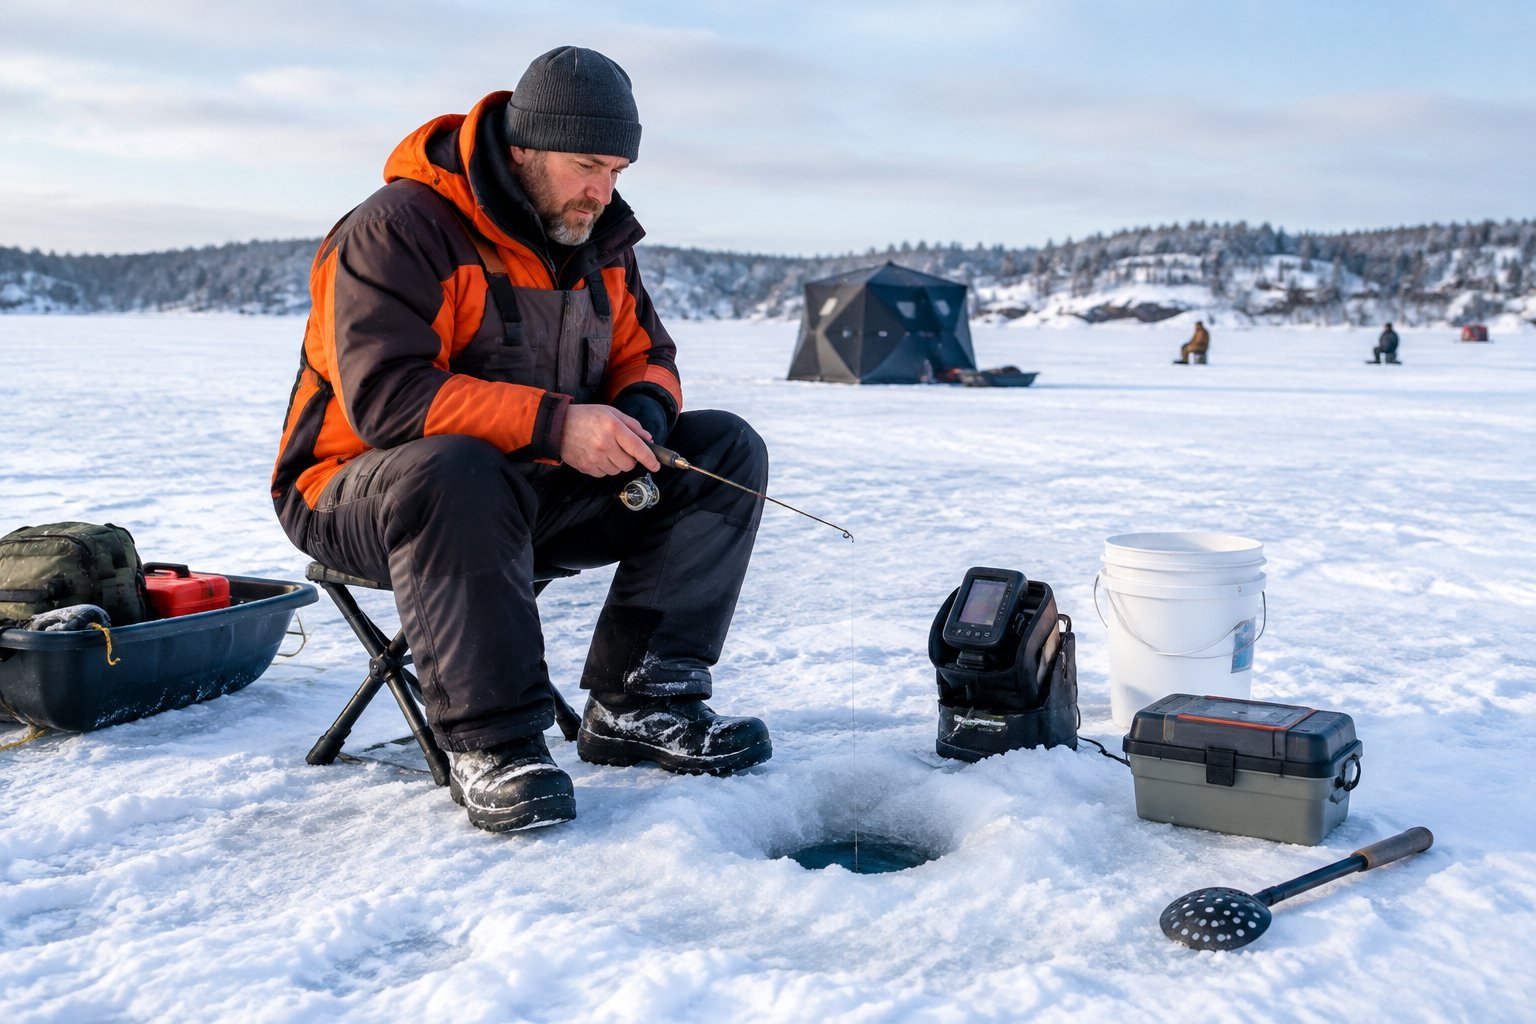
For one hour of walleye fishing, verify safe access, fish a few holes along one depth change, and make one deliberate adjustment if you find no activity. This approach keeps walleye ice fishing manageable when your schedule has little room for a long search.
Fish a Few Safe Holes Across One Depth Change
After checking the route, drill a hole on the shallow side of your chosen break, one on the slope, and one near its deeper edge. Spend several minutes jigging each hole near bottom. If one produces a bite, work that depth again as the light changes.
Keep your holes close enough to supervise, especially when fishing with children. Pack up with enough daylight or headlamp time to follow your checked route back.
Use a Fish Finder If You Have One, Then Decide When to Move
A fish finder helps you see depth, your lure, and possible fish or bait beneath a hole. If marks follow without biting, change your jigging cadence before changing spots. If the holes remain quiet, move to the next depth along the same verified route.
You can make the same decision without electronics. After a fair try at each hole, change depth or presentation once and keep fishing through the low-light window. That measured approach also works when you are trying to catch fish quickly in 30 minutes.
Keep the Setup Manageable for Beginners and Kids
Give a new angler one rod and one hole to watch. Show them how to lower the jig to bottom, reel it up slightly, and pause after each lift. Your own rod can stay close enough that you can help with a bite immediately.
For a family trip, success includes warm hands and a safe return, even if the walleye do not cooperate. Once you pack the auger, scoop, bait, and safety essentials back into one load, you are ready to use the next short opening in your schedule.
Get your gear ready and explore the related beginner-friendly guides before your next trip.